About the Park
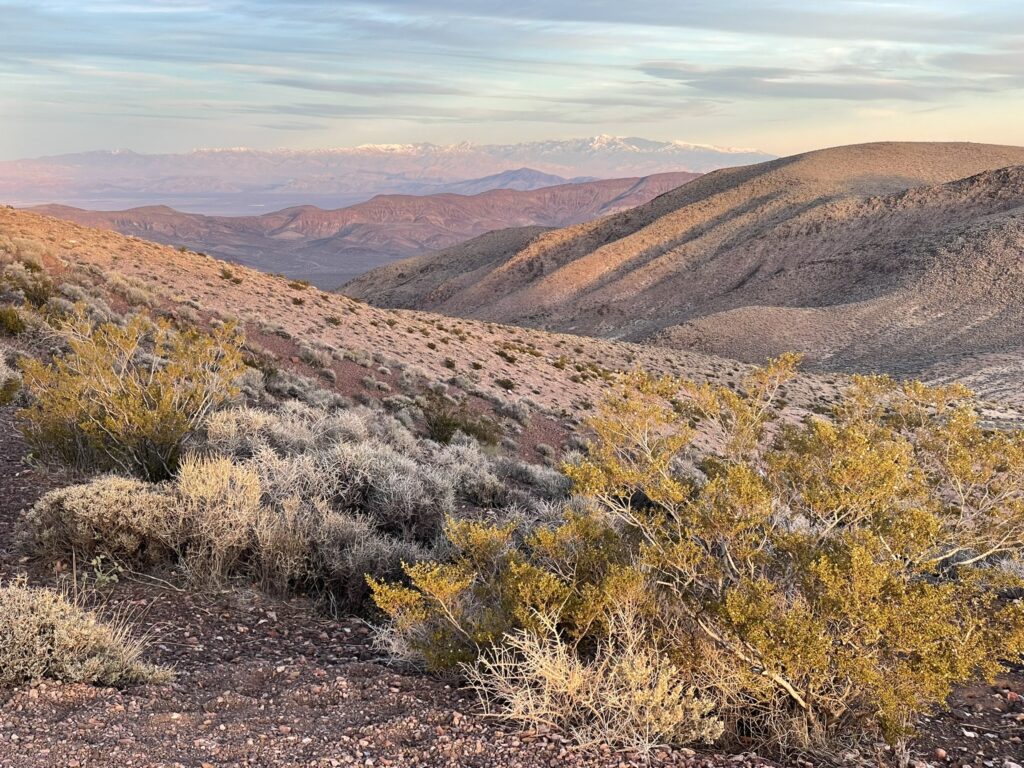
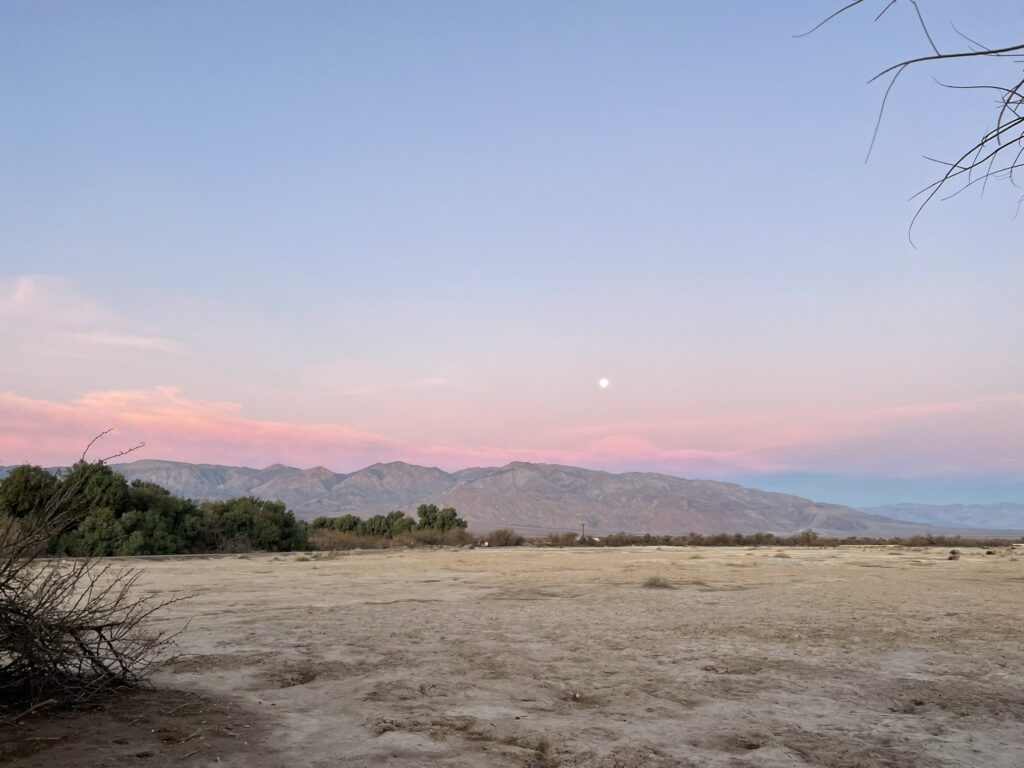
Death Valley is the largest National Park in the lower 48 of the United States. And it feels that way. You can drive for hours on end and still be in the depths of the park. For those who know the majesty of the desert – the variety of terrain, wildlife, stars – you’ll find that Death Valley is one of the most spectacular landscapes around. For those unfamiliar to the desert, you may think it sounds bleak and boring. But it’s almost guaranteed this park will convert you into a desert seeking adventurer.
You’ll find massive mountains. Steep canyons that echo your footsteps. Wildly colorful rocks and geological wonders. Obscure salt basins and sculpted minerals. Expansive sand dunes. Wildlife of all types including bighorn sheep, coyotes, mountain lions, lizards, snakes, and an endemic pup fish species that lives only in isolated pools in the park.
It is a formidable and beautiful place.
Trip Overview
Itinerary: 4 days, 3 nights
Location: Furnace Creek Campground in Death Valley National Park
Best time to visit: October through March.
Notes: This itinerary involves hiking routes of 6+ miles with 1300+ft elevation gain.
Planning for the trip
Fees and permits
Park entrance fee: $30 per vehicle. This is required for all visitors to the park, and is valid for 7 days. Entrance fees can be purchased at the Visitors Center in the park, or can be purchased online at Recreation.gov. Please note different fees exist for different types of vehicles such as vans, etc. More info on that can be found here.
Annual National Parks pass: I’d recommend getting the America the Beautiful Pass, which is $85 and provides access to all federally managed lands such as National Park entrance fees or day use areas in National Forests (this does not include fees for campsites).
Getting there
Important navigation notes:
- Because of historic floods in 2023, several roads have been closed. You should always consult with the park website or a park ranger to confirm conditions.
- Never rely solely on GPS for navigating the park. Most places in the park do not have official street addresses, and relying on GPS can mislead visitors. Please have coordinates saved and a paper map available. Likewise, the National Park Service app for iOS is a good tool for navigating offline.
East side entrances:
- Coming from San Diego we took CA highway 15 to Baker, CA, then north on Highway 178. Then, you take Highway 190 at the Death Valley Junction, CA. This leads you to the Furnace Creek Visitors Center.
- From Beatty, NV, you can take State Route 374. Beatty is a relatively close by town for restaurants and lodging.
- Heading south on US 95 in Nevada, you will come to State Route 267, which brings you towards the Stovepipe Wells Village.
West side entrances:
- Coming from Lone Pine or Olancha, CA, you can take Highway 190 (136) which leads you to the Stovepipe Wells Village.
- Coming from Inyokern, CA, you can take Highway 178 which will also lead you to the Stovepipe Wells Village.
In most cases, driving to Death Valley can be an epic road trip in and of itself. There are other entrances on non-paved roads, as well as an airport for private planes – more information can be found here.
Visitors Center: The only visit center in the park is the Furnace Creek Visitors Center. There is a small but great museum inside that covers the history and geology of the park. You can purchase your entrance fee at the registration desk, or show them your America the Beautiful Pass. You’ll then receive a vehicle permit and any other required paperwork, including a map. You can also receive your parking pass for your campground reservations, or you can handle that at the campground entrance.
Nearby supplies and services
Death Valley has gas stations and other services within the park, but they are far apart from each. Do not take any chances and be sure to fuel up and carry enough water no matter which direction you’re heading.
Furnace Creek: Next to the campground is an entire village with two (smaller) resorts, restaurants, a museum, a general store, and a gas station. In the area is also the Furnace Creek Visitors Center, where you can pick up your passes, register for campgrounds, and speak to rangers about the park. Please note, the general store is well equipped but it very expensive. A blueberry muffin alone cost $8. For lodging options you have The Inn at Death Valley, or the Ranch at Death Valley. The Ranch at Furnace Creek does sell internet by the hour if you really need it. Ask at the reception desk and they’ll provide a link.
Stovepipe Wells Village: 25 miles north of Furnace Creek, the Stovepipe Wells Village is near the beautiful Mesquite Flat Sand Dunes. Here you will find a gas station, lodging options, and a small general store with sundries, cold drinks, and souvenirs.
Panamint Springs: On the western side of the park about 55 miles west of Furnace Creek. This area has a small restaurant, a gas station, an RV park, and the Panamint Springs Resort for lodging.
Tip! For whatever reason the drinks and beer at the Stovepipe Wells General Store were significantly cheaper than the ones at Furnace Creek. I’m talking ~$1.25 bottles of premium local craft beer out of the fridge. I hope you find the same deals, but don’t quote me on it.
Recommended gear
To download a full 2-person gear list for this trip, click here. Below are some key recommendations for gear to take on this trip:
For your camp:
7 gallon water jug – make sure this is filled up and in your car before driving off anywhere.
Air mattress – we use a queen size mattress that fits perfectly in a 4 person tent.
For hiking:
4 liter water bladder (per person)
Long sleeve clothes
Warm clothes
Electrolyte tablets – we like to use Nuun because they’re easy to carry and tasty
Plenty of food and snacks
Campground details
Location: Furnace Creek Campground. Please save the coordinates and always carry a paper map. GPS can be unreliable within the park.
Facilities and amenities:
136 sites
Fire pits
Picnic tables
Potable water spigots and sinks
Flush toilets/restrooms
Trash and recycling containers
Parking available per campsite (limits apply)
Fees: $22 for a standard tent site.
Reservations: Required between October 15 through April 15. The rest of the year is first-come first-served. Reservations can be made by calling the park, or online at Recreation.gov.
Check in: 3:00 PM
Check out: 12:00 PM
Pets: Allowed but must be on a leash
Important Notes:
- Most of the campgrounds are completely exposed to the elements, or have very little shade from a few small trees and bushes.
- During the winter months it can reach the 30s(F) at nighttime. Bring plenty of warm clothes and extra blankets for sleeping. During the summer months it can reach up to 120(F) during the day, and 90(F) at night. Best to stick to the winter.
- We stayed at campsite 123, which was up against a set of shrubs. It was beautiful, in close proximity to the car, and had plenty of space for a cozy set up.
- All other developed campgrounds at Death Valley are on a first-come first-served basis and have varying fees. There are also several primitive campgrounds that are available in the park with little or no fees. Please note that “primitive” means no services, no toilets, no potable water, and usually requires 4X4 vehicles. Everything you pack in must be packed out by you.

Itinerary
Day 1
Arriving by ~2:00 PM: Be aware of road conditions. We encountered a few stops due to crews fixing some water damaged roads.
Stop at visitors center: Get this taken care of. Inside you’ll be able to pay for your entrance fee, or show them your America the Beautiful pass. They’ll provide you with a permit and a free map of the area. If you do not have one, I recommend buying the National Geographic Topographical map in their store. Also, they have a small but great museum inside which I recommend checking out to better understand the park you’re in, and what to expect.
Set up camp at Furnace Creek: Get set up and ready for the night. Nothing worse than coming back to camp and having to do work. Take the time, and get your tent, fire pit, and kitchen gear ready to go.
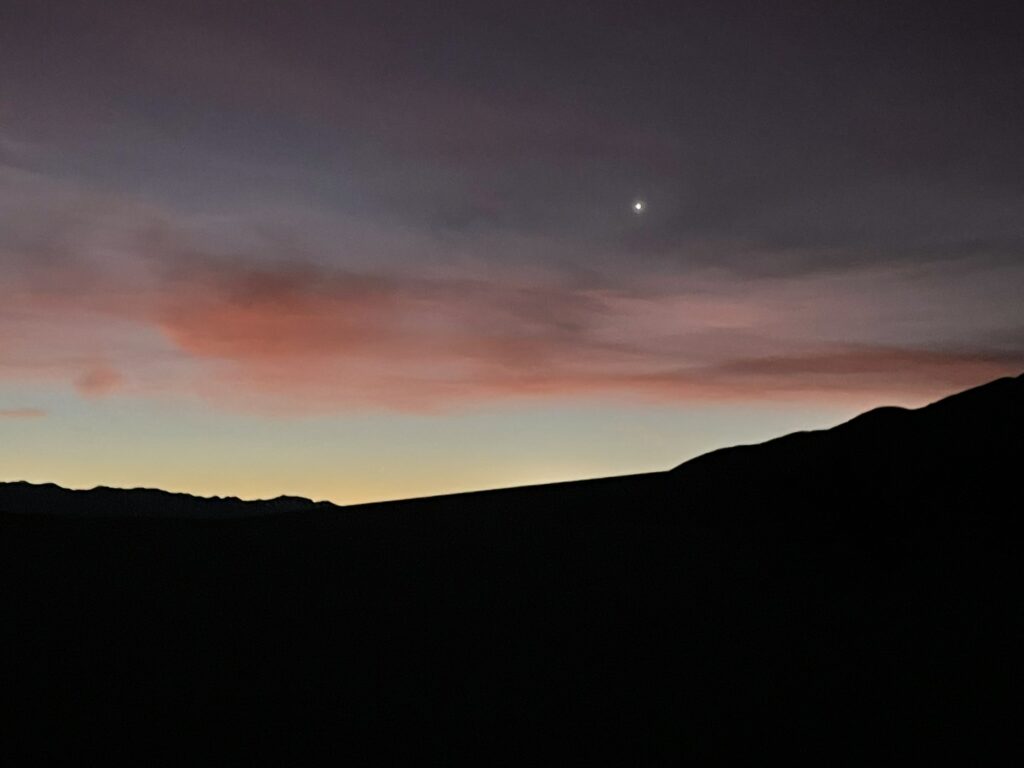
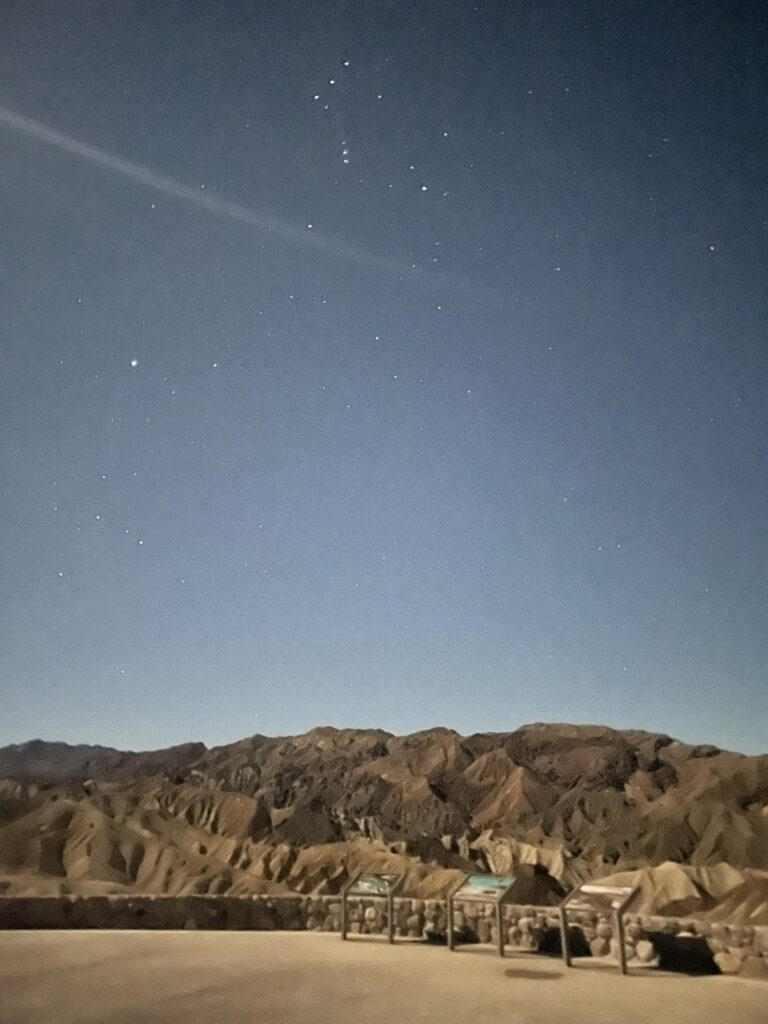
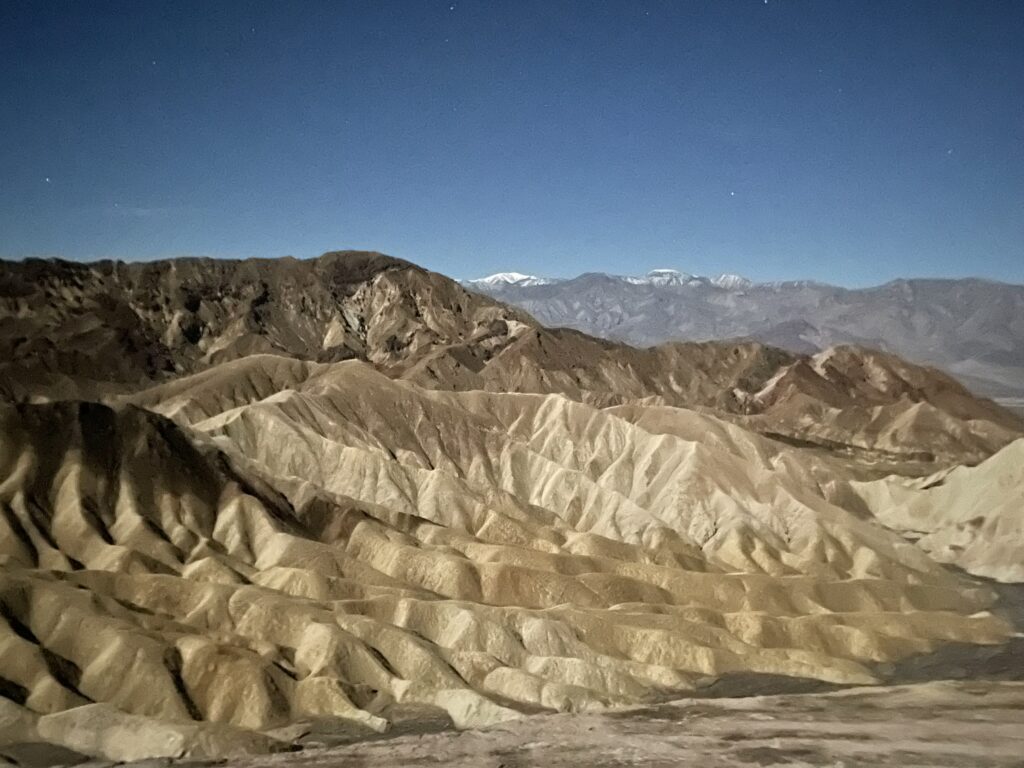
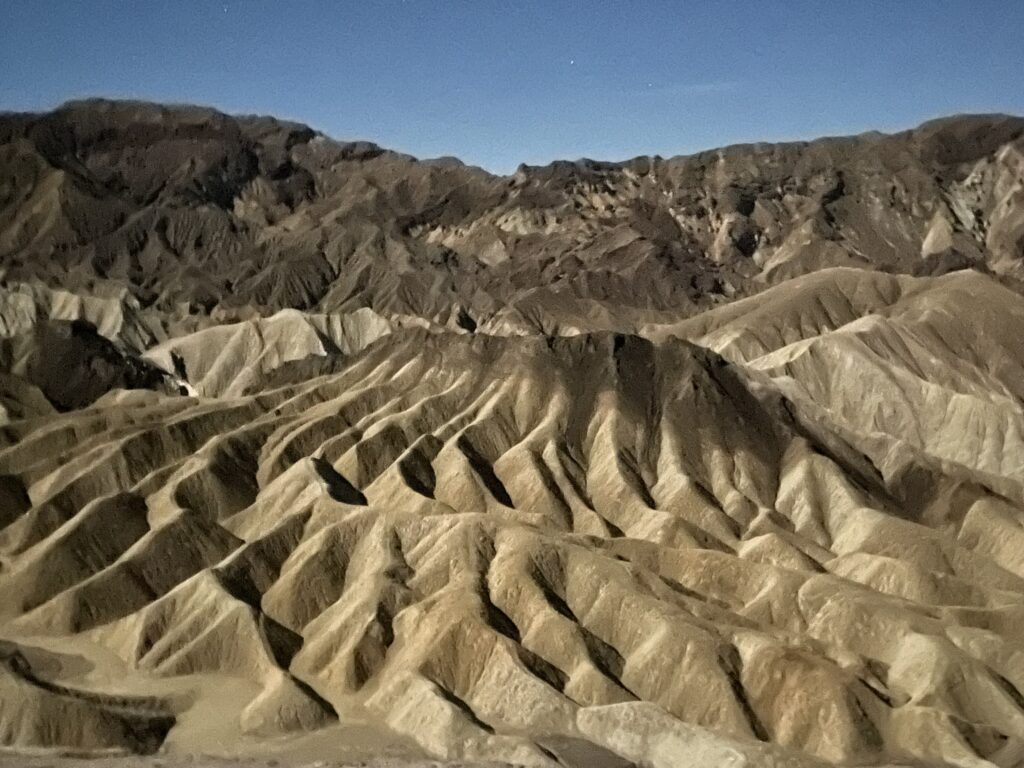
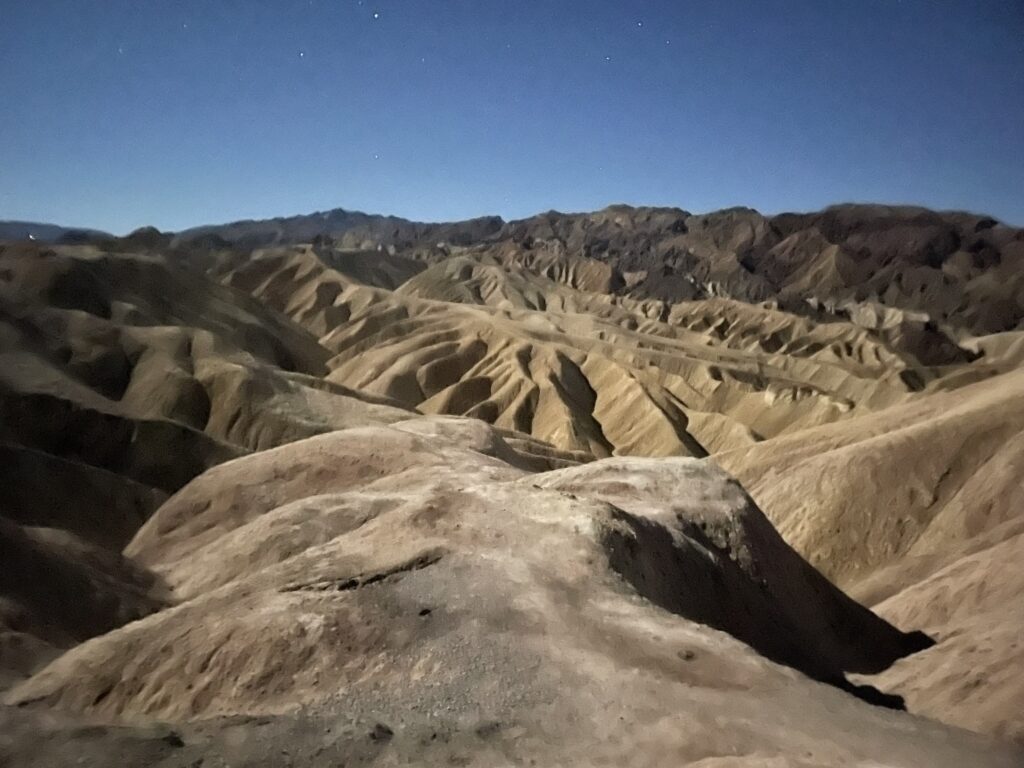
Check out Zabriski point during sunset or after: This is a great introduction to the park if you’ve just arrived and set up camp. It is only a few miles from camp, and the “hike” itself is just a paved path about 100 meters up to a vista point. You’ll be brought to a vista overlooking some impressive badlands and canyons. It’s a great place to catch the sunset, sunrise, or even during a full moon, as we did. We did not encounter any other people as we went at night, but driving by the next day you can see it gets crowded, so time it wisely.

Camp fire time: Get back to camp, get some grub around a warm fire, and get to bed at a good hour. It should be a very early morning for you the next day. To help things go smooth in the morning, I’d suggest packing your hiking bags, snack, and everything you’d need to hit the road that night before you go to bed.
Day 2
This is a packed day, but it does not need to be rushed. You will start at the Badwater Basin and work your way back towards the campground with a very scenic drive along the way. It includes several iconic sites, some great short hikes, and ends with sunset on a cliff.
Wake up well before sunrise: This is the hard part for some people. If you wanna see the majesty of nature it’s often best done in the dawn, dusk, and evening hours. Get up.
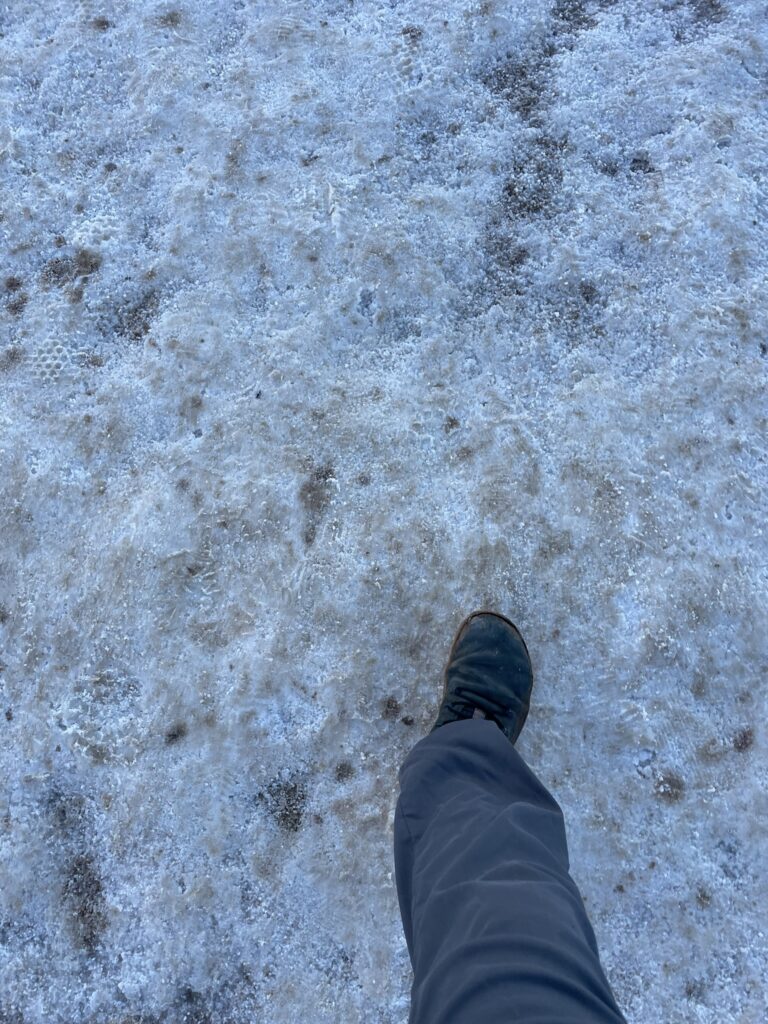
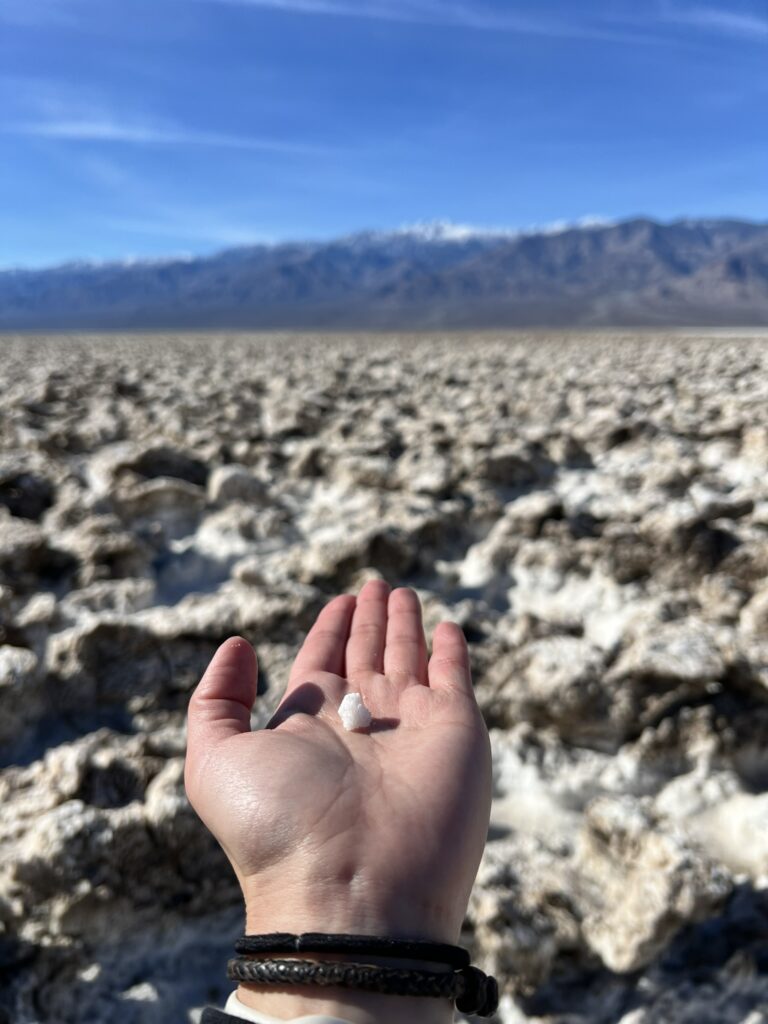
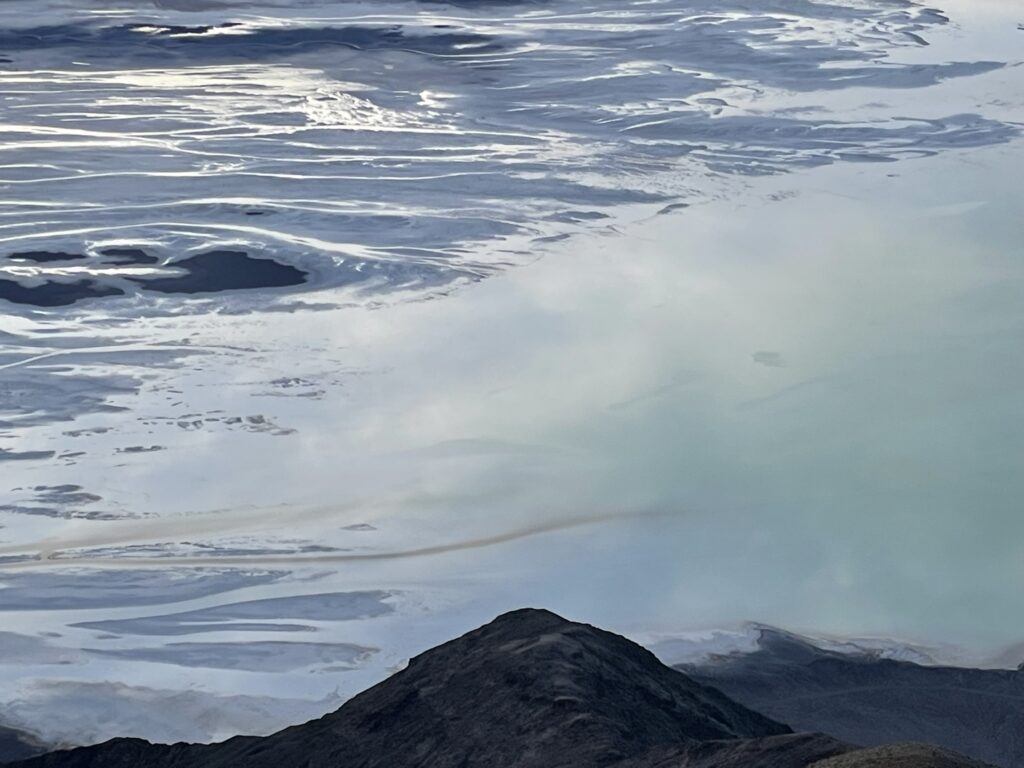
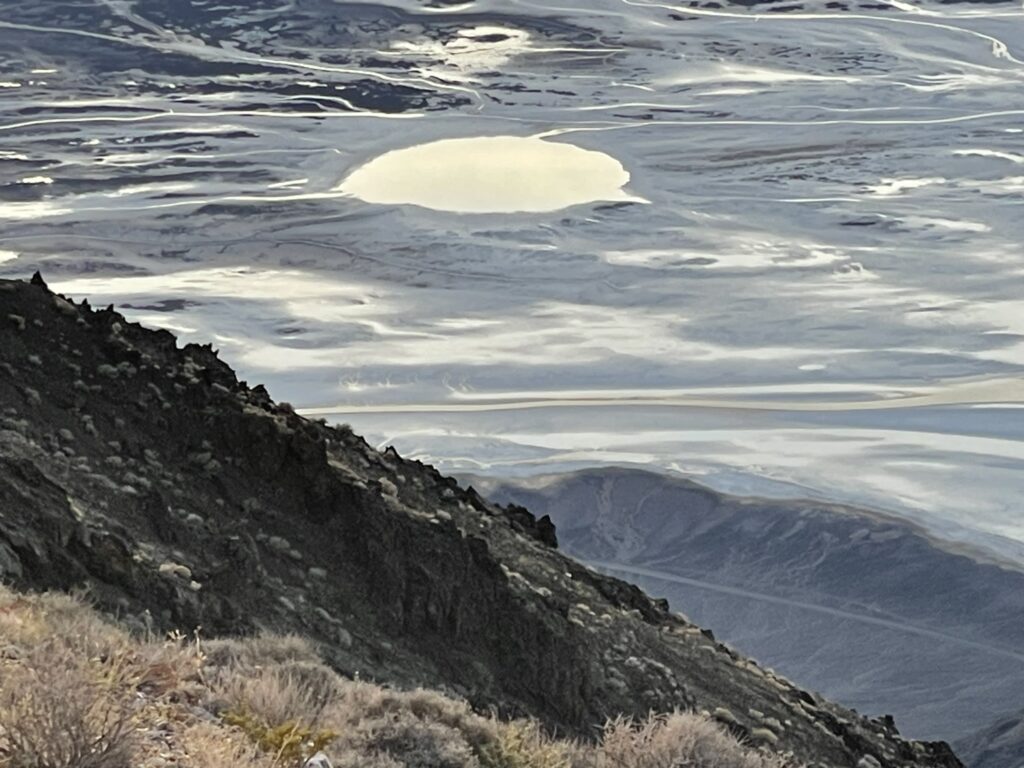
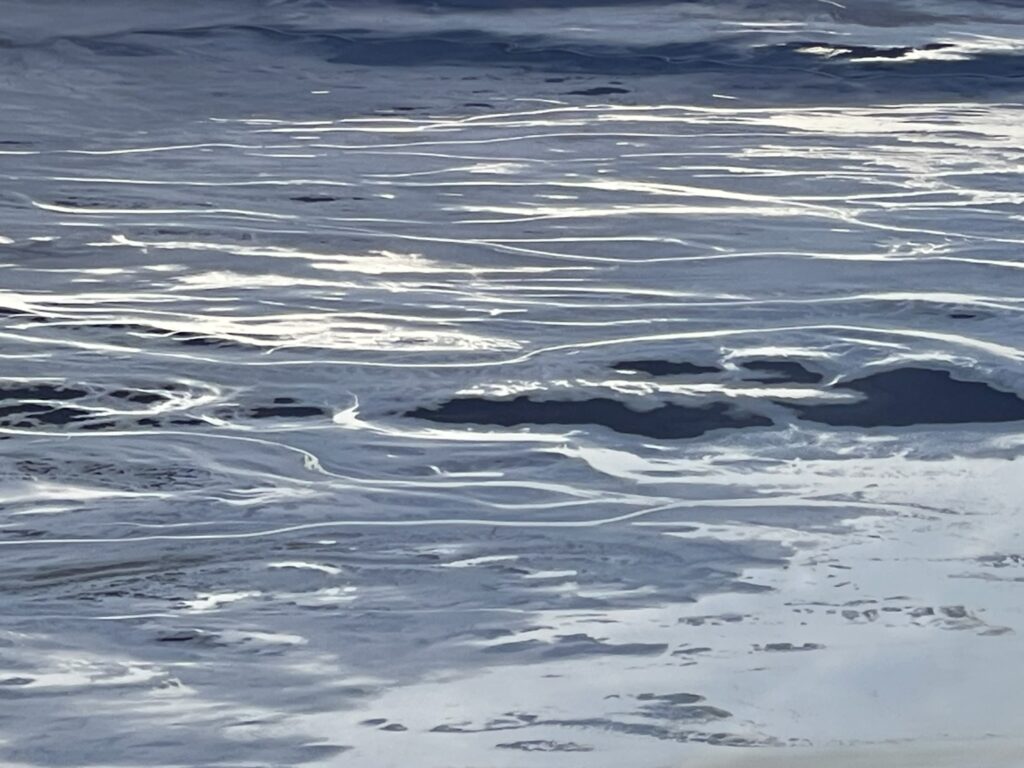
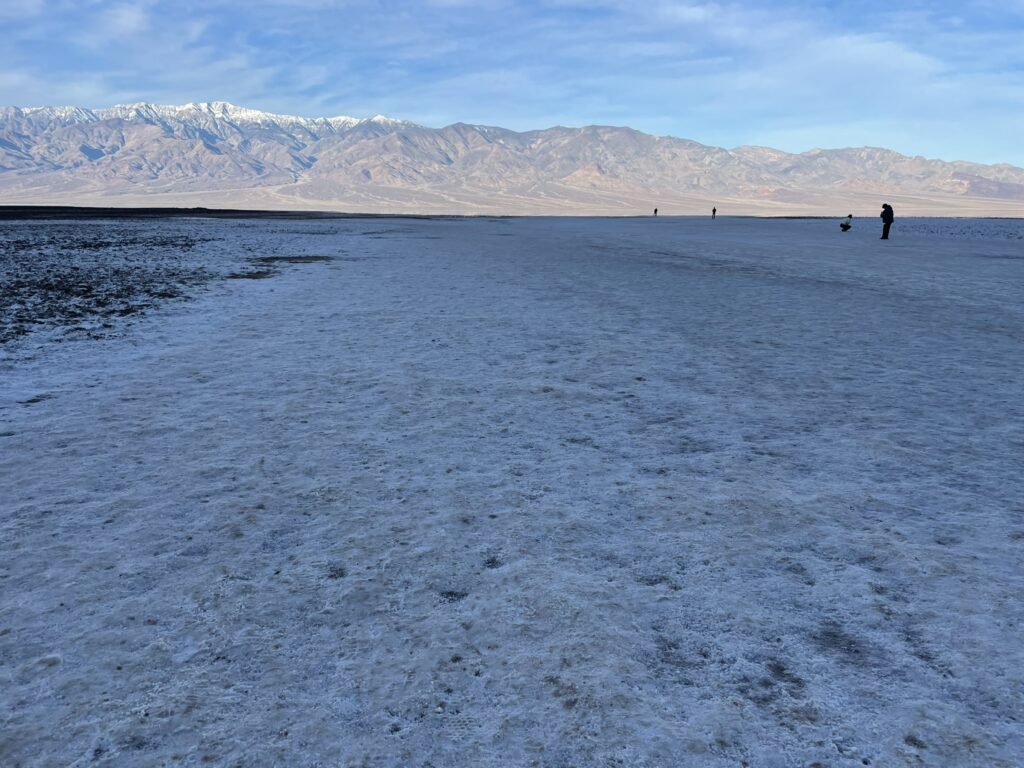
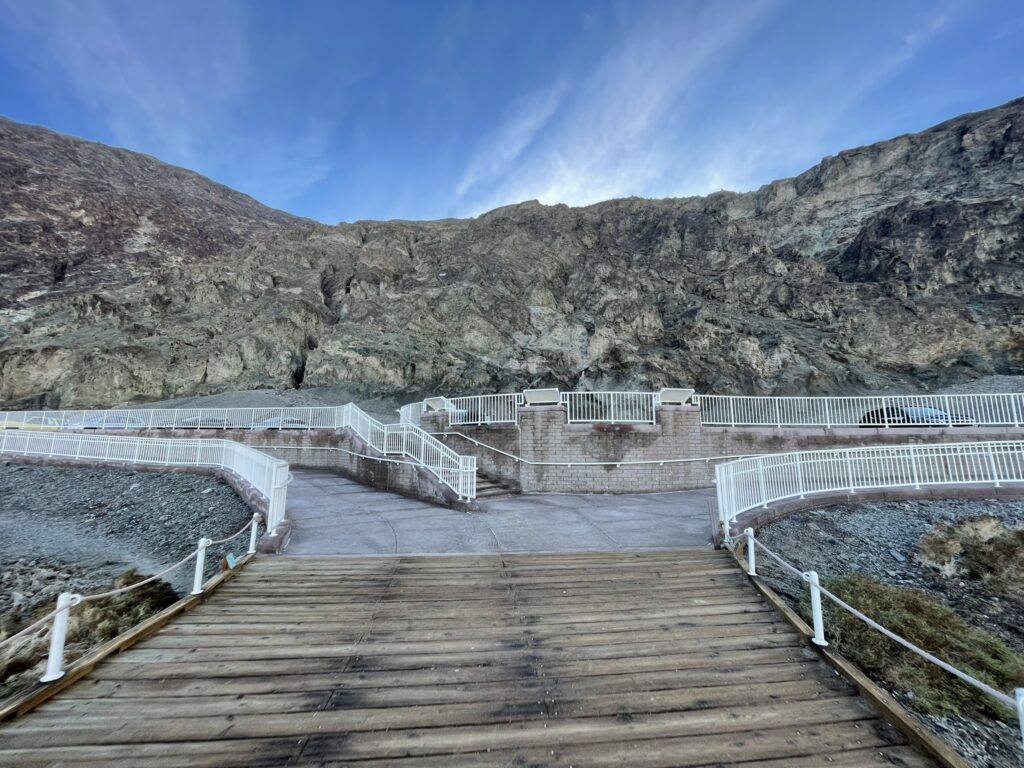
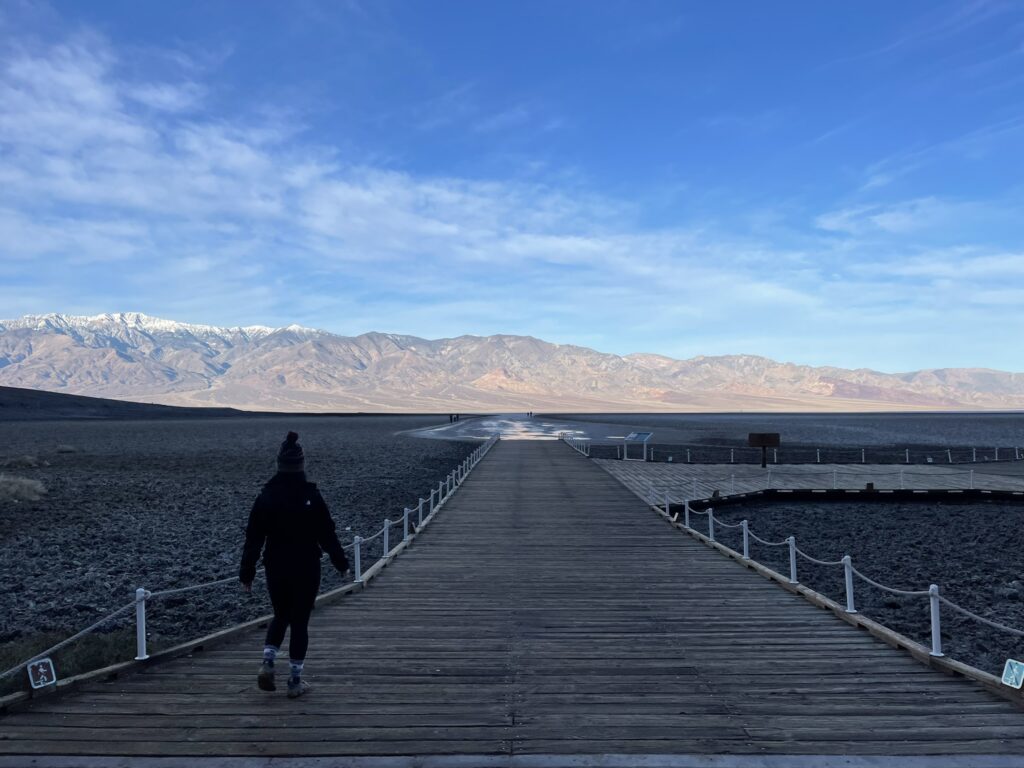
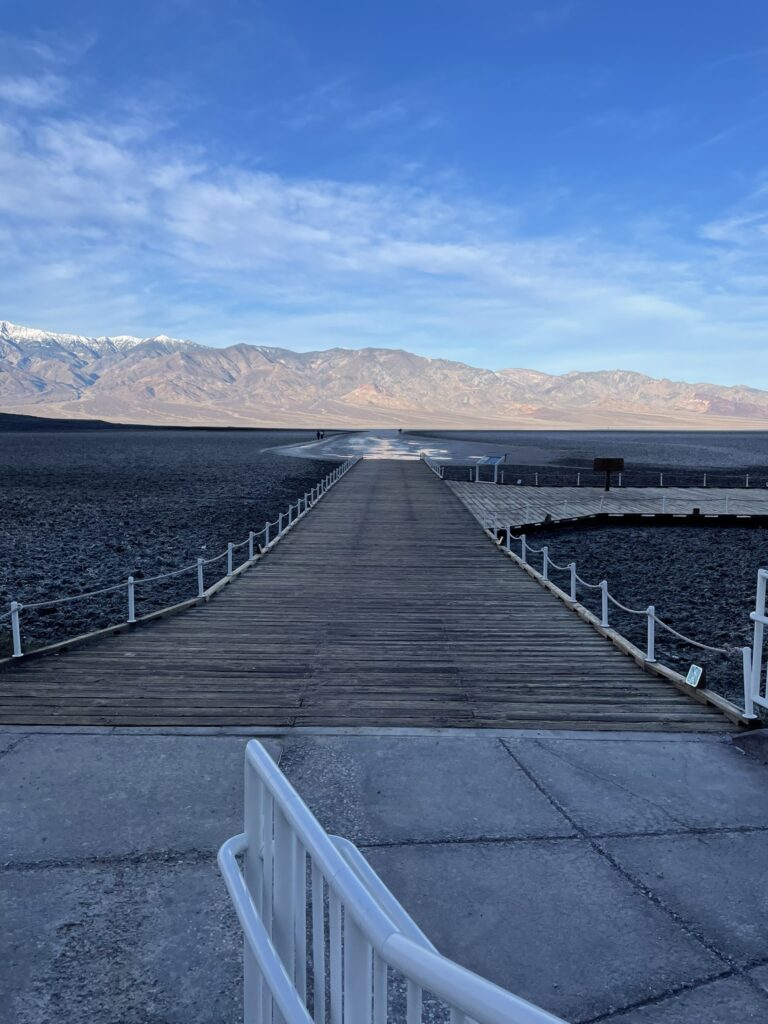
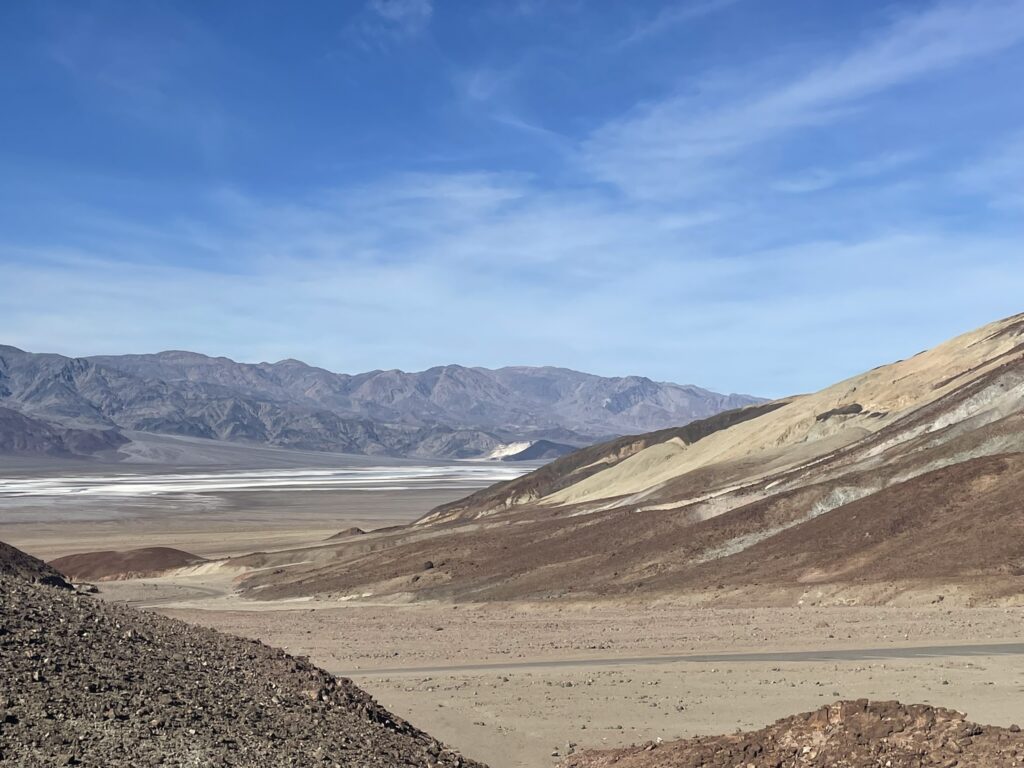
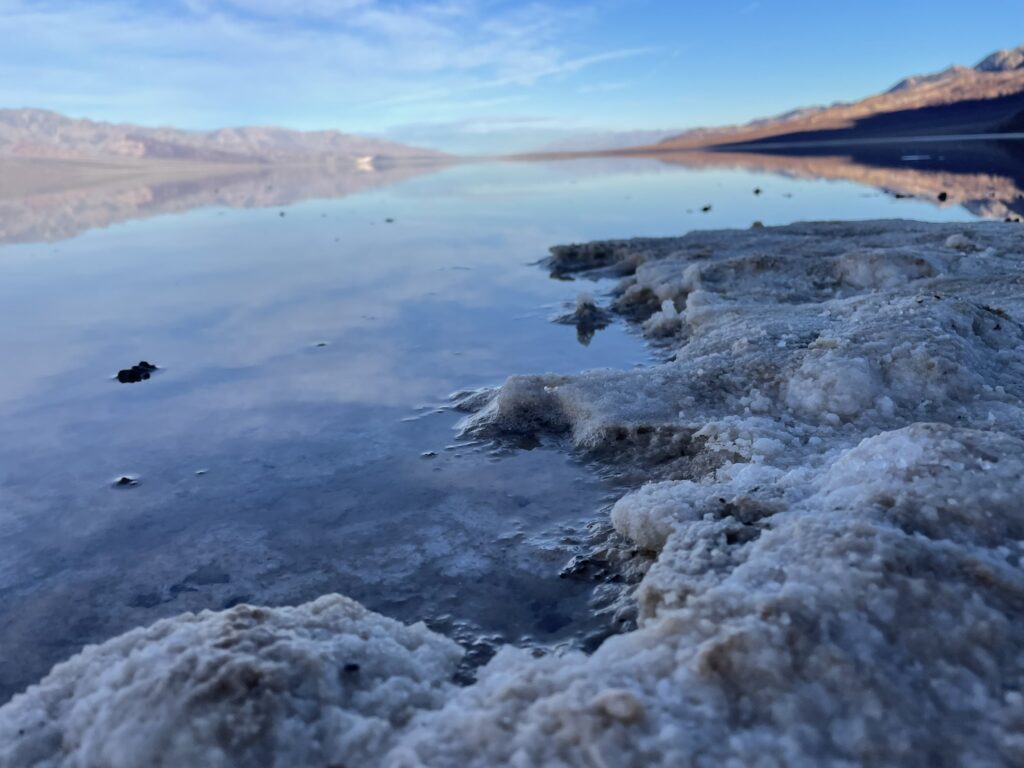
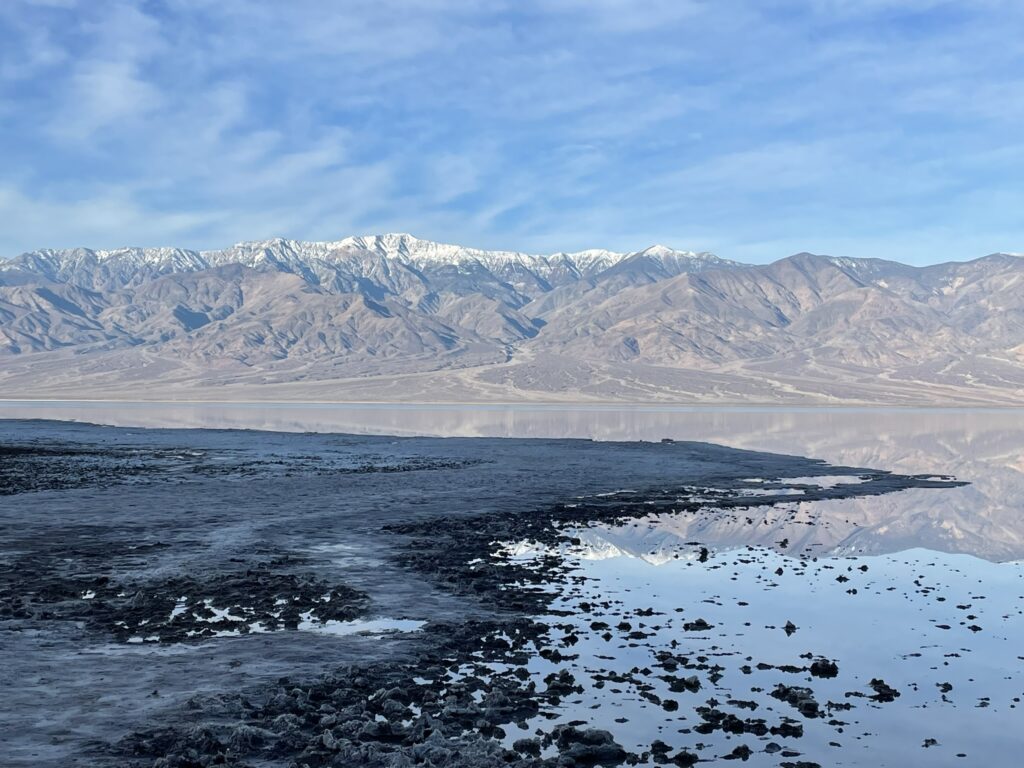
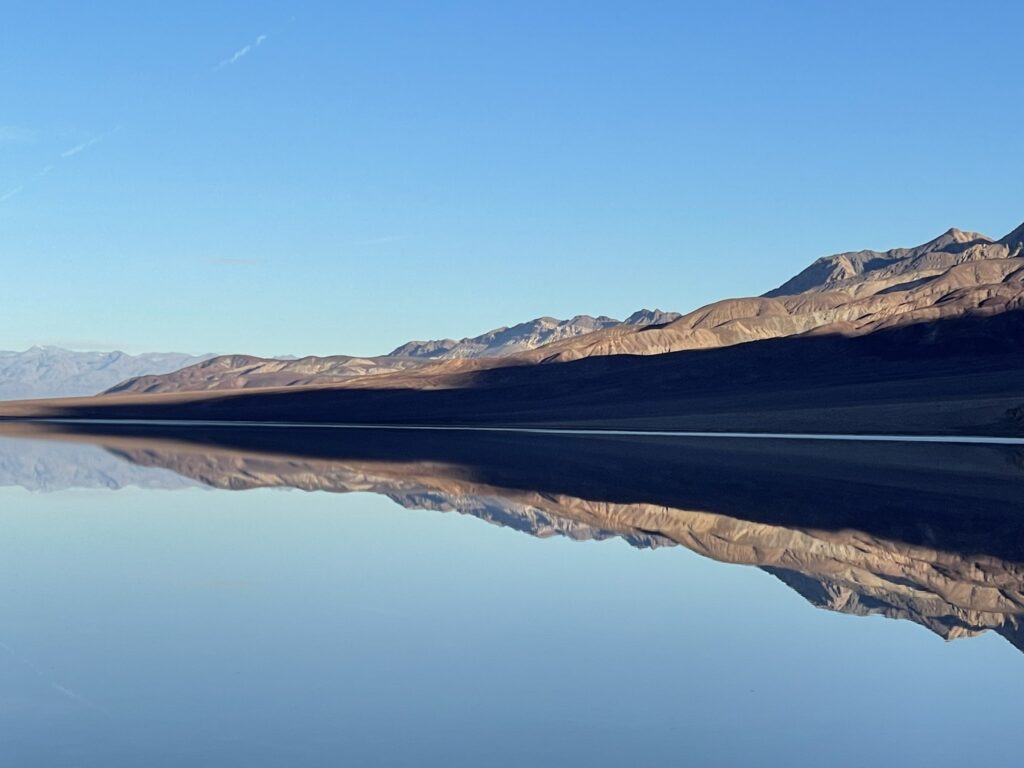
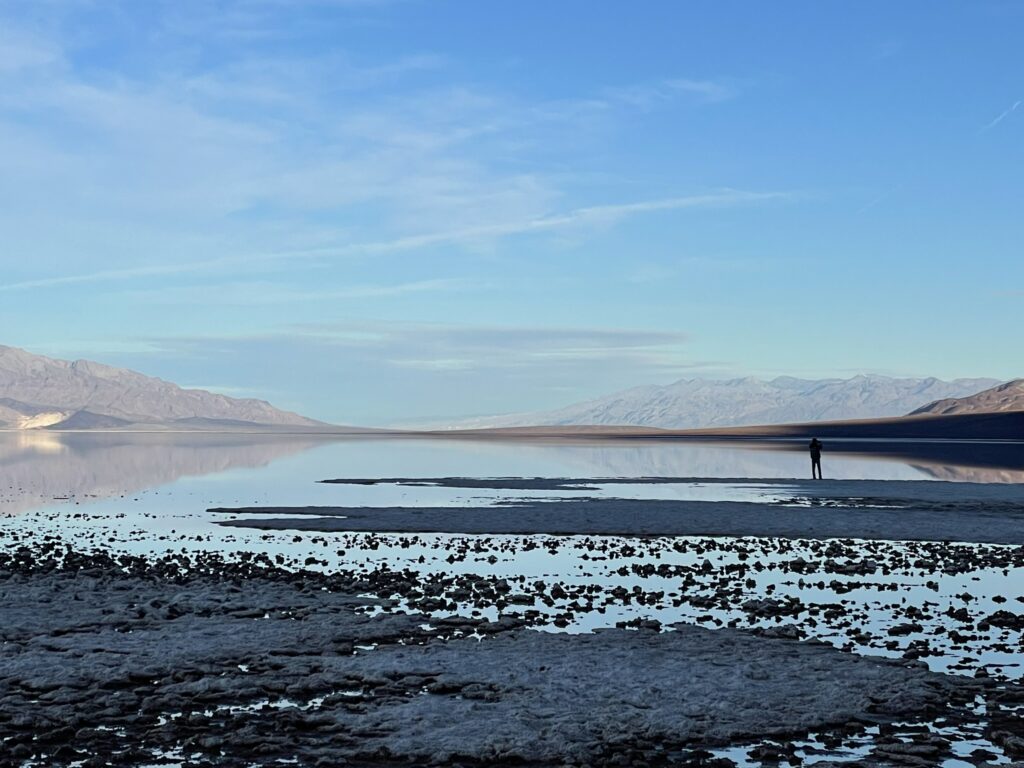
Start with Badwater Basin: It takes ~25 minutes to drive to the Badwater Basin from the Furnace Creek campground. It had been filled by a great lake named Lake Manly but it dried up roughly 10,000 years ago. However, it has temporarily re-emerged (2023-2024) with the recent flooding from atmospheric rivers in California. This has happened before, like in 2004-2005. However, it is a fleeting moment and will not last. Lake or not, you will be impressed with the expansive salt flats surrounded by the Black Mountains and Panamint Mountains. It looks like ice and snow. If you look behind you from the parking lot, the cliff shows a marker of where the sea level is which puts things into perspective. It’s worth it, and you get to say you’ve been at the lowest point in North America. There is a bathroom here.
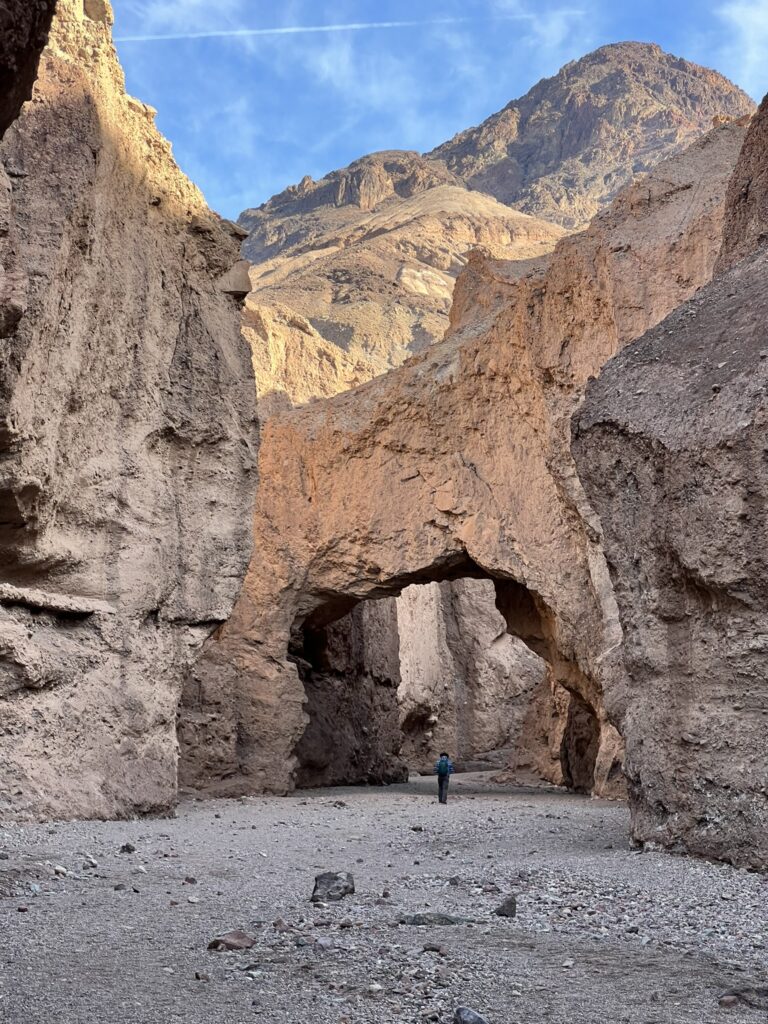
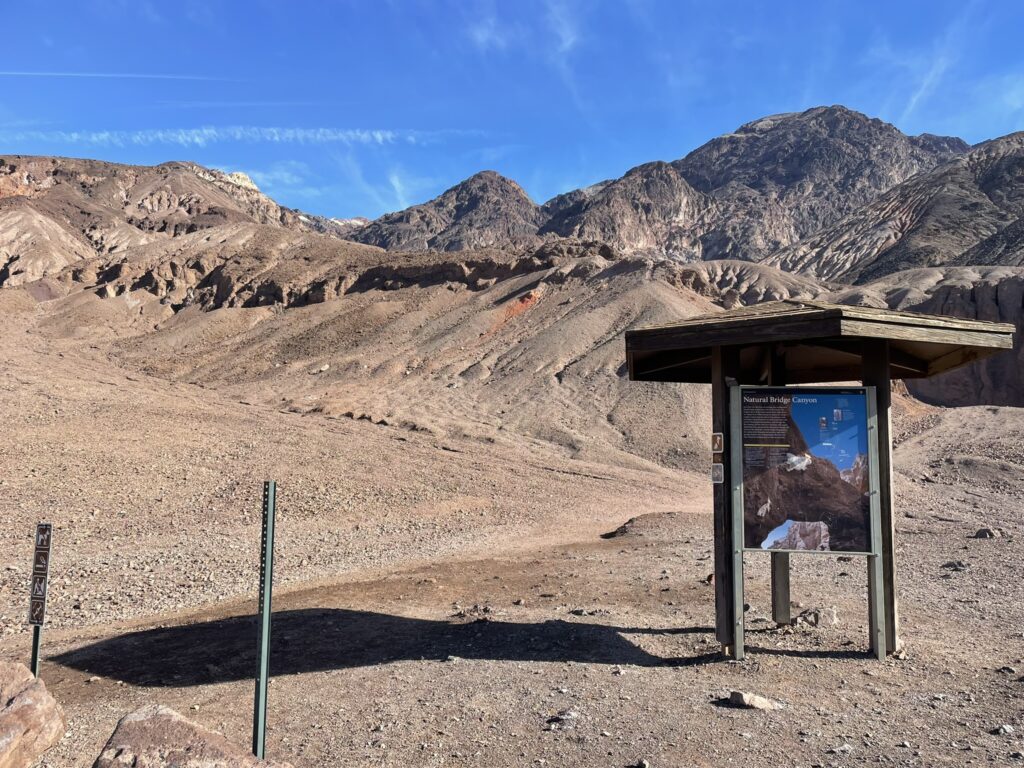
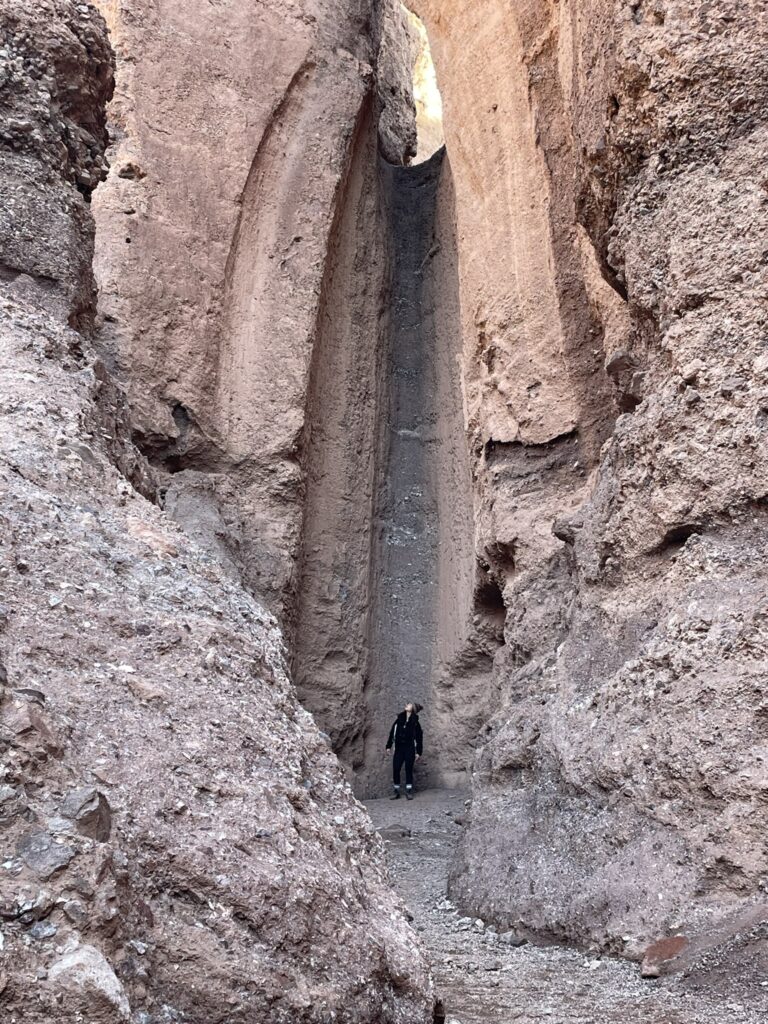
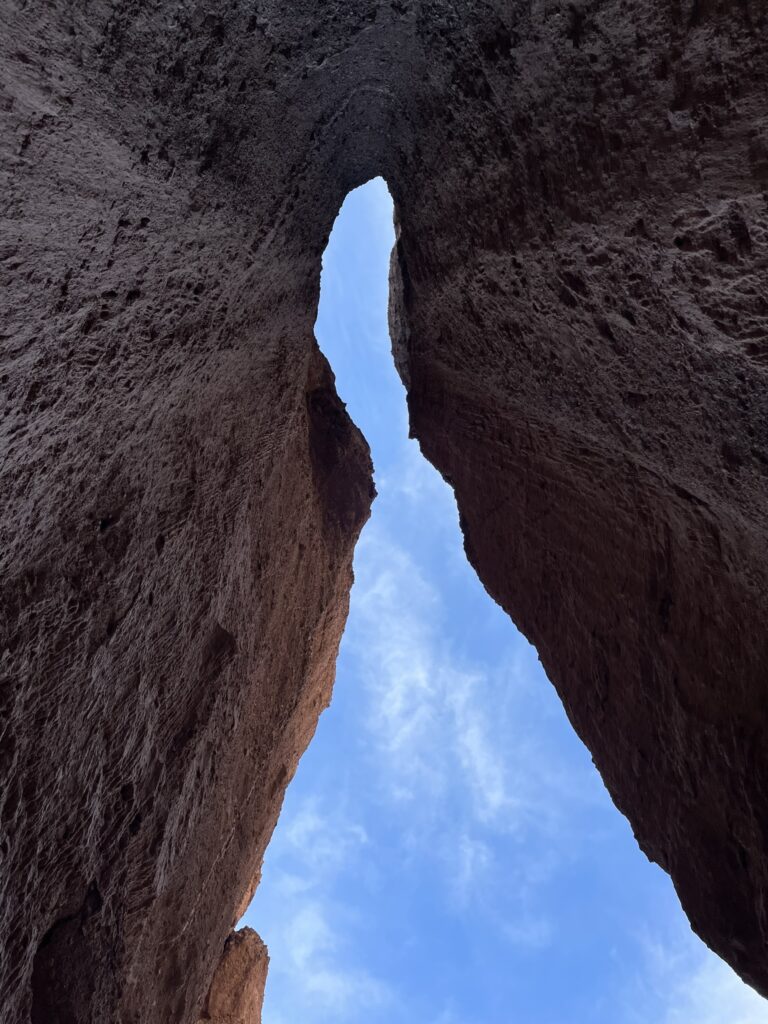
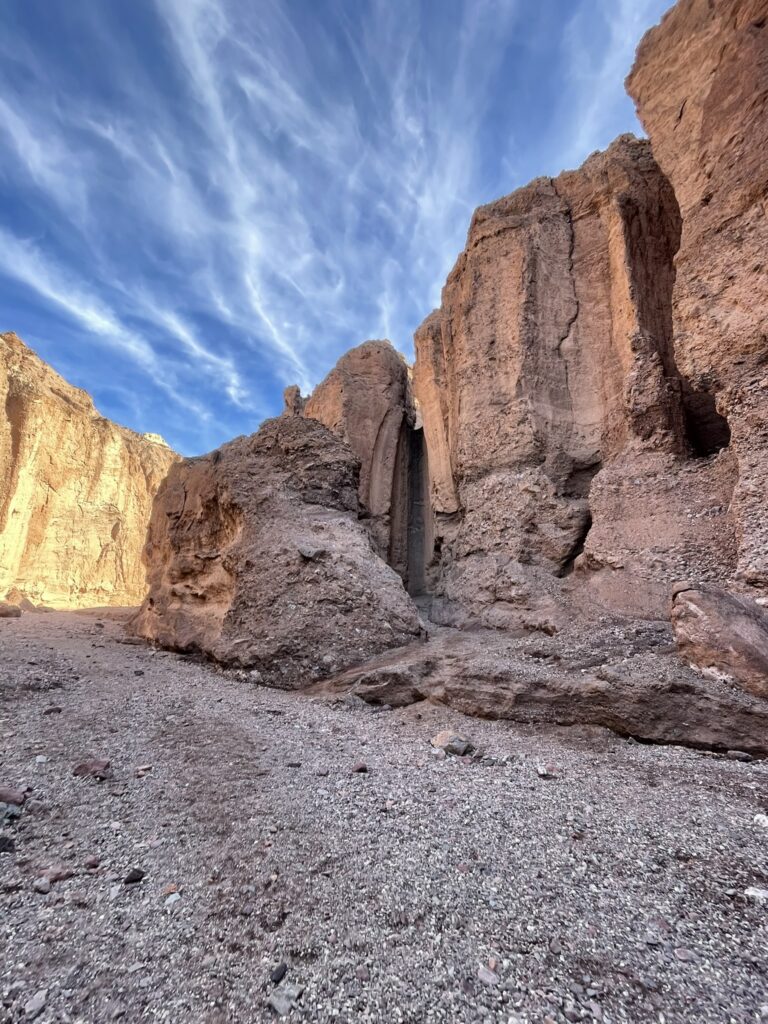
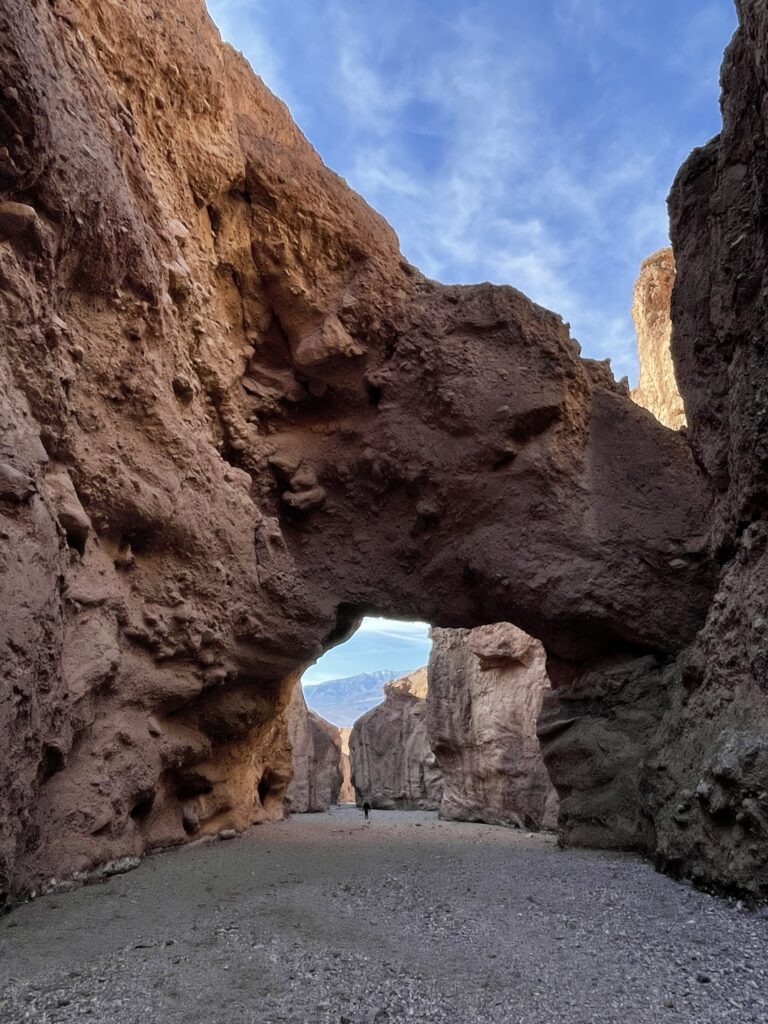
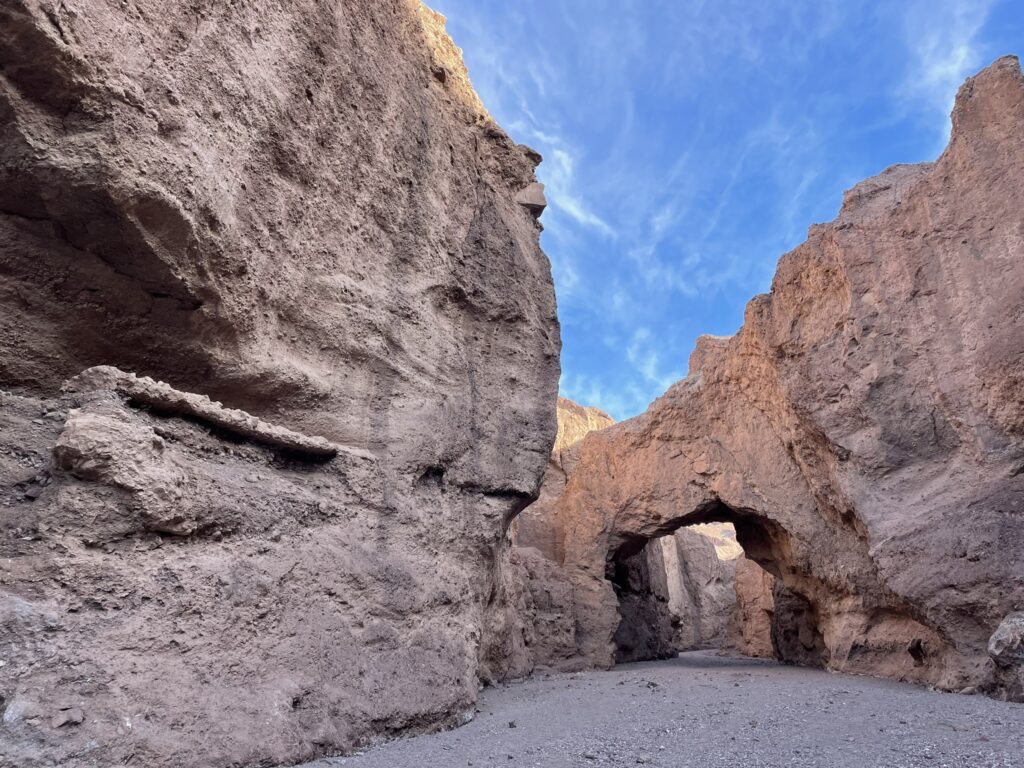
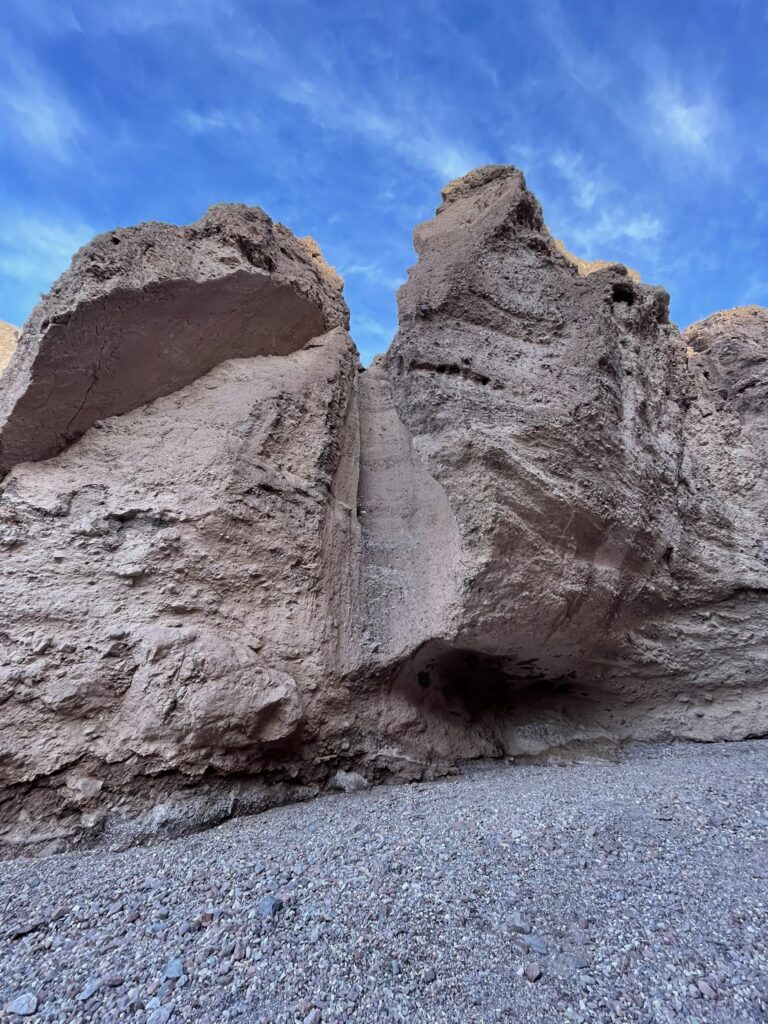
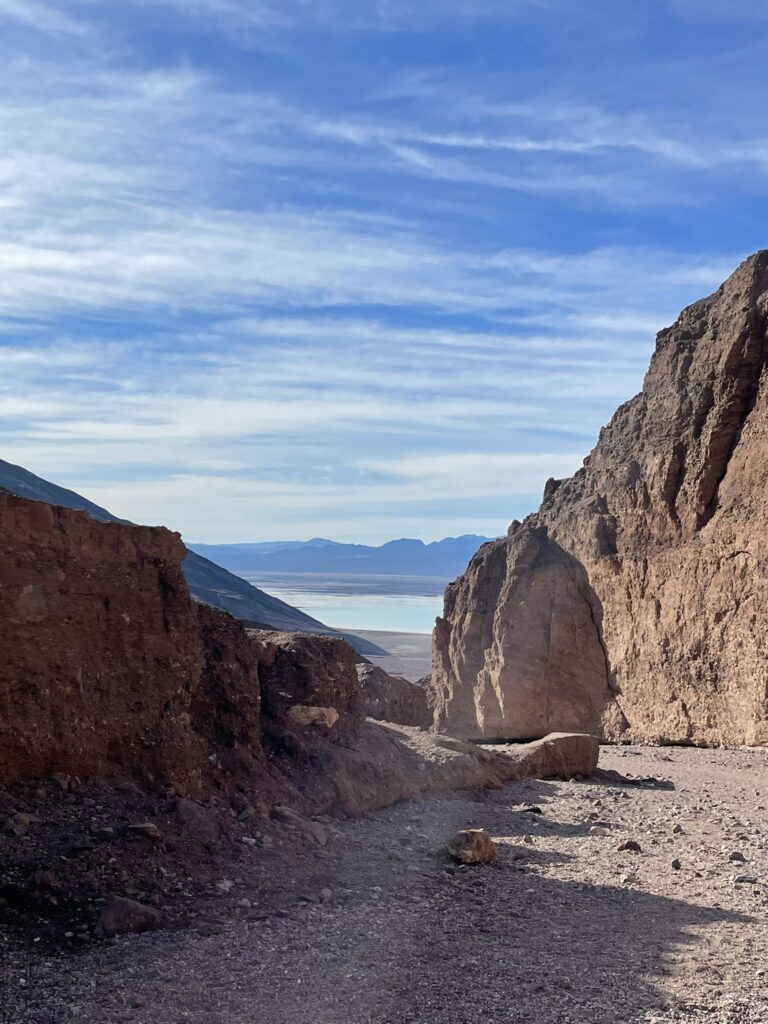
Hike the Natural Bridge Canyon Trail: Heading back towards camp, stop at the Natural Bridge Trail. The trailheads is down a long dirt road on your right, for which you’ll see signs. This is a short, easy and beautiful hike through canyons. Just 1.4 miles out and back, with a small incline with 449 ft elevation gain. You’ll find canyon bridges spanning across the trail above you, and channels carved into the walls from waterfalls and rain. The trail ends at an obvious point where the canyon walls block passage, from where you can turn around.
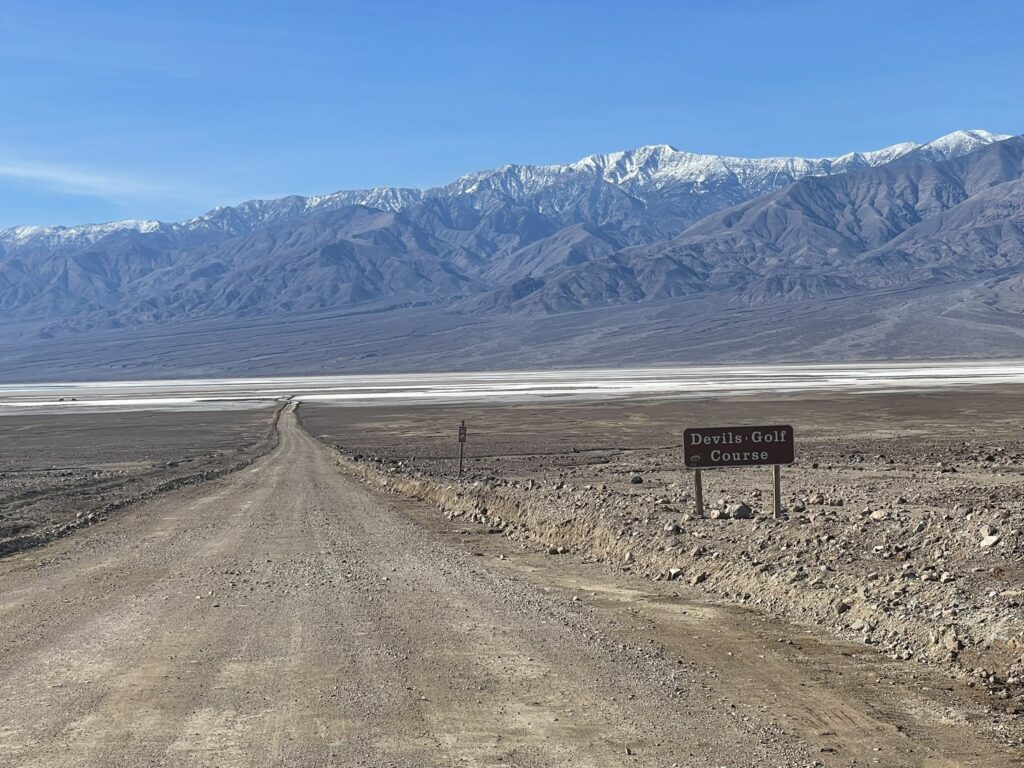
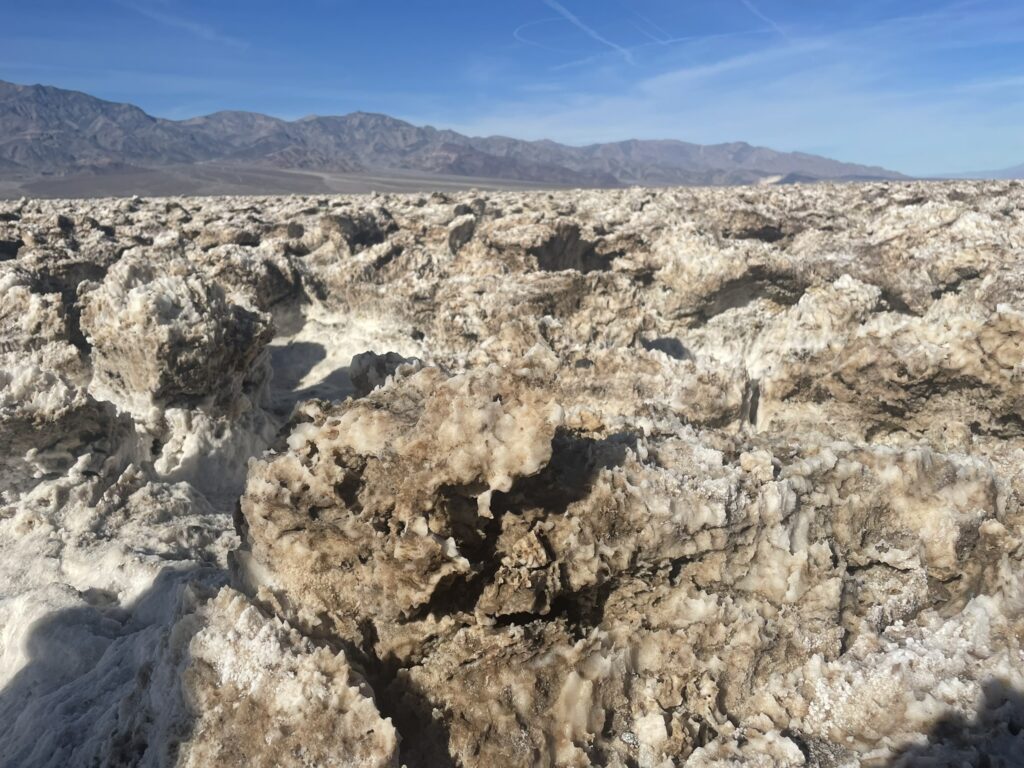
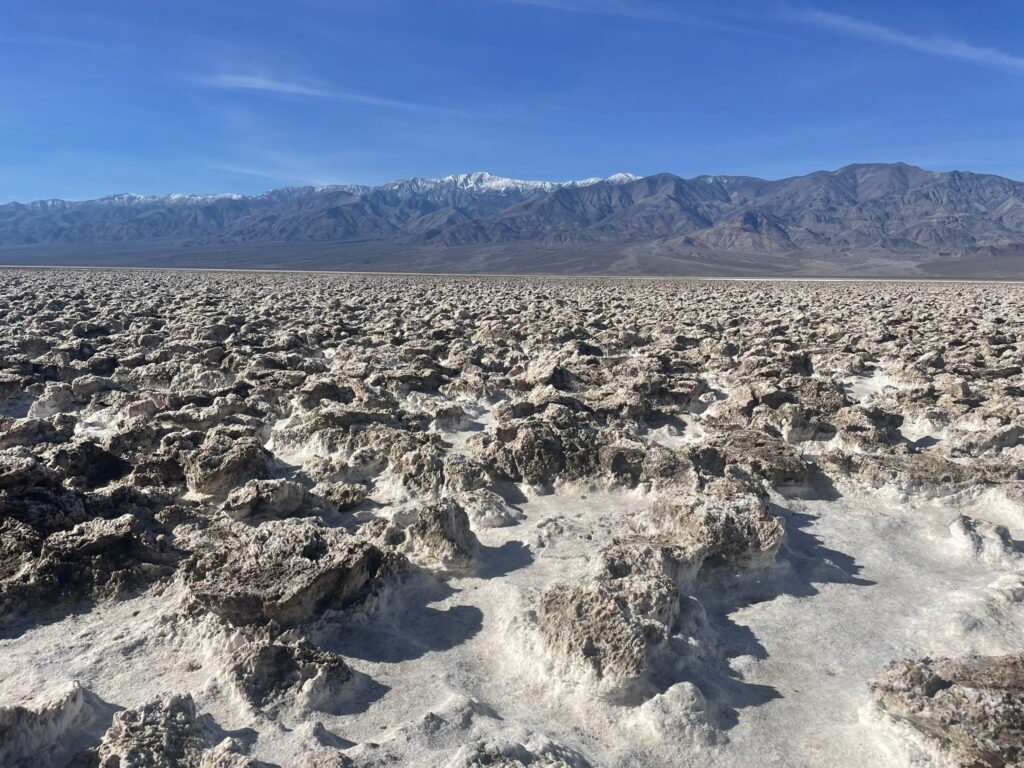
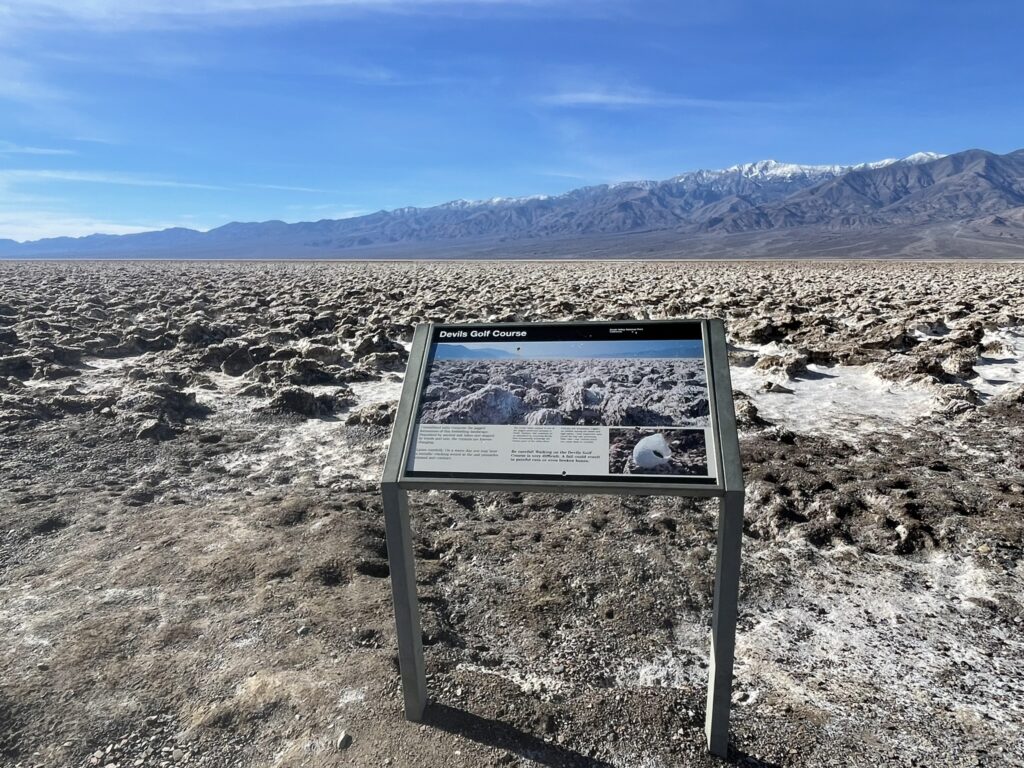
Stop at the Devil’s Golf Course: Just down the road on the left is the famous Devil’s Golf Course. The salt deposits here has been sculpted into these jagged bowls and columns, resulting in the aptly named, Devils Golf Course. This is not a hike, and more of a vista point. You can walk around through these, though I would not recommend going too far – primarily to keep the area as undisturbed as possible so everyone can enjoy. Certainly worth the stop for something unique found in few places around the world.
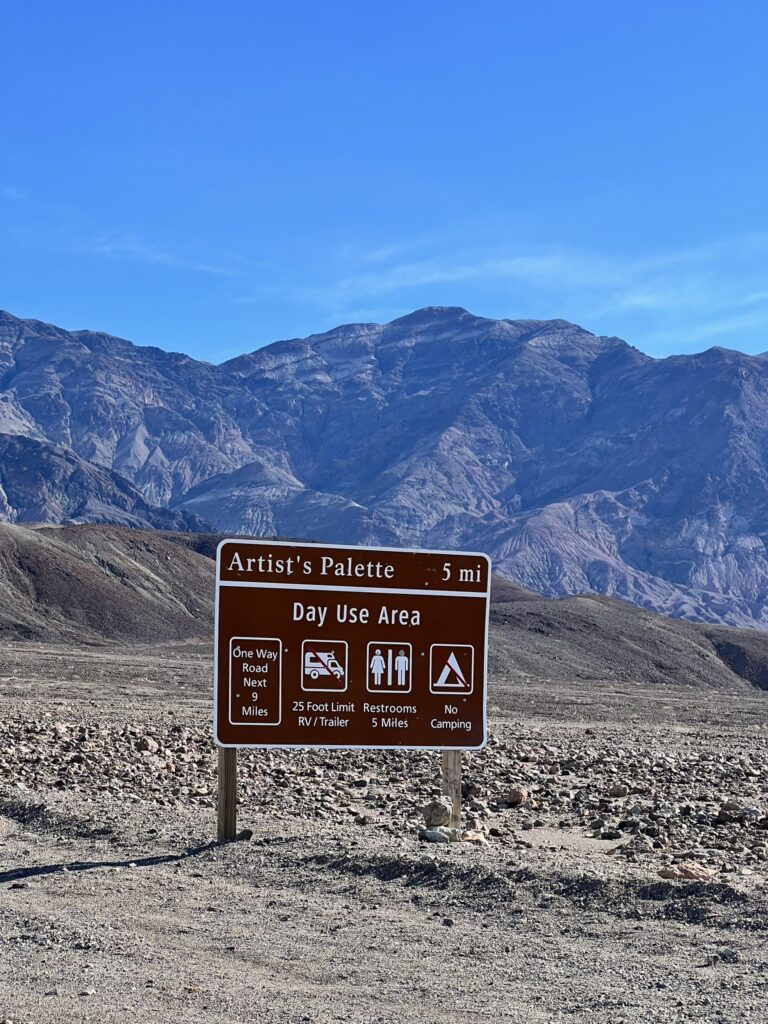
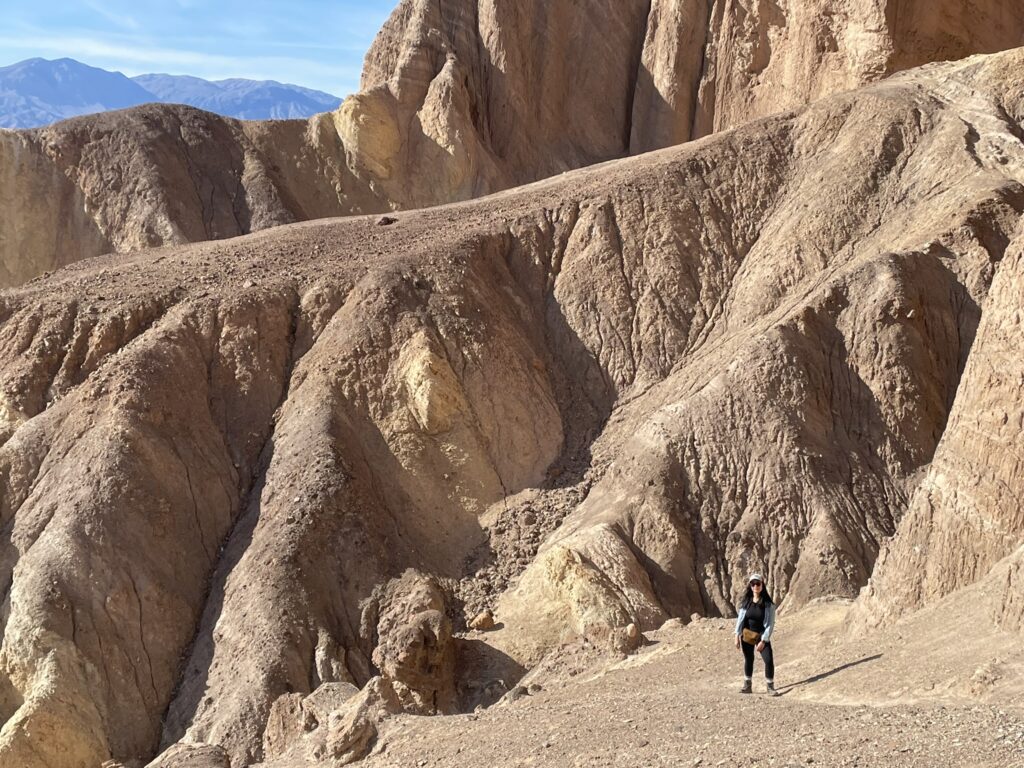
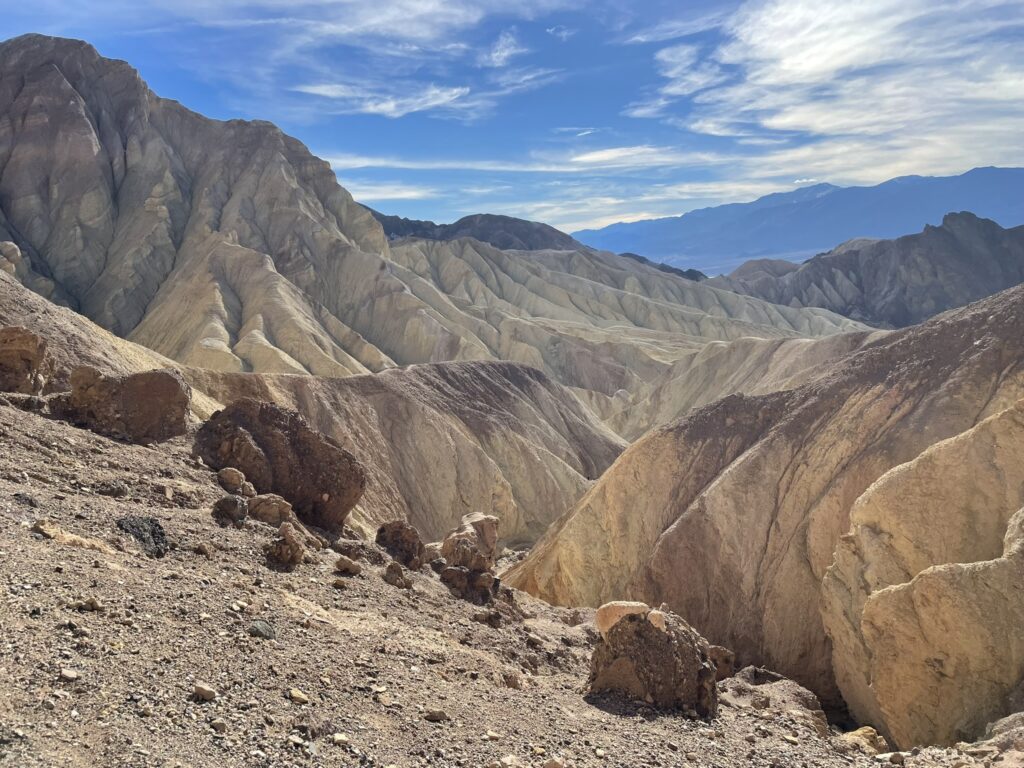
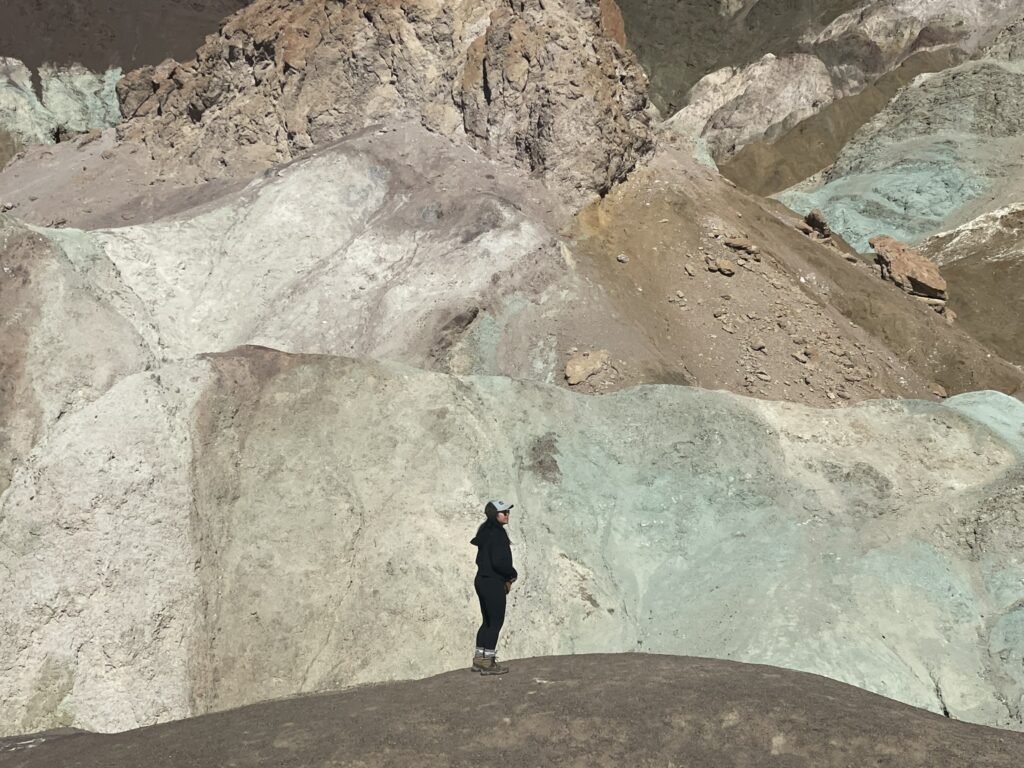
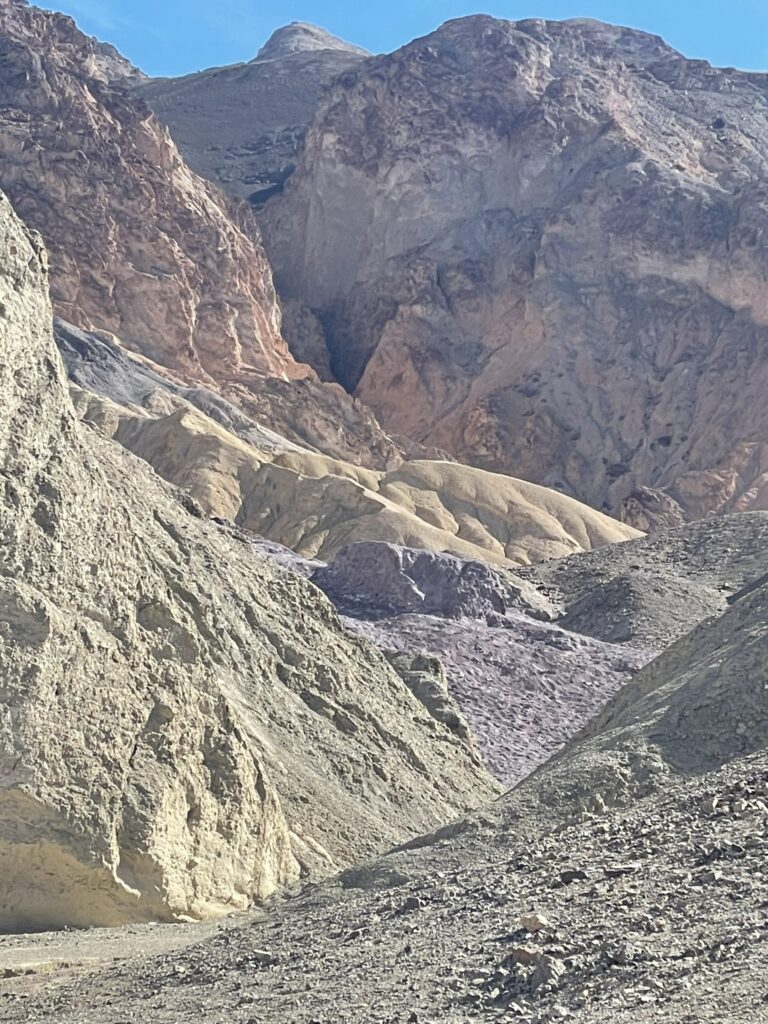
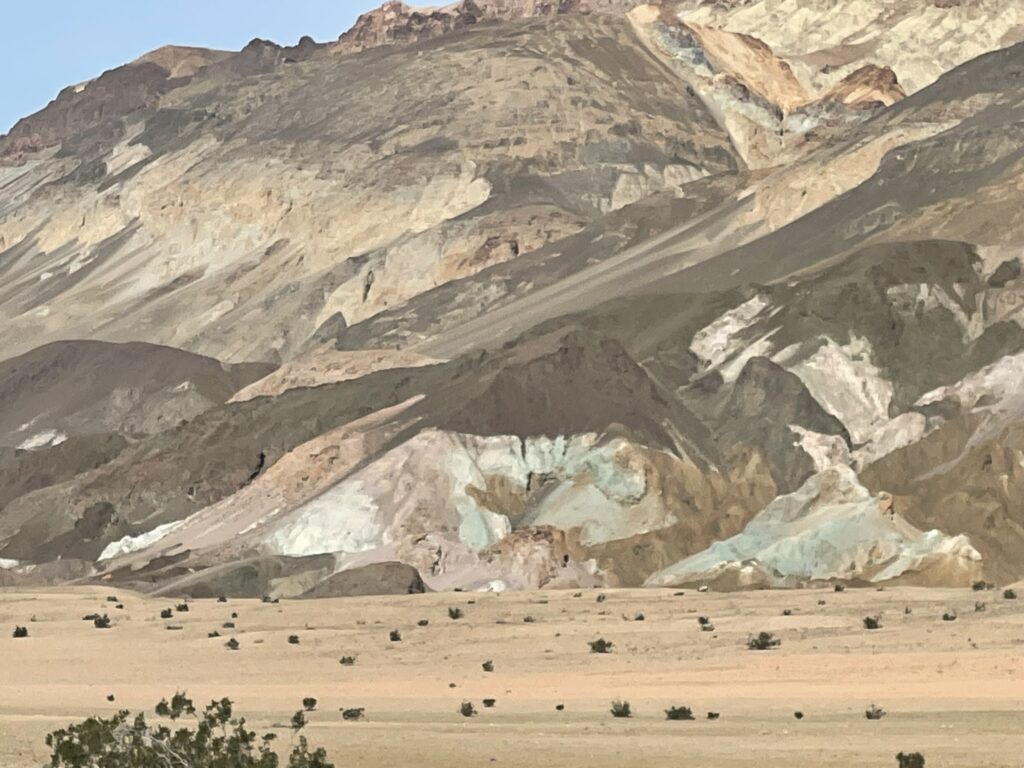
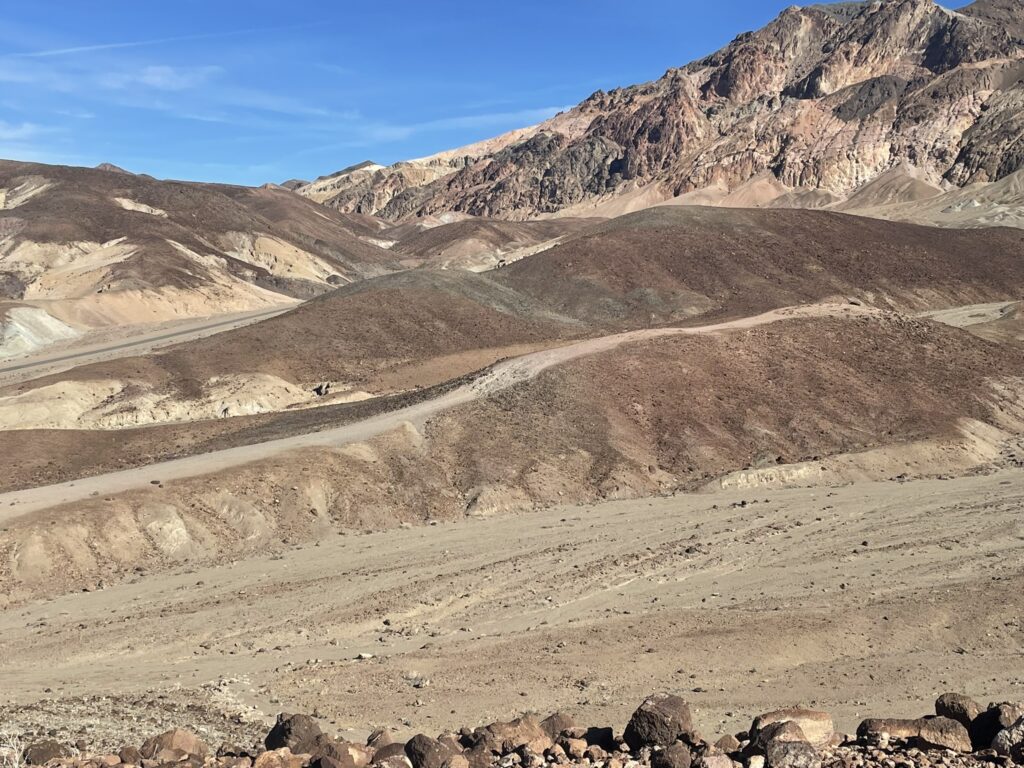
Artist’s Drive Loop: This is an 8.8 mile driving loop that has several awesome stopping points throughout. The most famous of them being the Artist’s Pallete, which is a wild rainbow display of minerals and rocks throughout small mounds and canyons. You can hike through and explore these colorful displays, but please be mindful not to scrape or damage them anymore than they are.
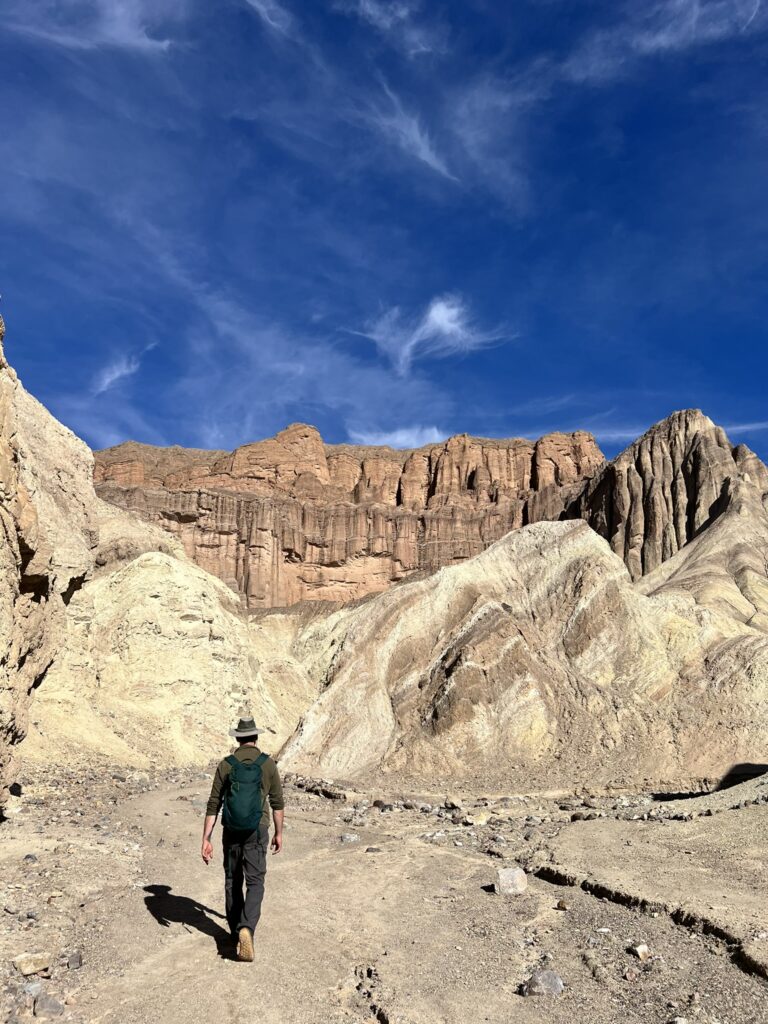
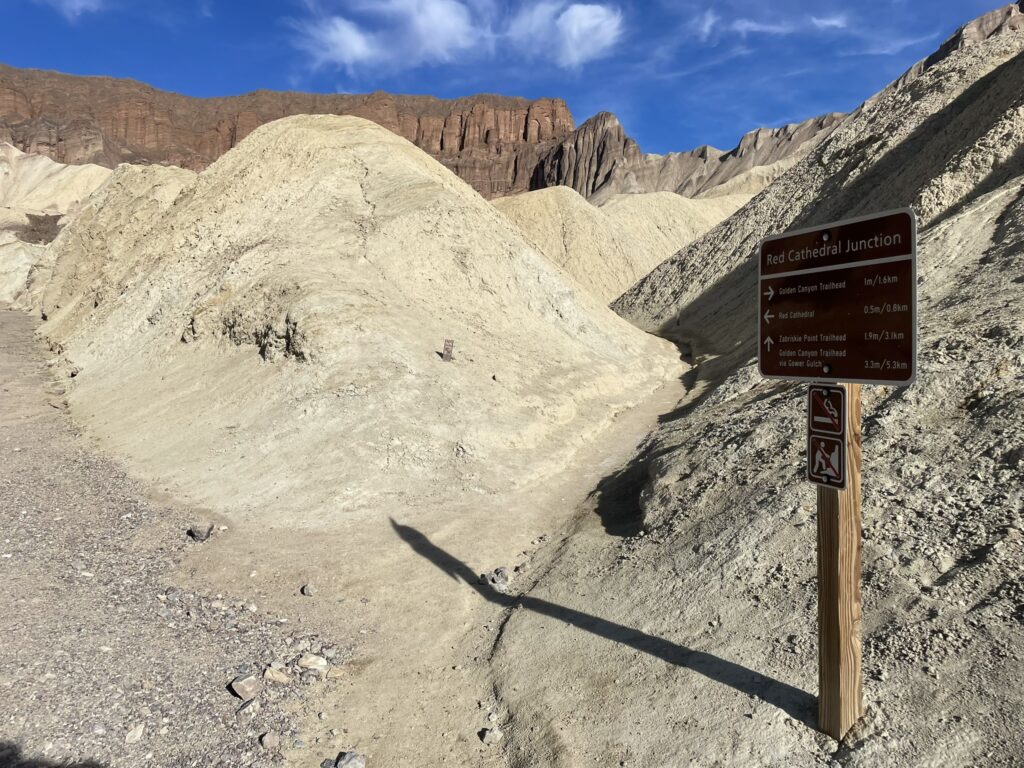
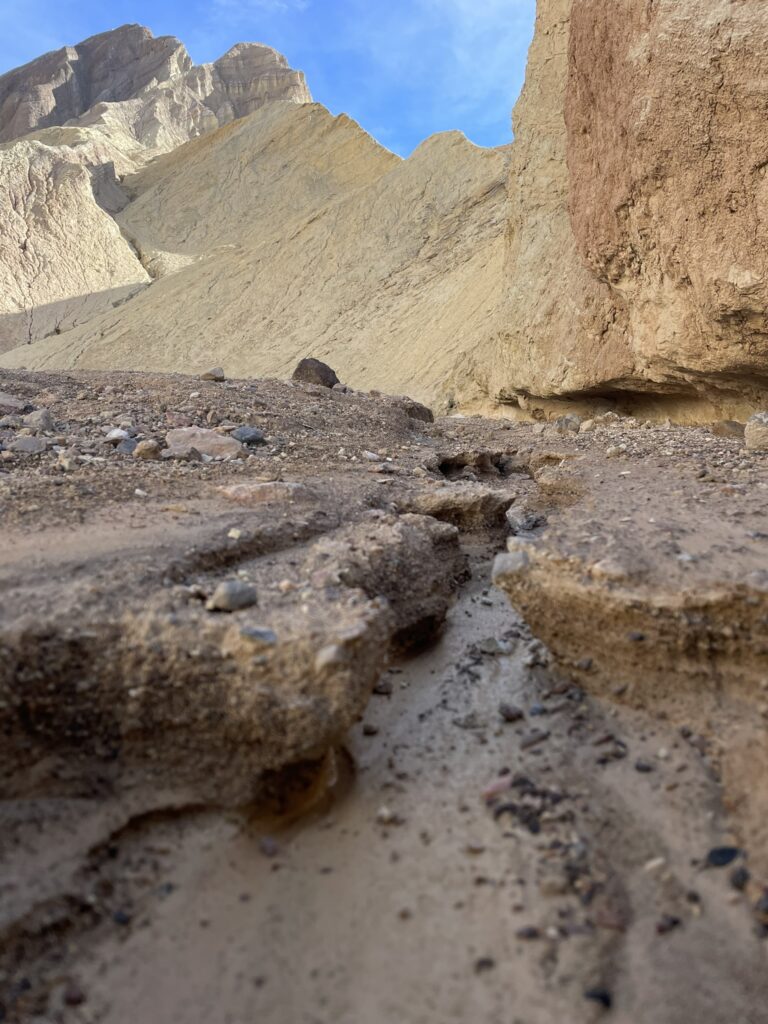
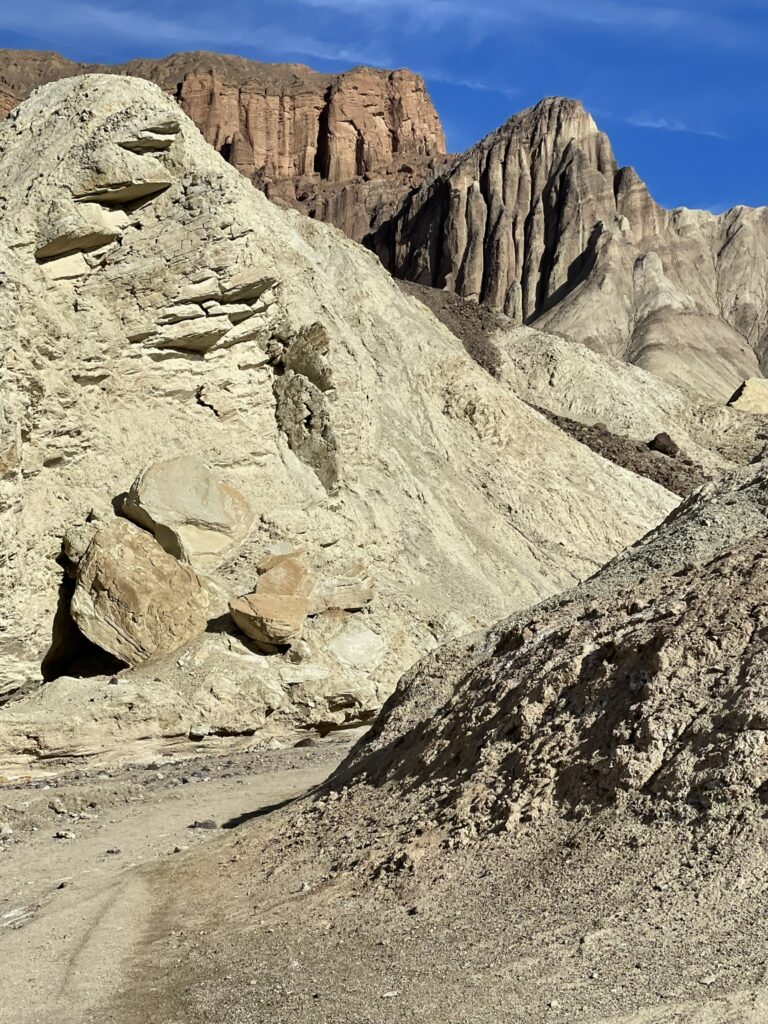
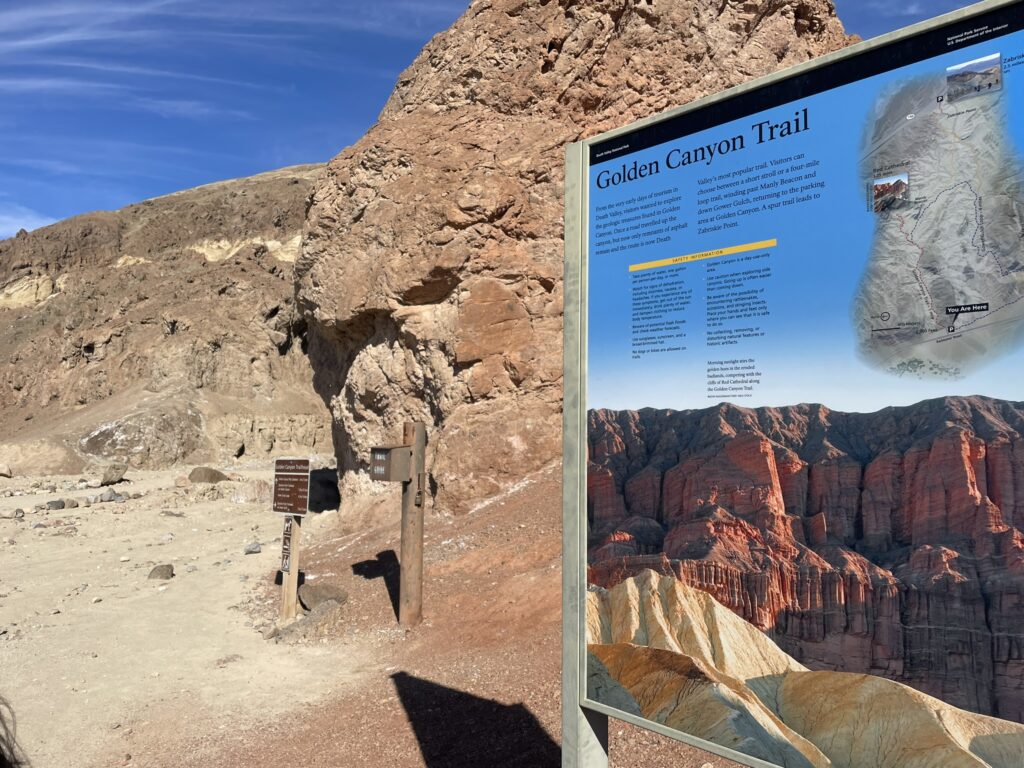
Golden Canyon Trail to the Red Cathedral: Apparently the Golden Canyon hike was originally a road to bring tourists through the canyon, evident by the broken up asphalt you’ll find in the beginning of the trail. But not to disappoint. This is a great 2.9 mile hike inside a beautiful canyon, and is virtually flat the entire way. At the end you reach the Red Cathedral. A towering canyon of red rocks and spires that you can explore. Here you’ll find old metal rung ladders and other antiquated items. Note that this trail does have alternative routes to connect with Zabriskie Point, or to complete a longer loop.
Lunch back at the camp: At this point you’ll have reached the intersection to bring you back to camp. Get on back and make yourself some good lunch. Then grab some snacks, warm clothes, maybe some wine, and start making your way towards Dante’s Peak.
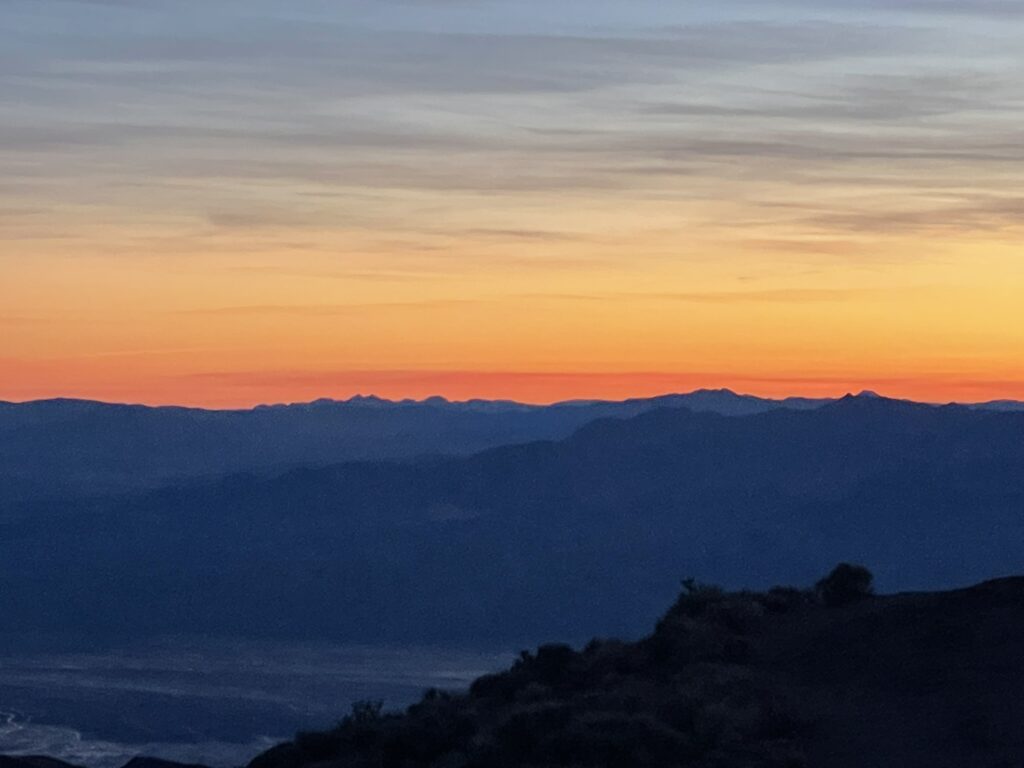
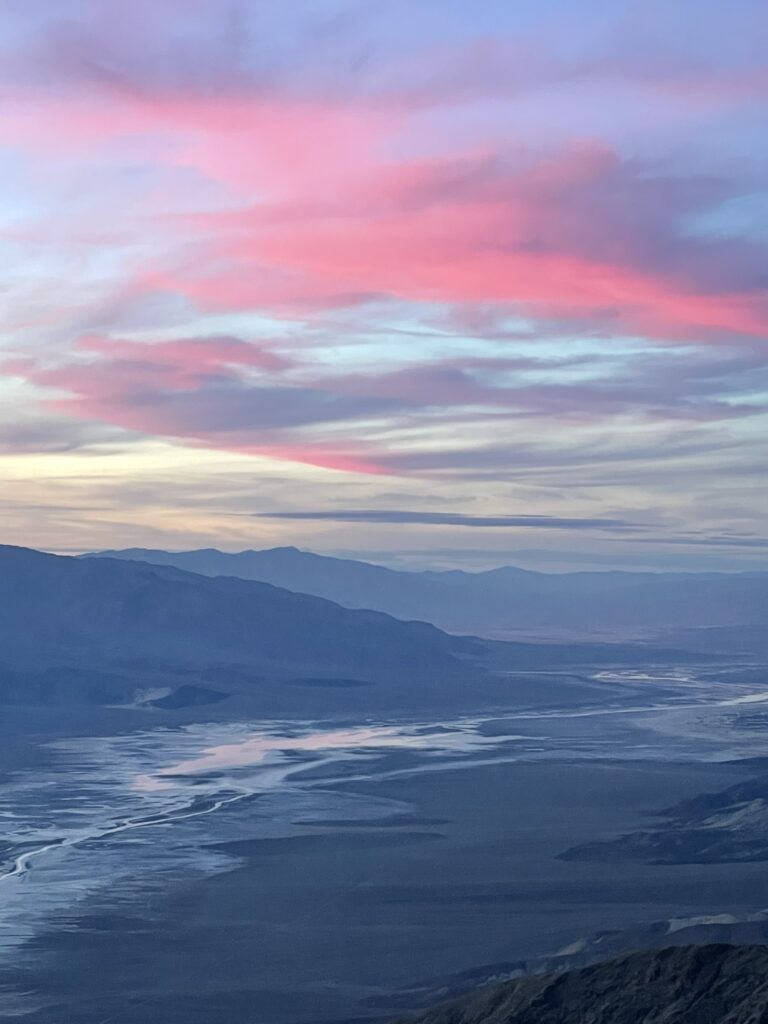
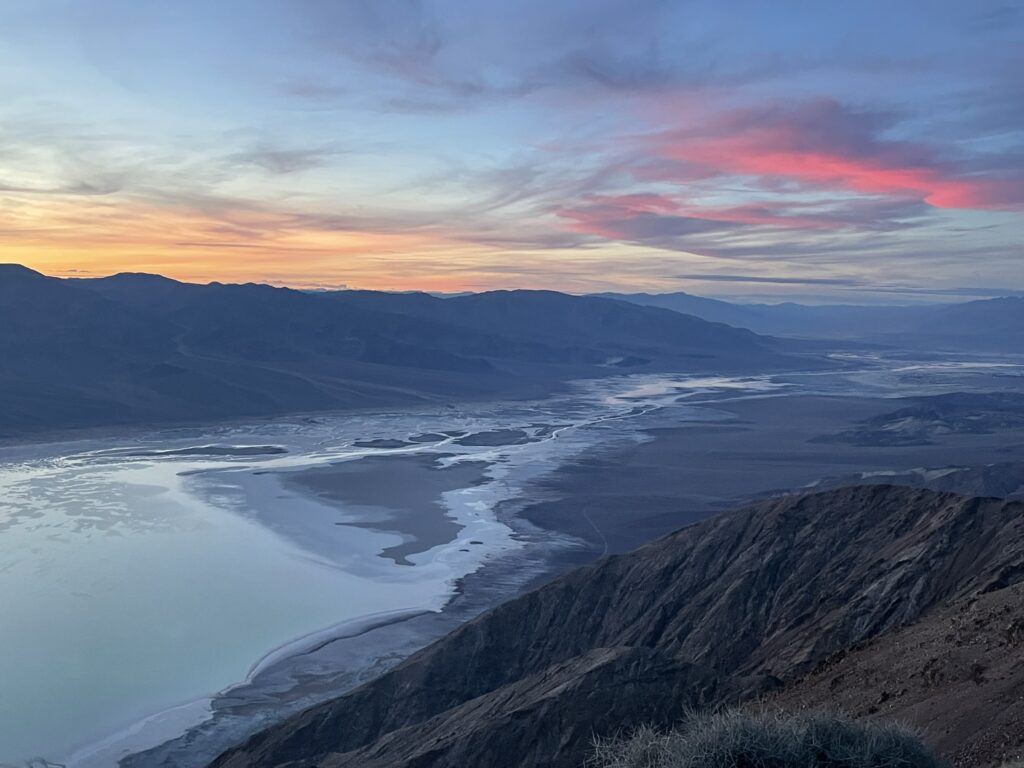
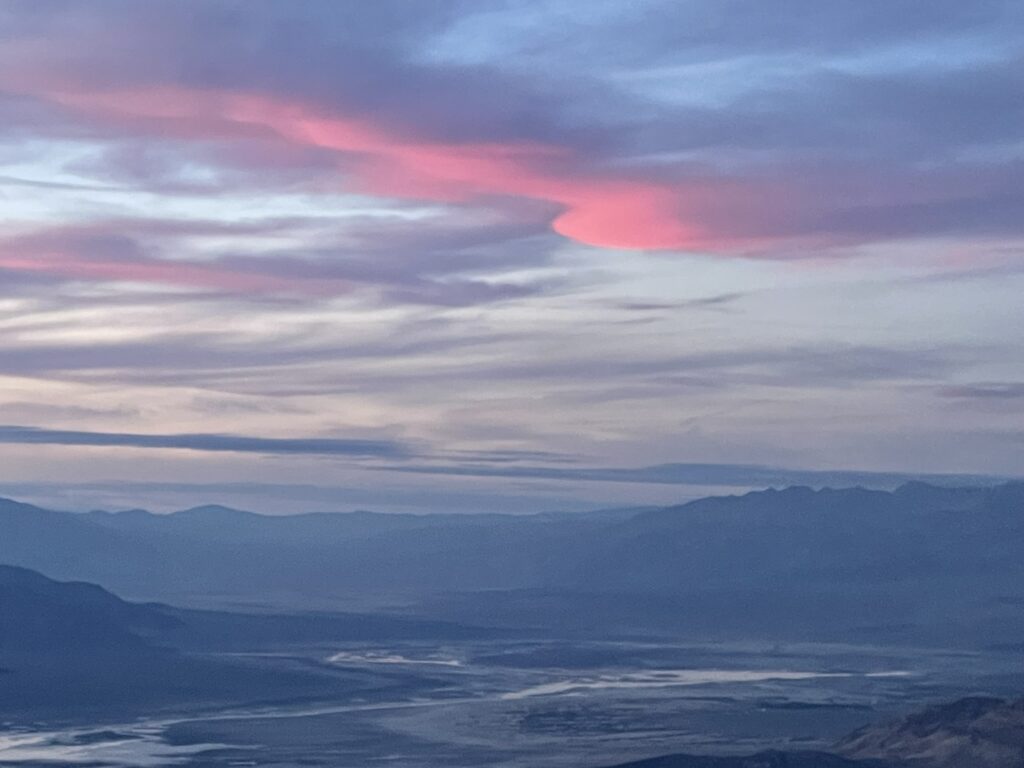
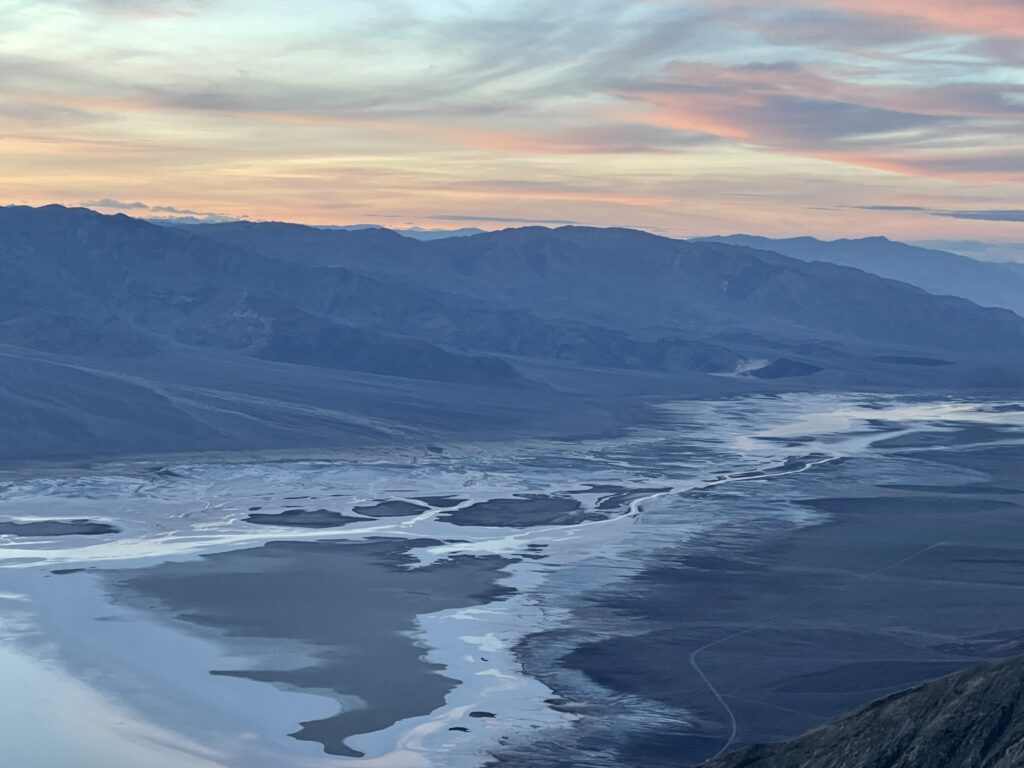
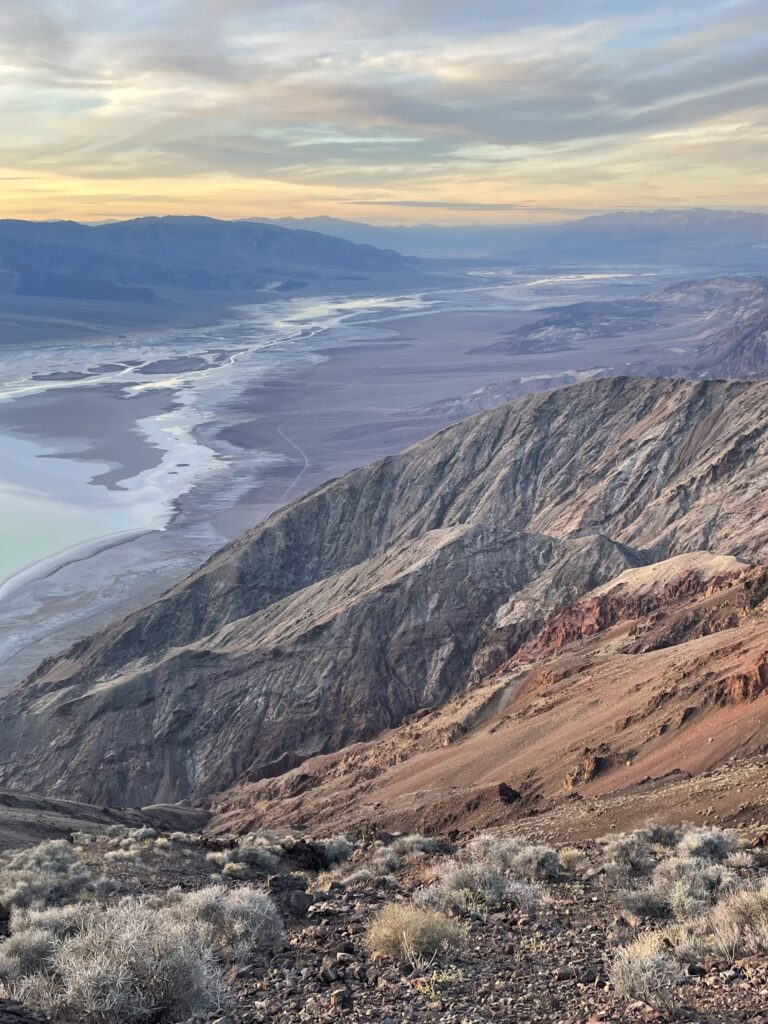
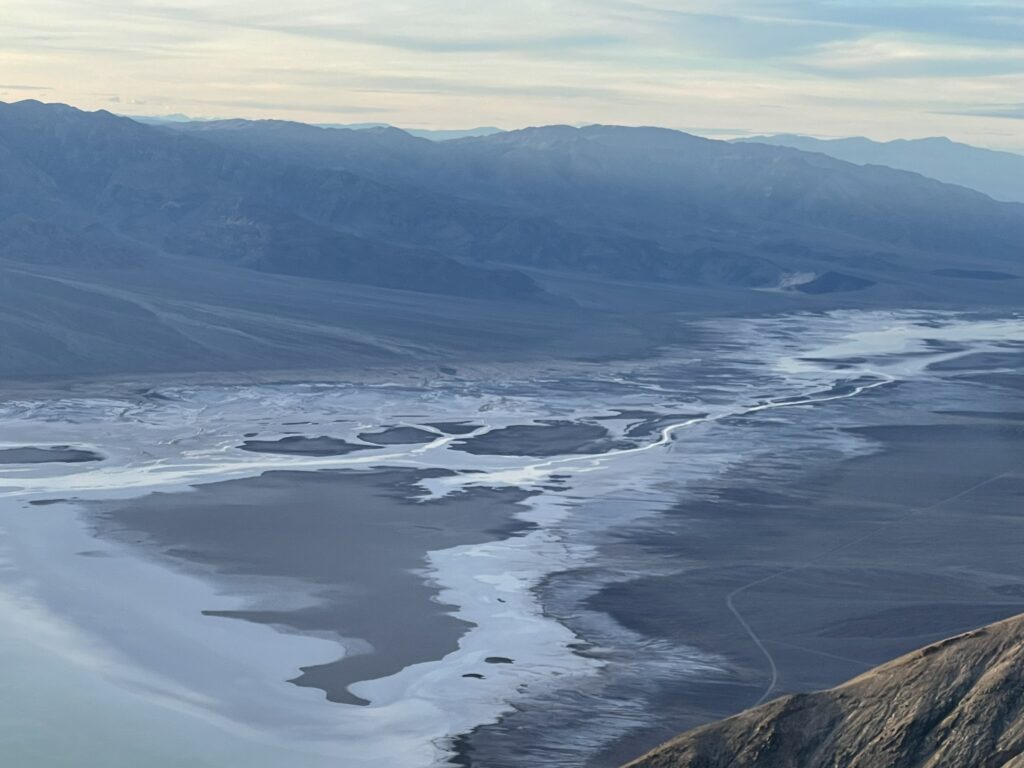
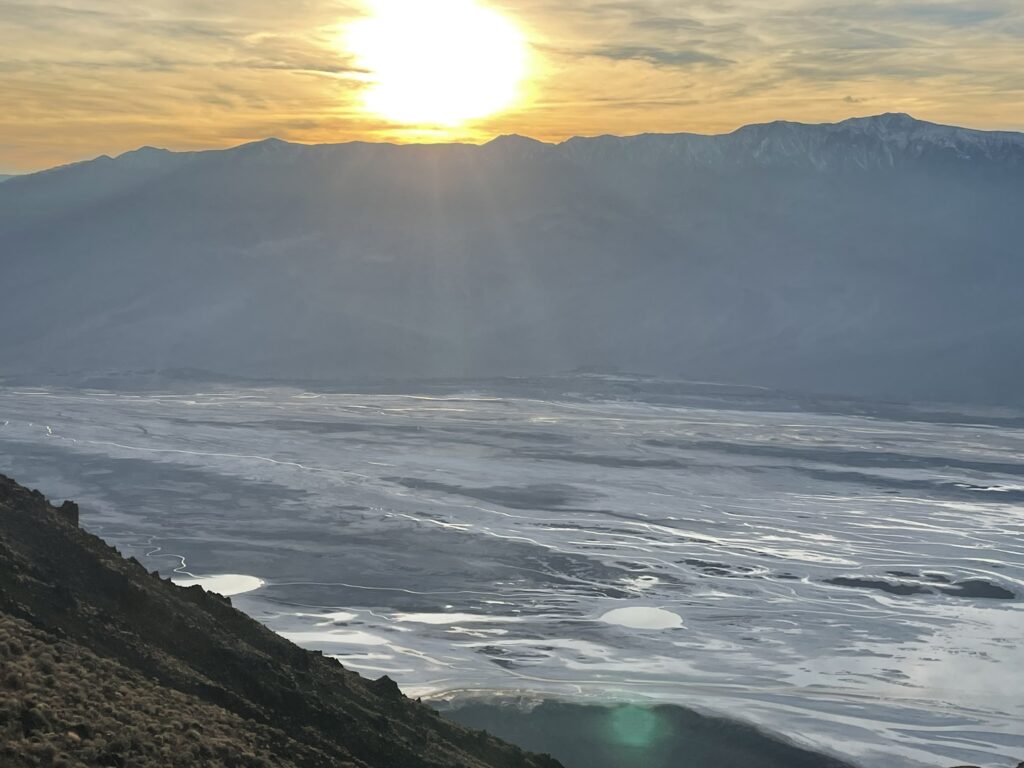
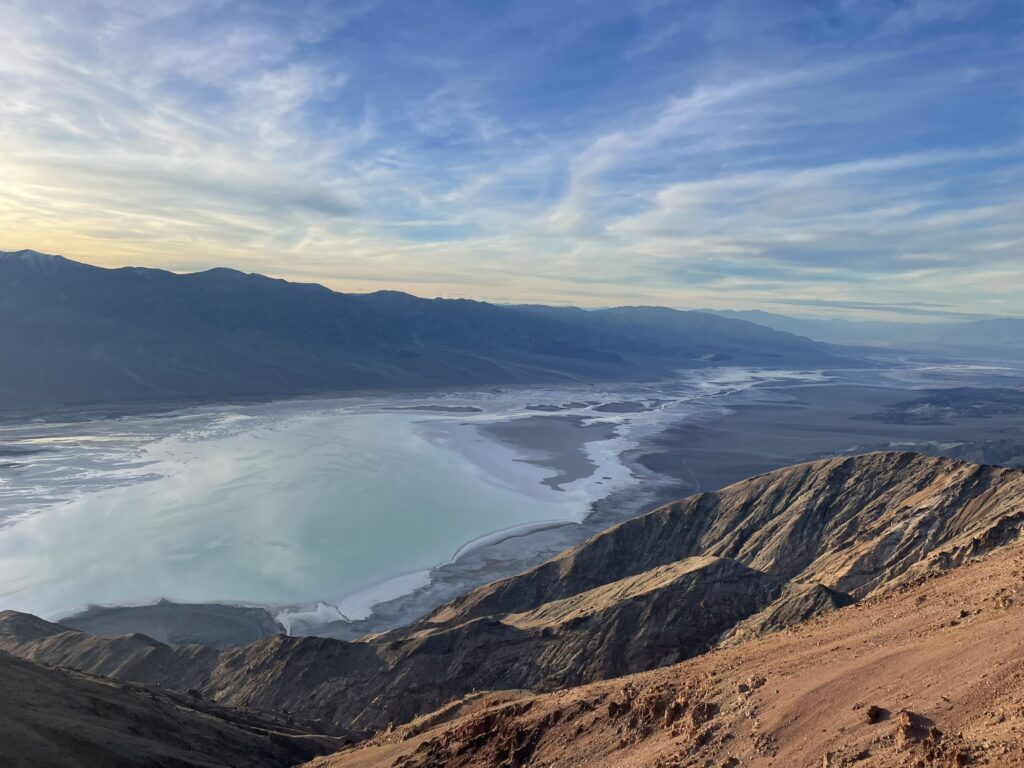
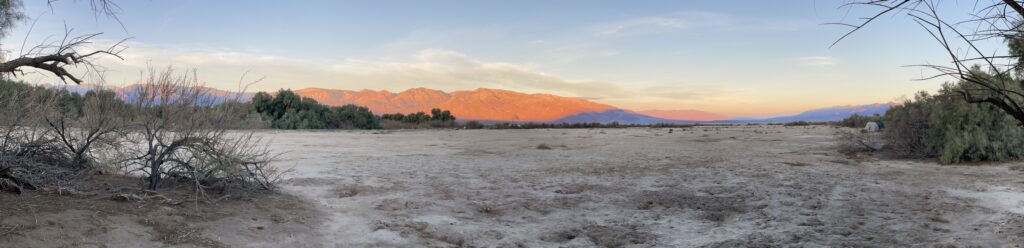
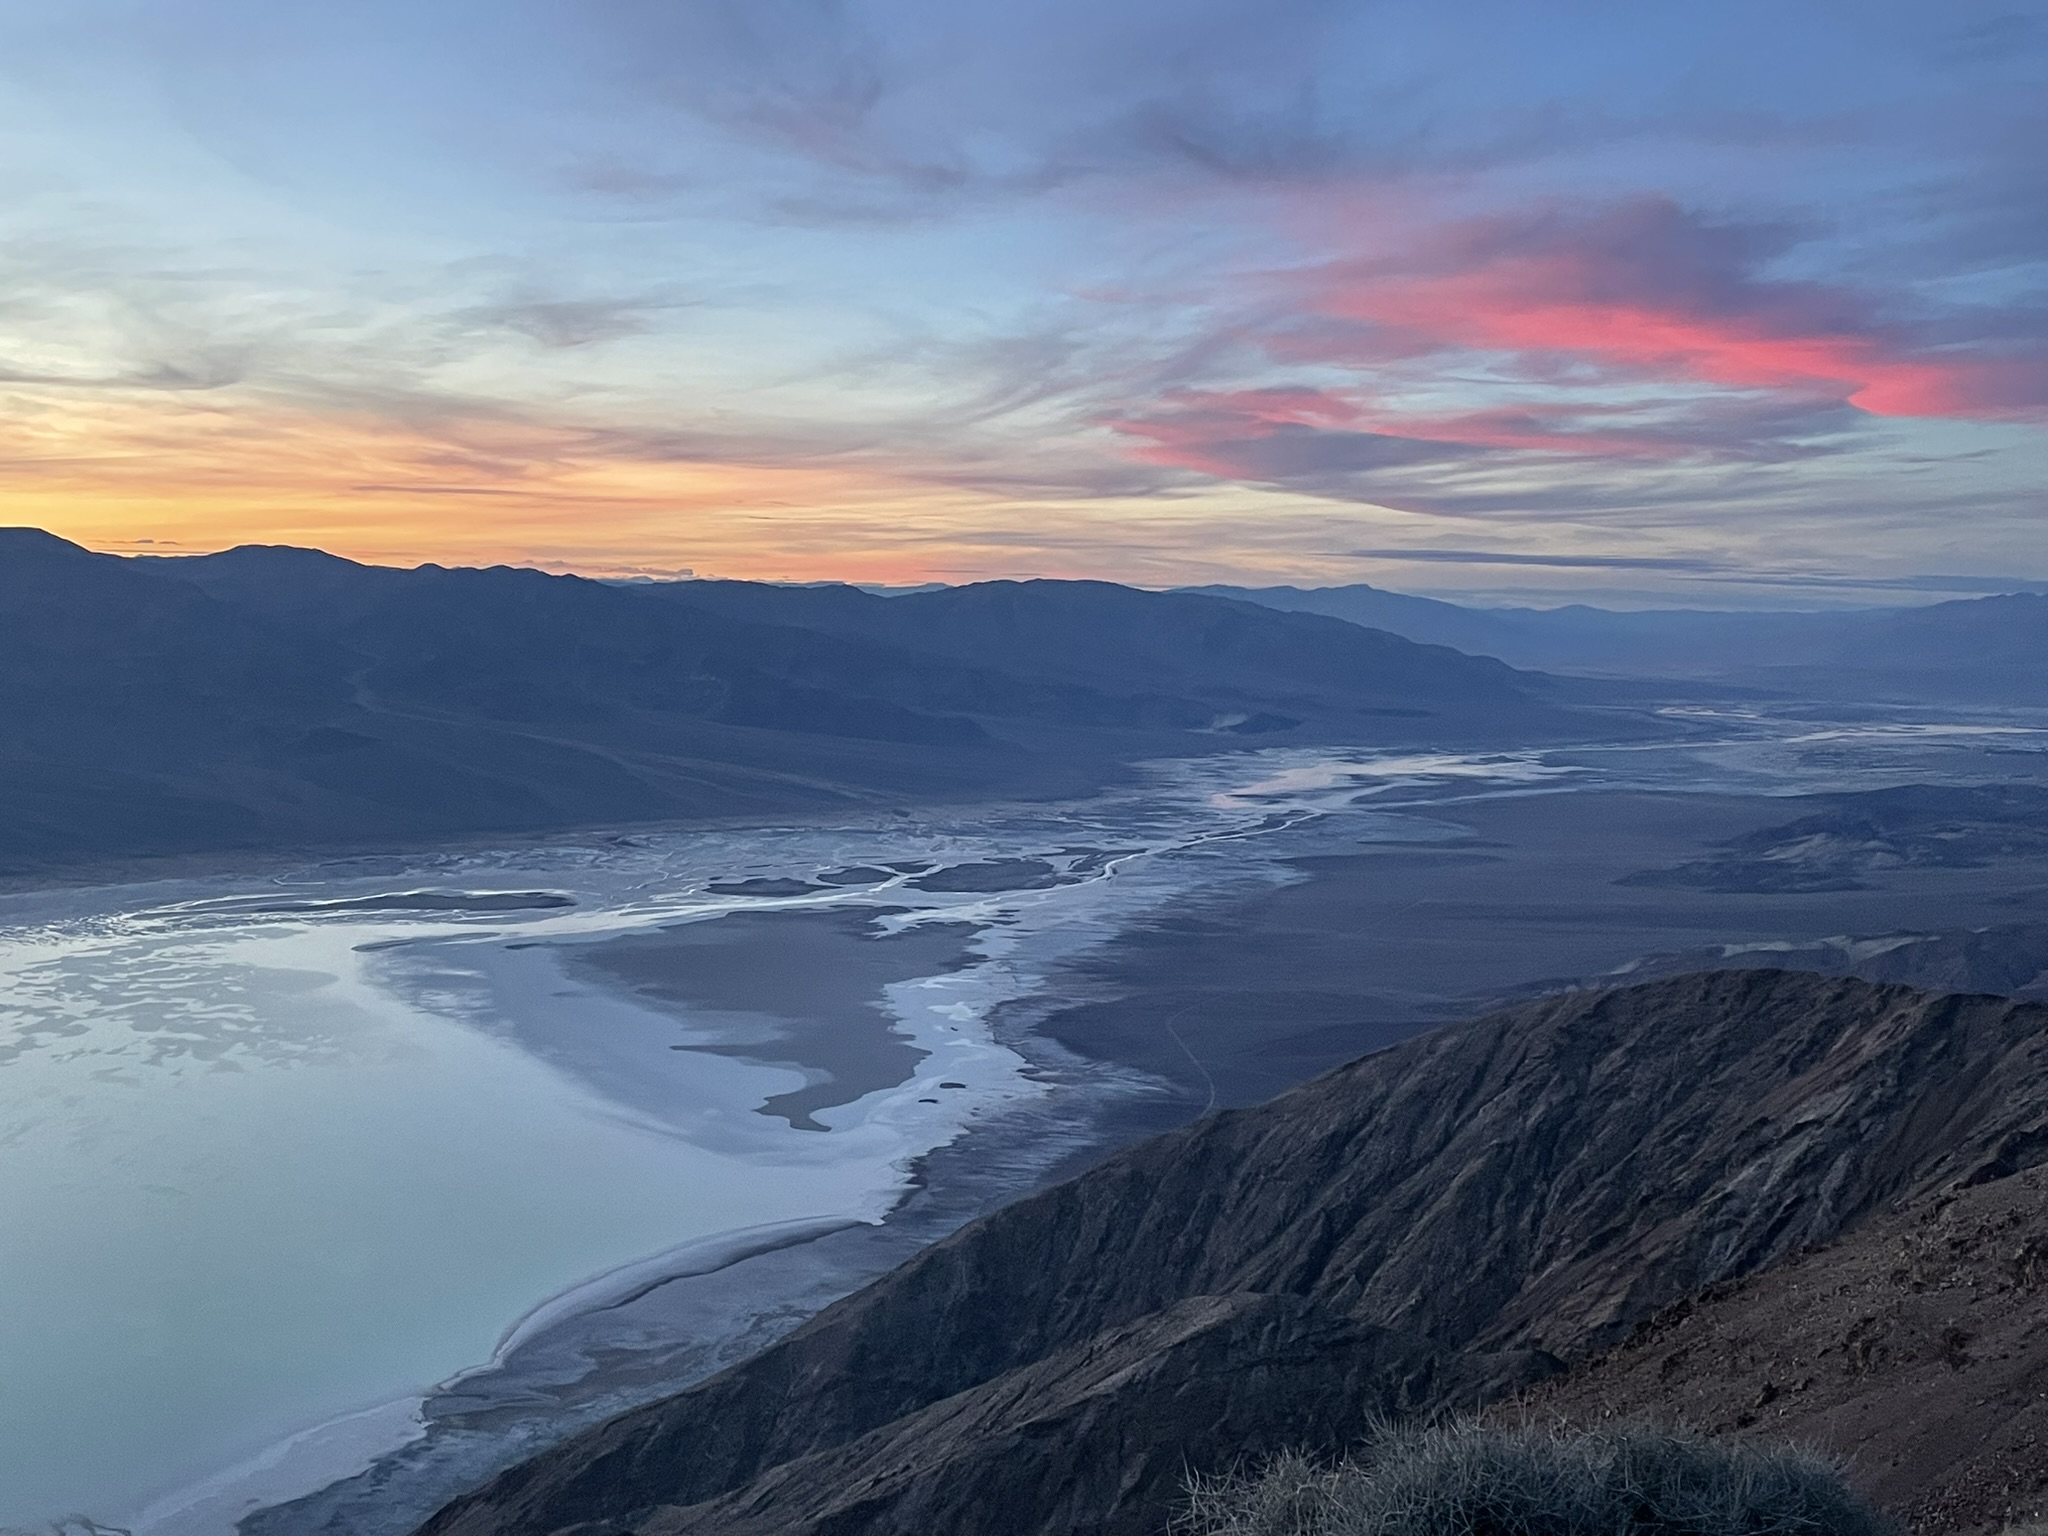
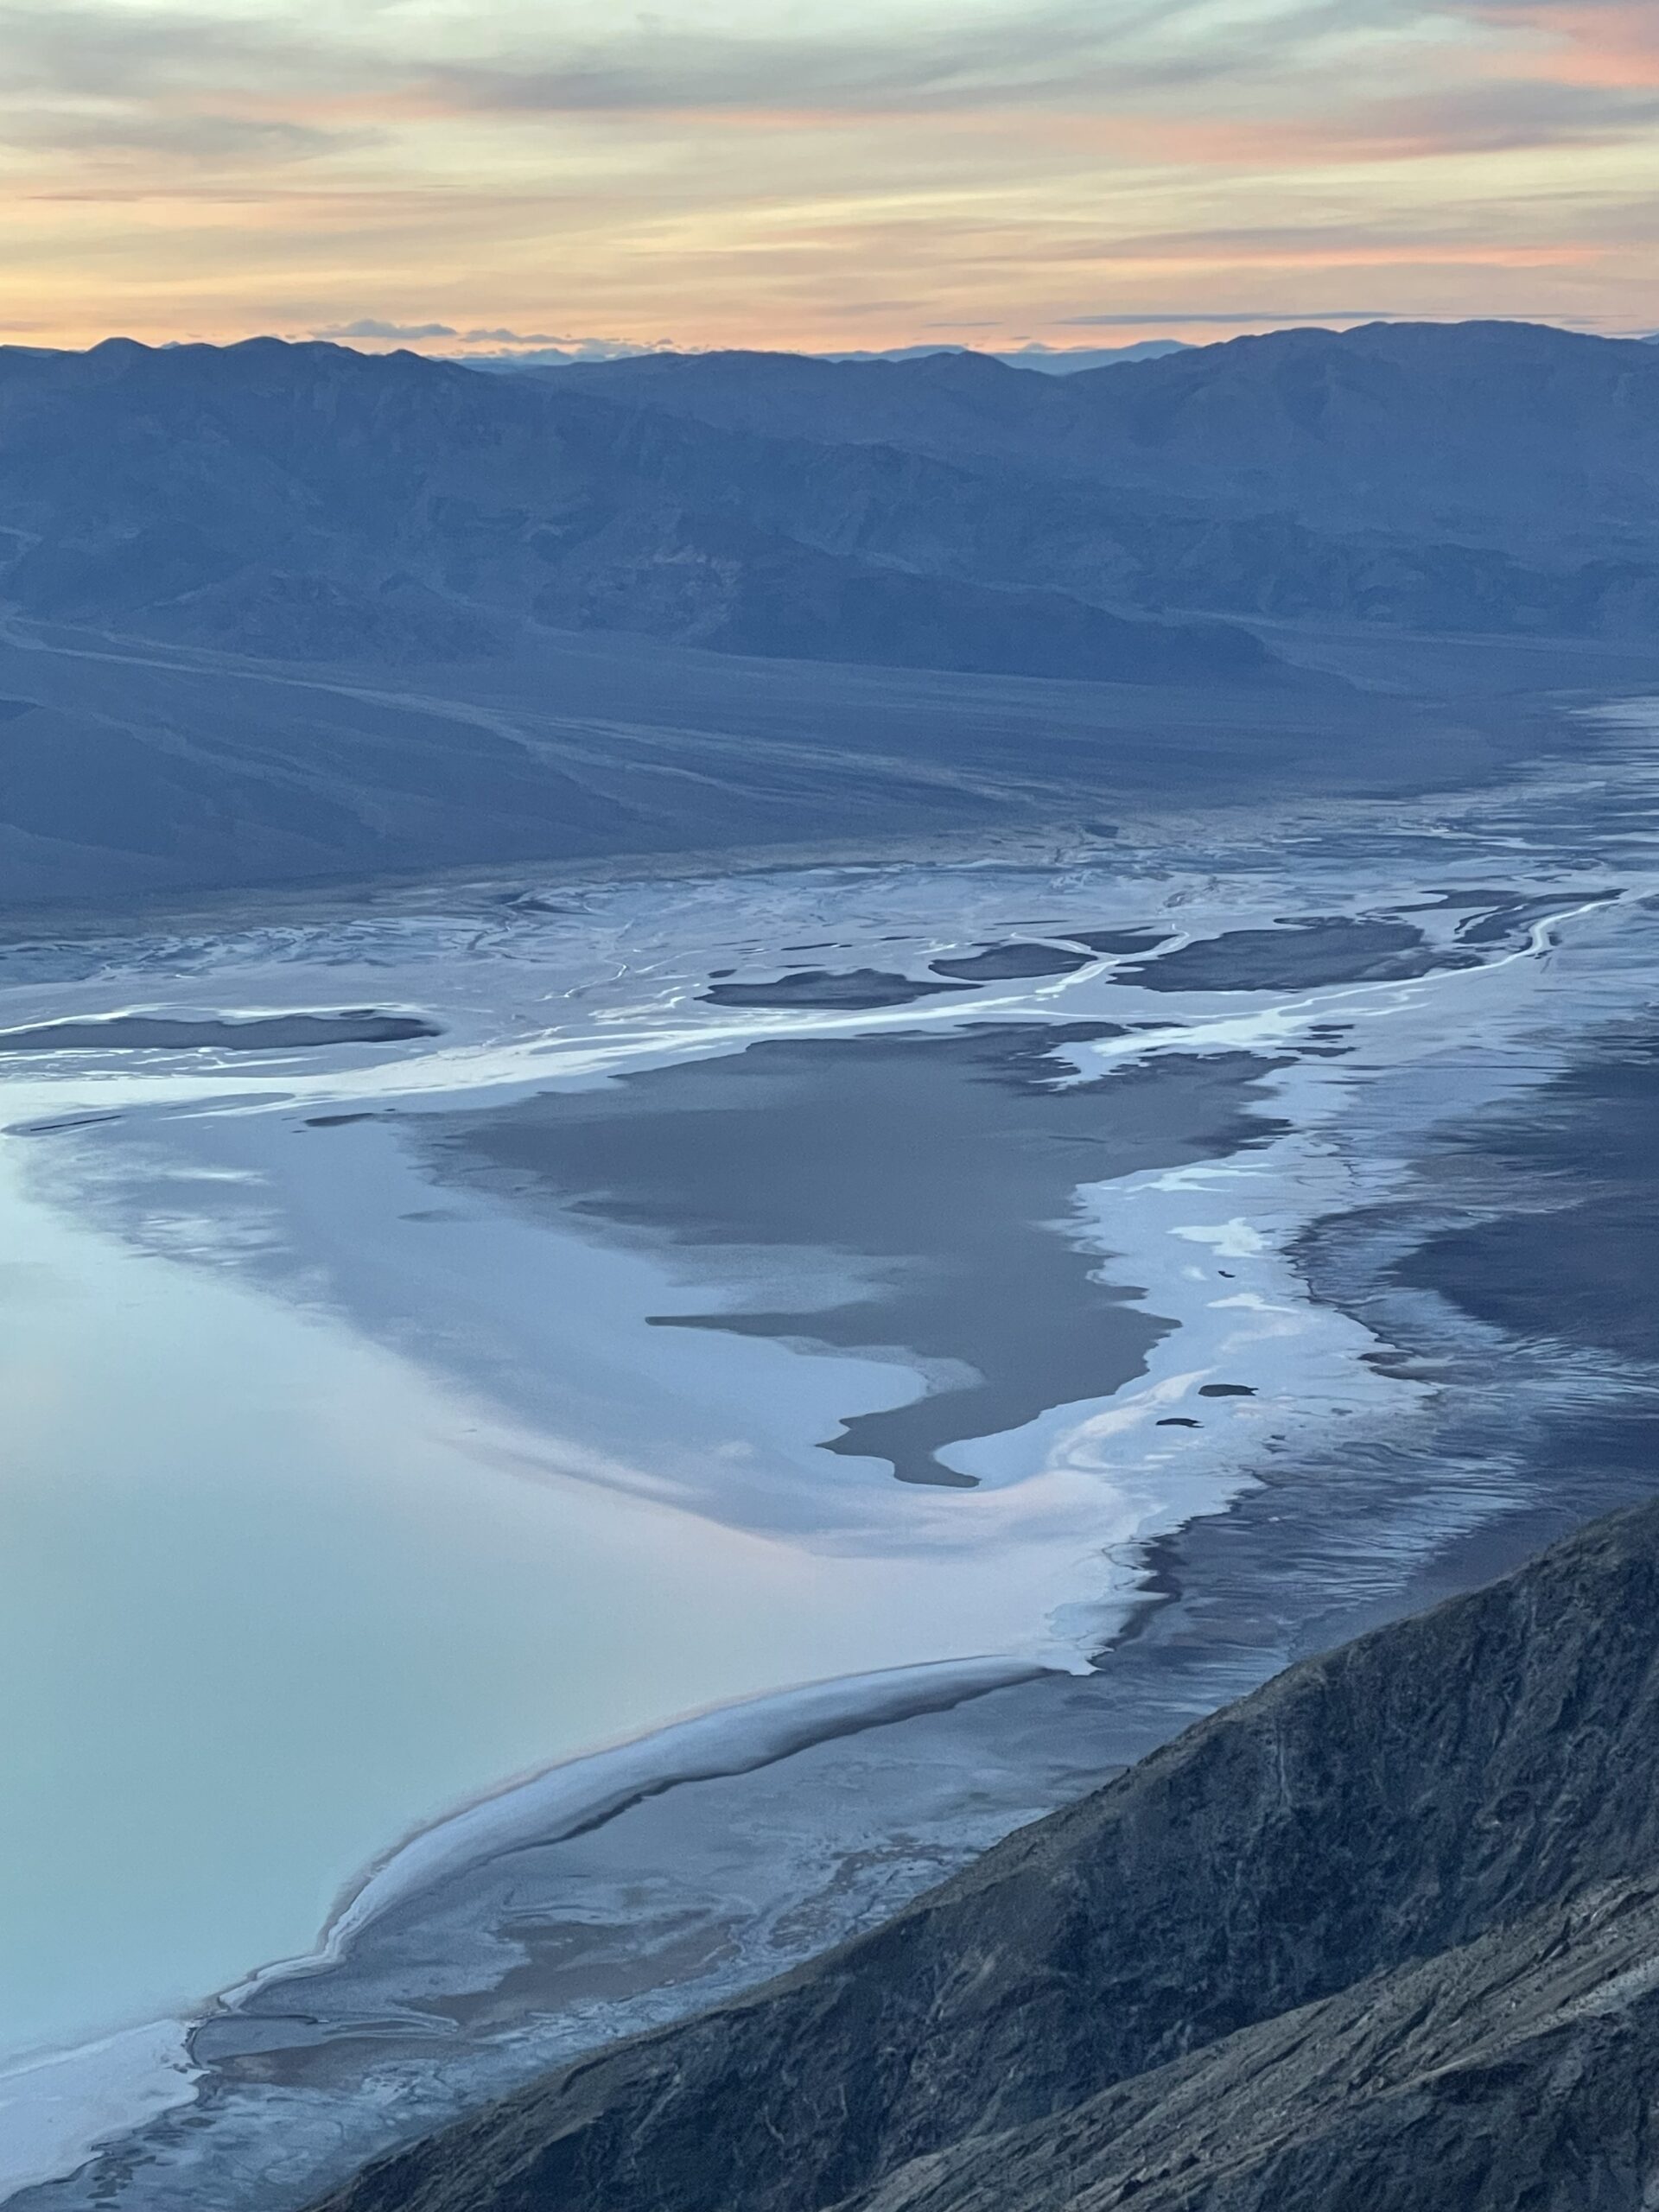
Sunset at Dante’s View: It takes about 40 minutes to drive here from the campground. There’s plenty of parking available. Facing west you will have massive, sweeping views of the Badwater Basin below with the Panamint Mountains across the way. There’s also a small “trail” from the parking lot leading out to several other vista points which are worth exploring. While we were spoiled with the re-appearance of Lake Manly to add drama to the scenery, this is easily one of the top 10 vista points of all my travels.
Back to camp: Time to head on back, get a fire going and enjoy the stars. Cook a tasty warm meal. Listen for the coyotes as they do their roll call. If you’re feeling ambitious, look for scorpions. Then get a good nights sleep. Another early morning awaits.
Note: You will also see Desolation Canyon Trail on this route, however we did not do this trail so we will not review it.
Day 3
Get up super early: Yes. Well before sunrise. Again. Early is when the magic happens. This ensures you’ll have enough time to get to the dunes for sunrise. Don’t miss out.
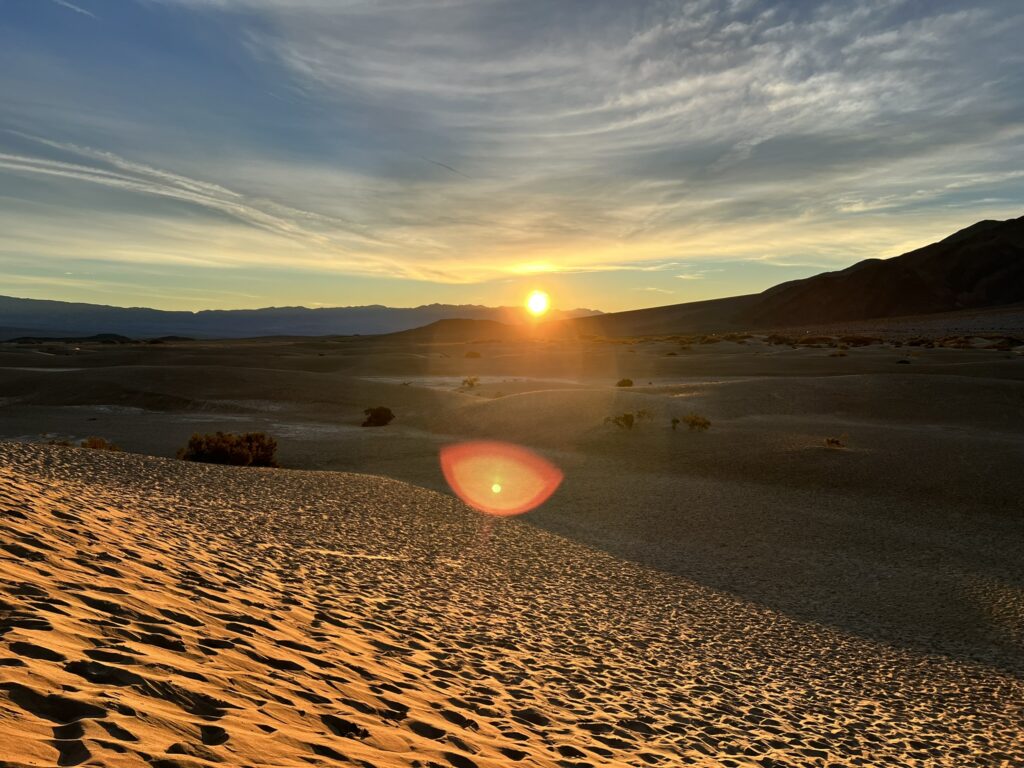
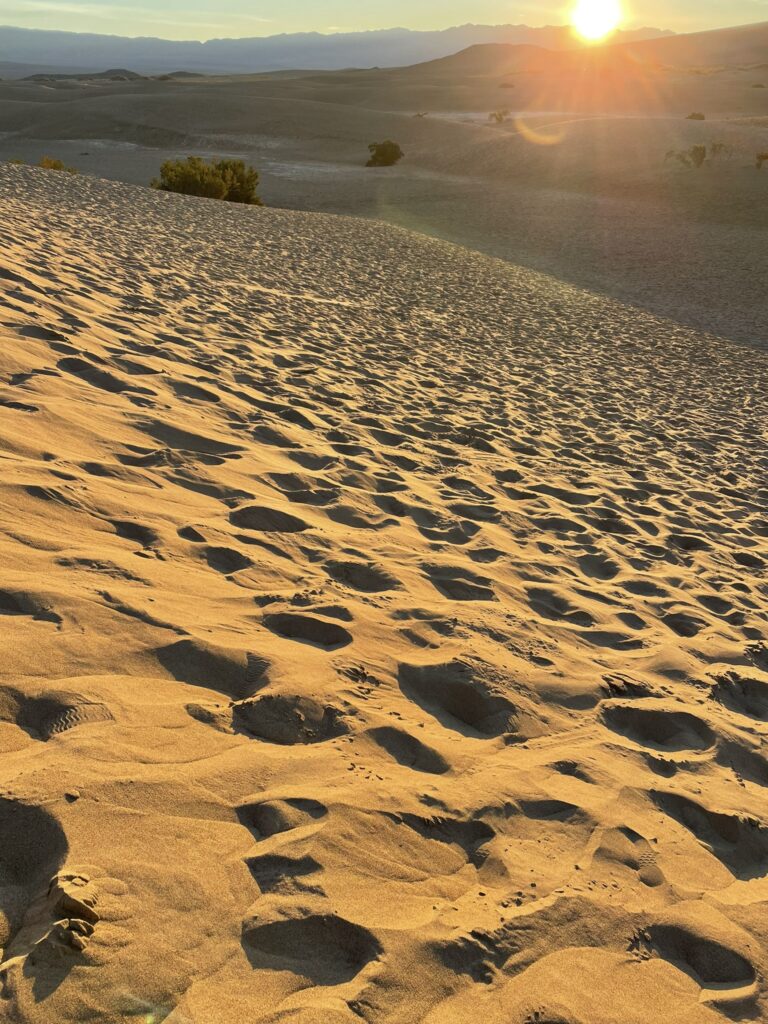
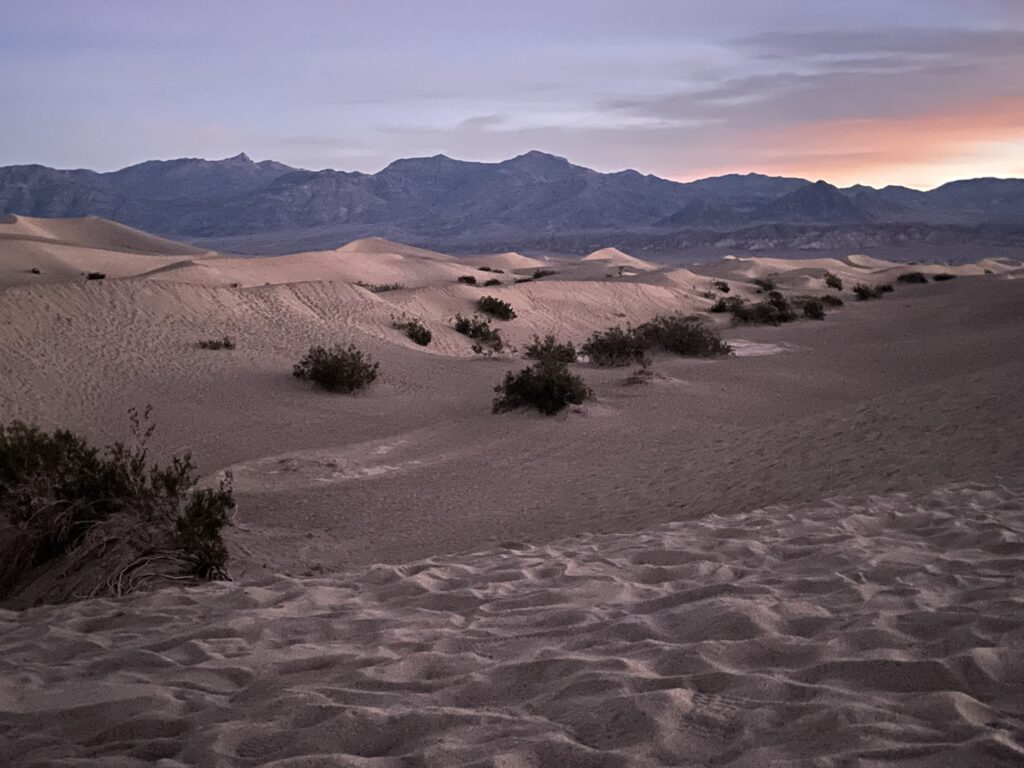
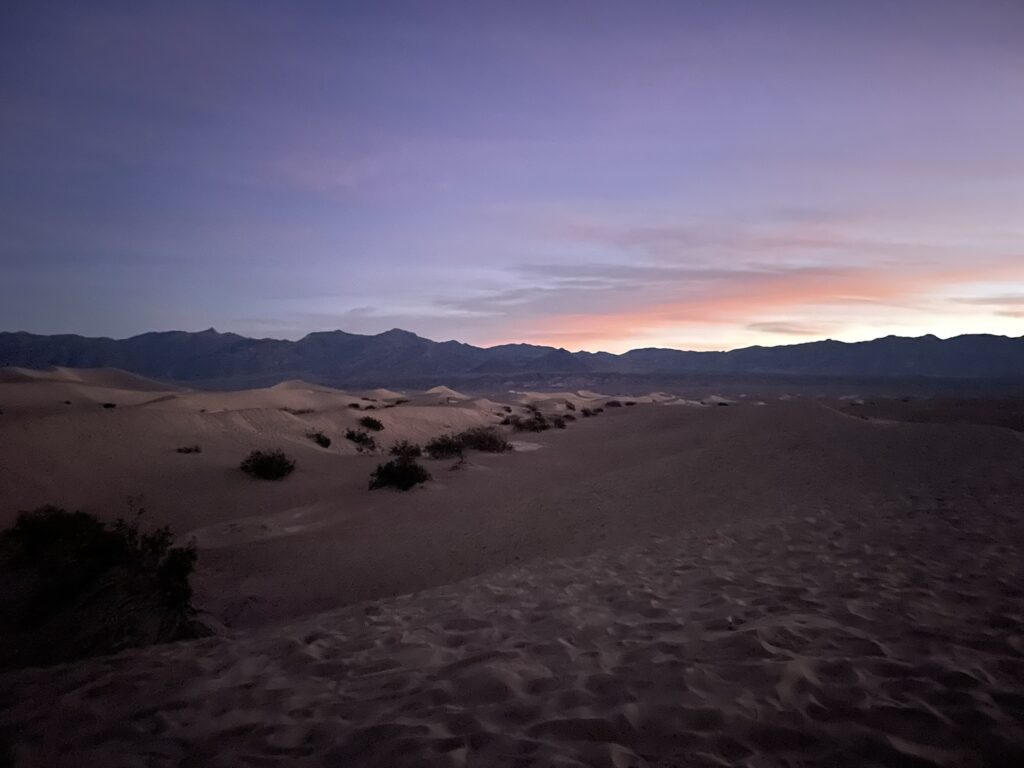
Go to Mesquite Flat Sand Dunes and watch the sunrise: It takes 25-30 minutes to drive there from the campground. You want to arrive to the sand dunes at least 30 minutes before sunrise, so make sure you time that properly. There is plenty of parking (especially if you go early), and a restroom. We recommend to grab a blanket, a warm drink (if you can) and your headlamps. Please put your headlamps on the red light so as not to disturb other viewers. You begin straight from the parking lot. It’s a bit odd feeling at first since there is no defined “trail” on the sand dunes. But as you continue walking you’ll find plenty of foot traffic climbing the dunes. Set up your blanket, put on a time-lapse facing east, and enjoy the beautiful sunrise. Afterwards, you can make some breakfast in the parking lot (as we did), or stop by the Stovepipe Mills General Store just down the road heading west.
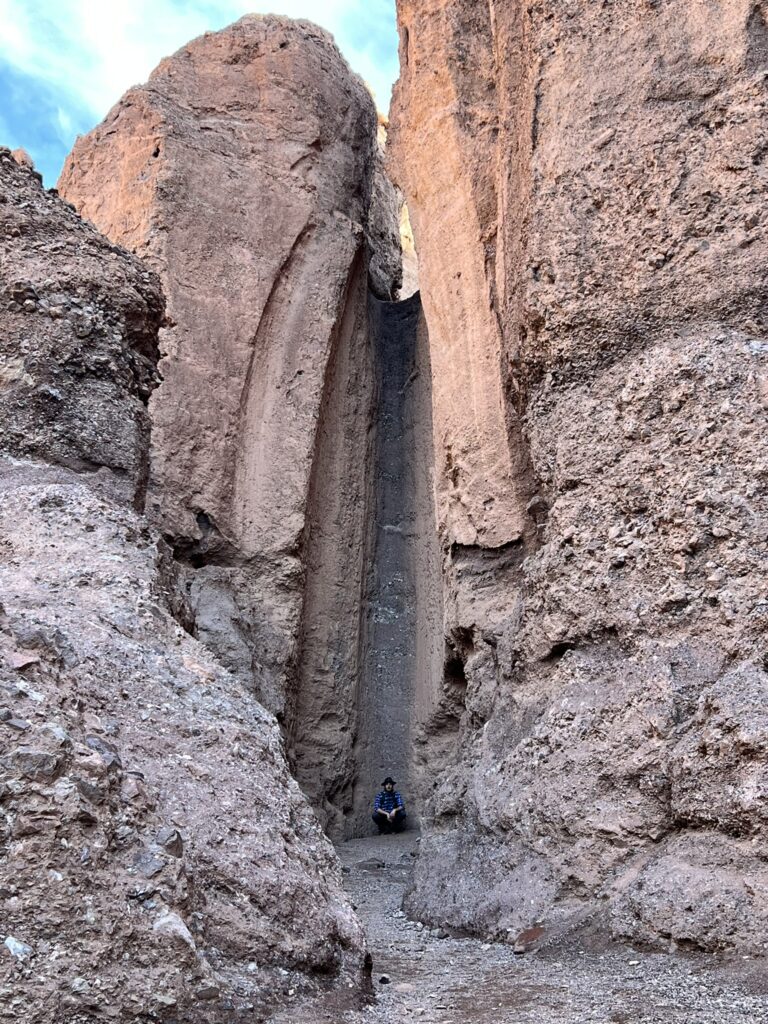
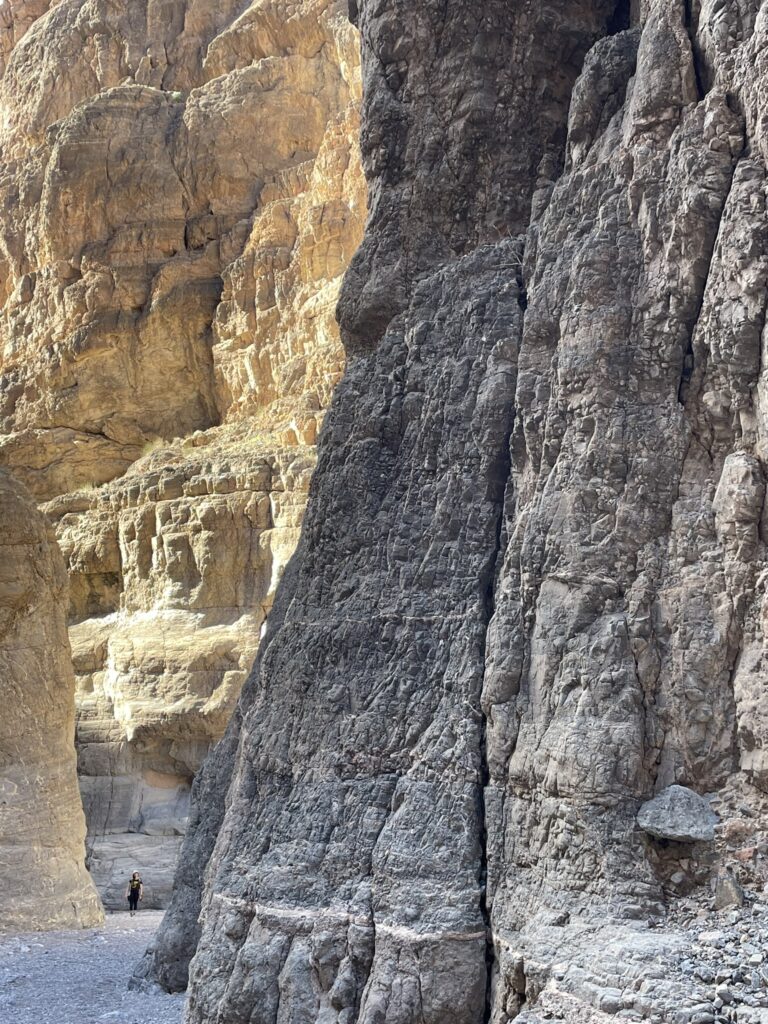
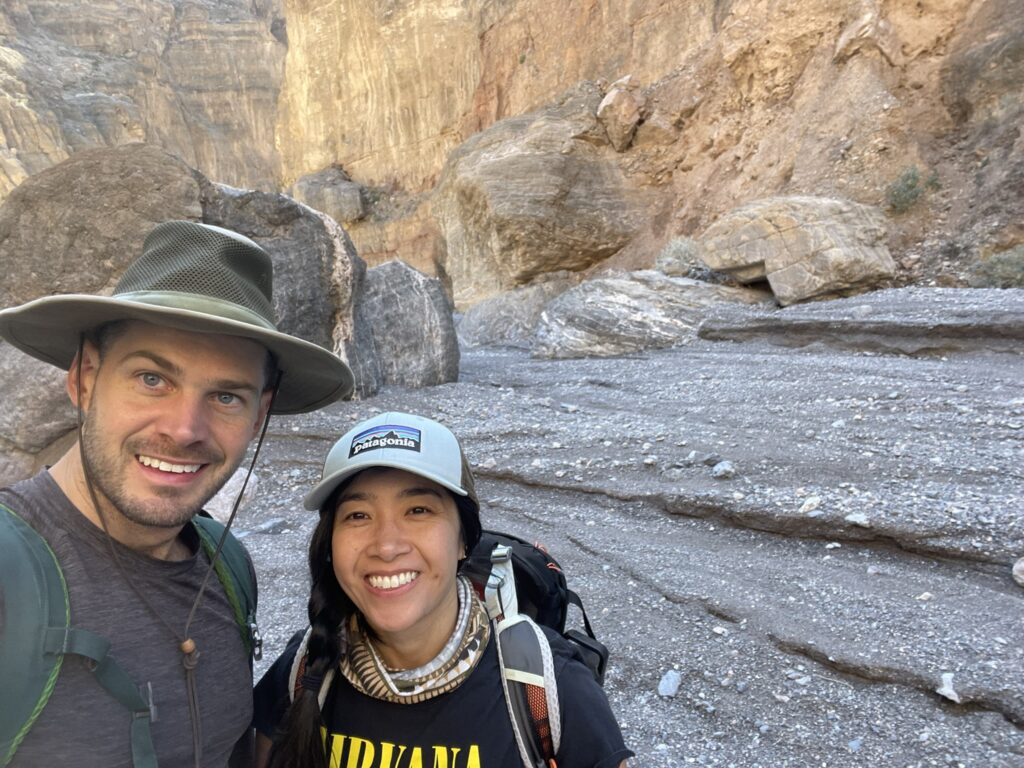
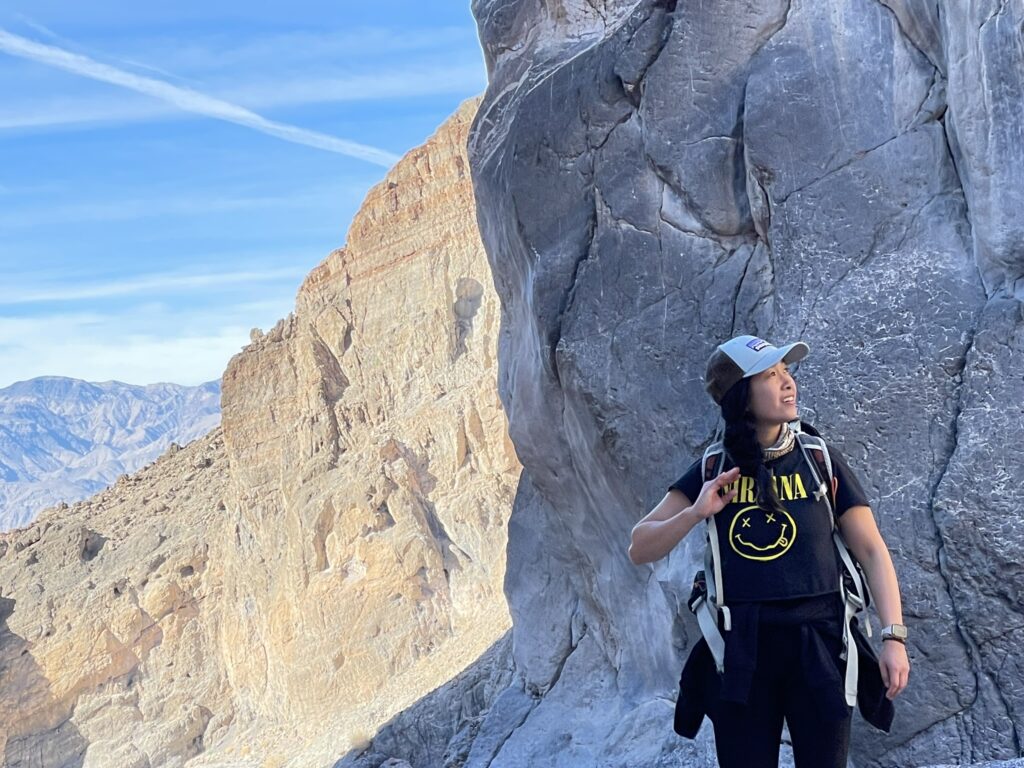
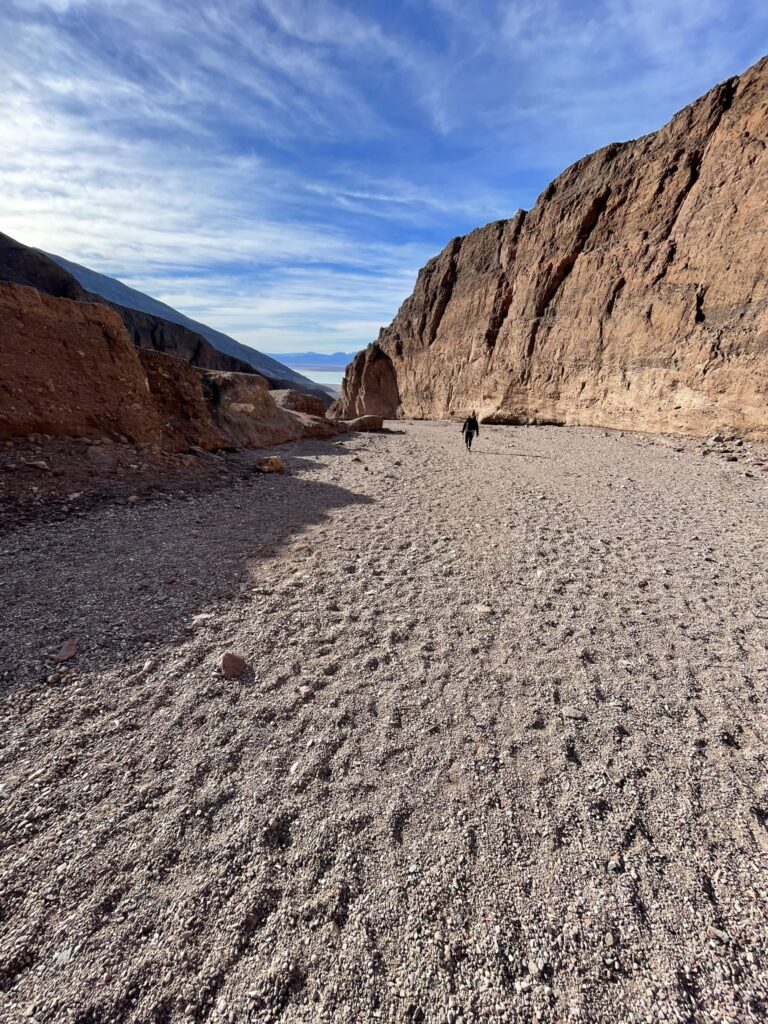
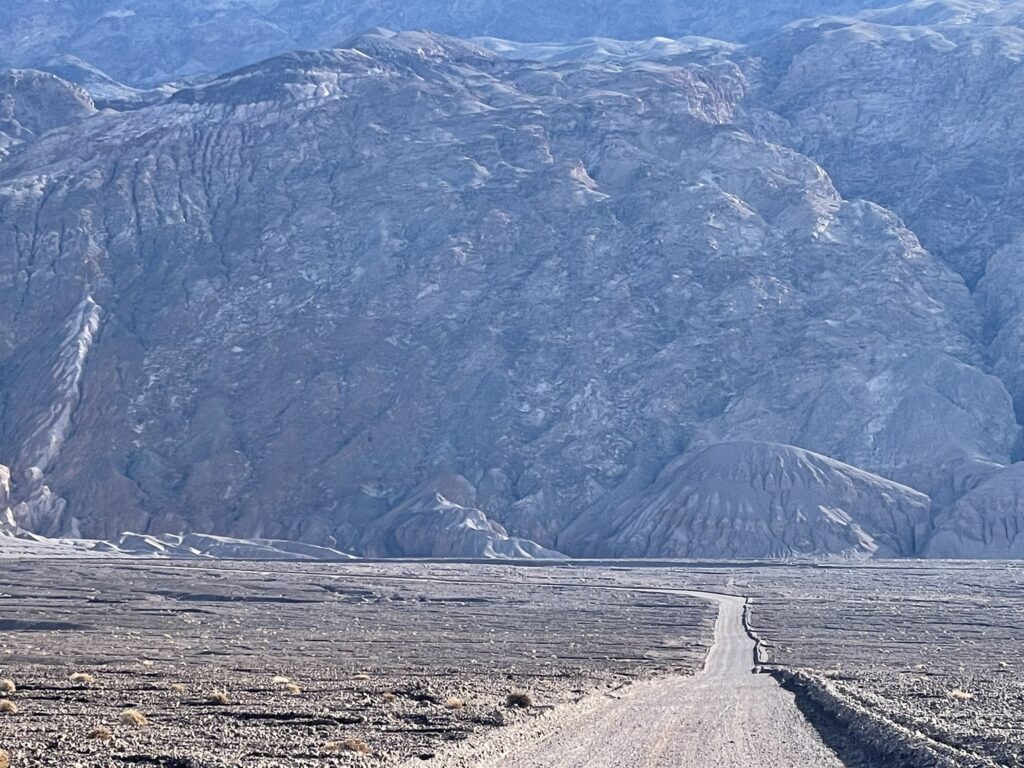
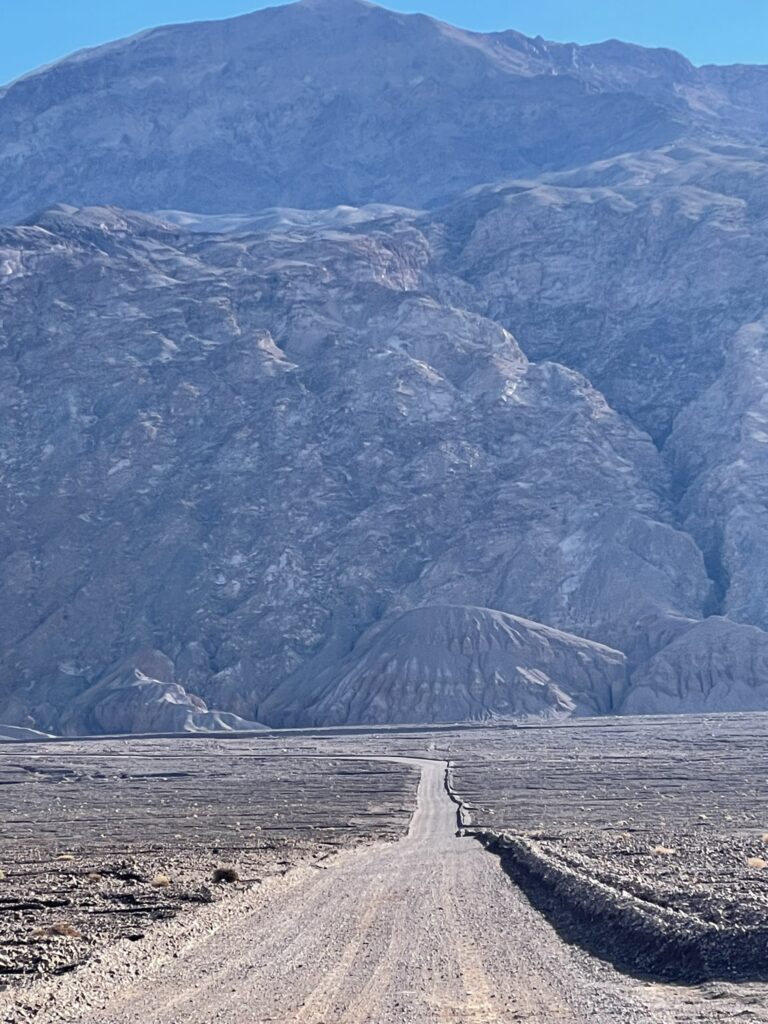
Hike Fall Canyon: Heading north, it takes 35-40 minutes to reach the Fall Canyon Trailhead. The last 2.5ish miles are on a flat, but bumpy, dirt road. Most cars should be fine but be mindful. There is a restroom at the trailhead, and plenty of parking. This is a 6 mile long out-and-back trail with 1,300ft of elevation gain (very gradual). The trailhead actually ends at a closed off canyon and old mining road called Titus Canyon Road. However, this is not the trail for the Fall Canyon. The trail begins to behind the restroom on the left side of the parking lot.
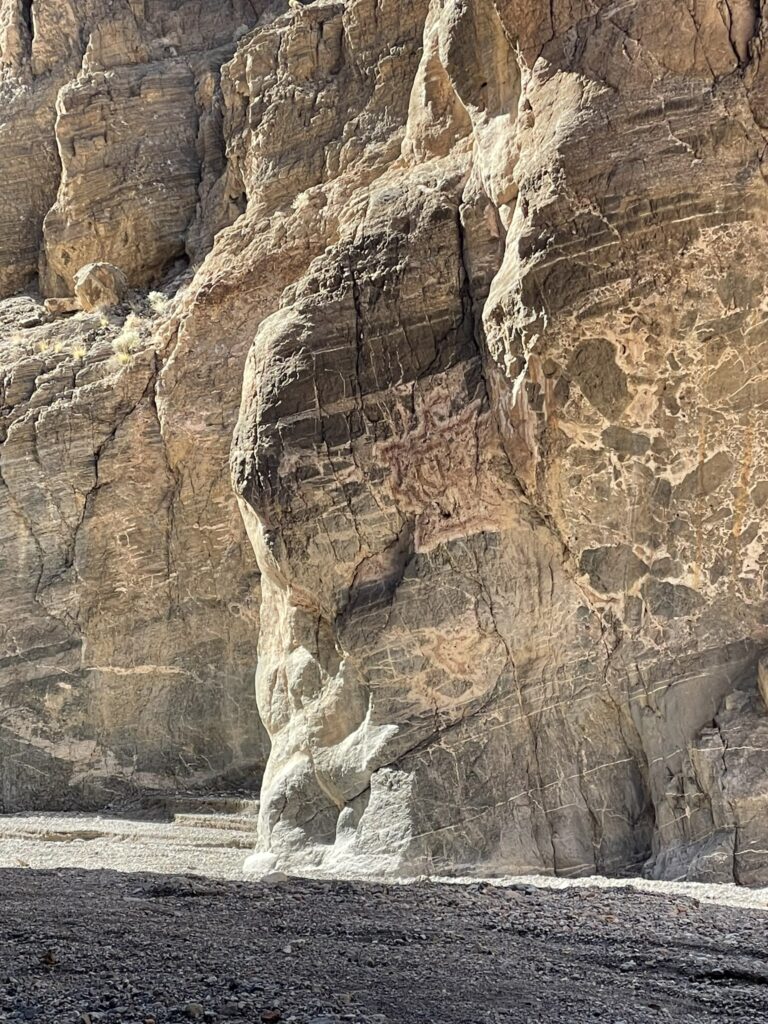
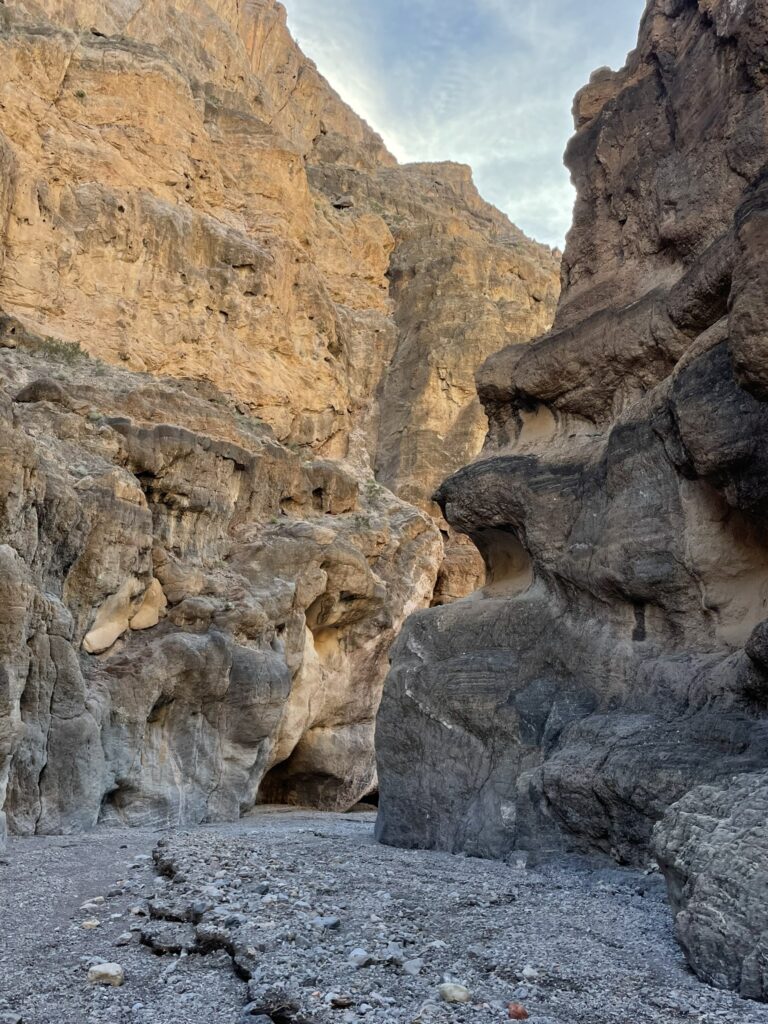
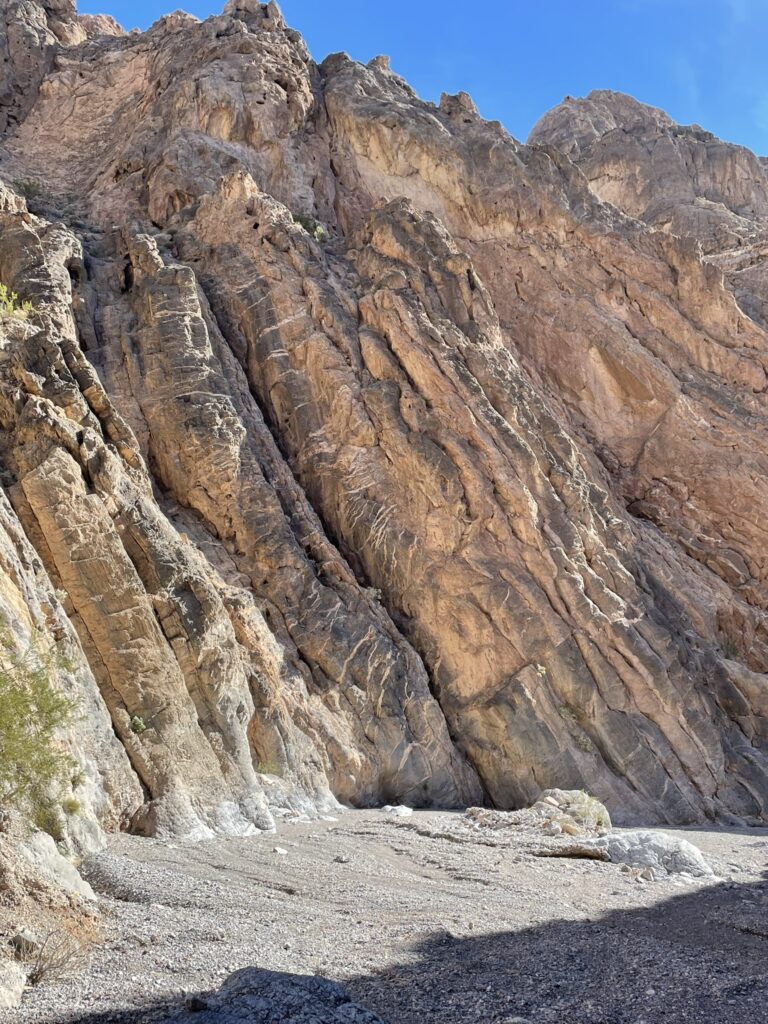
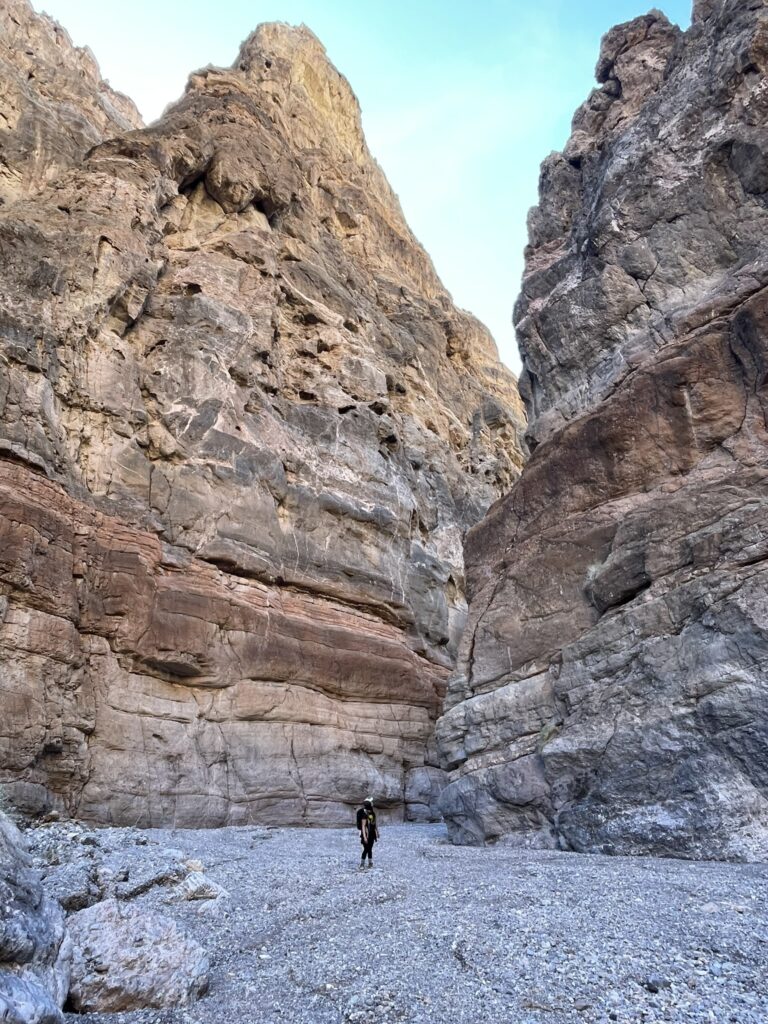
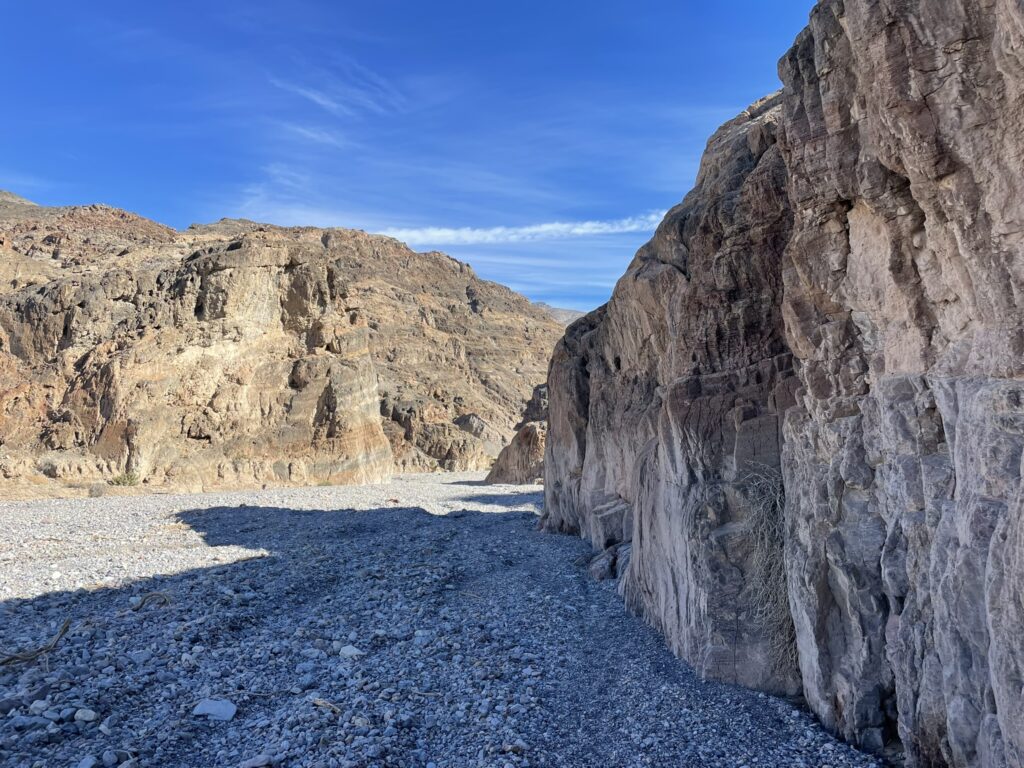
What an exceptional hike. It begins exposed, hugging the side of the Grapevine mountains to your right. Roughly 3/4 of a mile in, you’ll come to a steep drop down that brings you into a much larger wash that is the mouth of Fall Canyon. Take note of this turning point for your return journey. Now, you being to walk into the canyon. The ground is mostly small pebbles and stones which can be soft to walk on and does make things a bit slower. At first the canyon seems wide, sparse and exposed. But with each step the canyon begins to narrow, and the walls begin to steepen. Eventually you’re surrounded by massive cliffs, large boulders, and beautiful patterns in the rocks. Big horn sheep also take residence in these canyons – you may catch a glimpse if you’re quiet enough. It’s a very beautiful canyon that makes you feel small, in a humbling a way.
The turning point for the trail is officially around 3 miles (slightly more depending on your recordings), where you’ll find a dry waterfall. Depending on the season you may find some water trickling down. From here you can snack on some lunch or snacks then make your way back. Don’t forget the left turn up the hill when you get towards the mouth of the canyon.
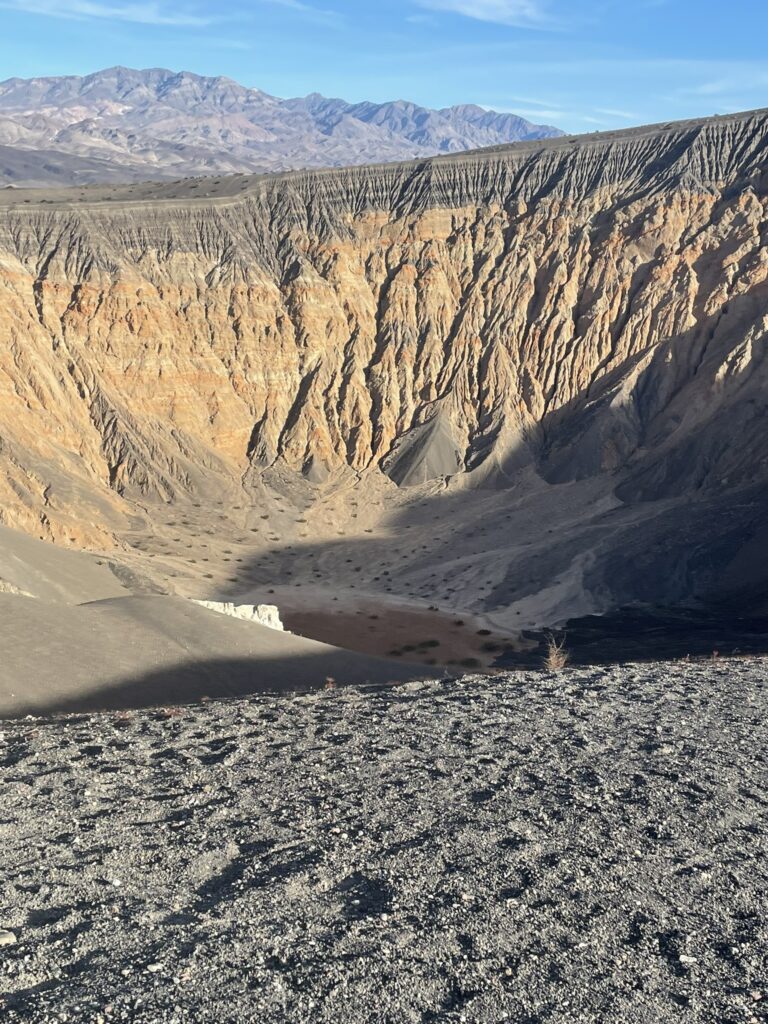
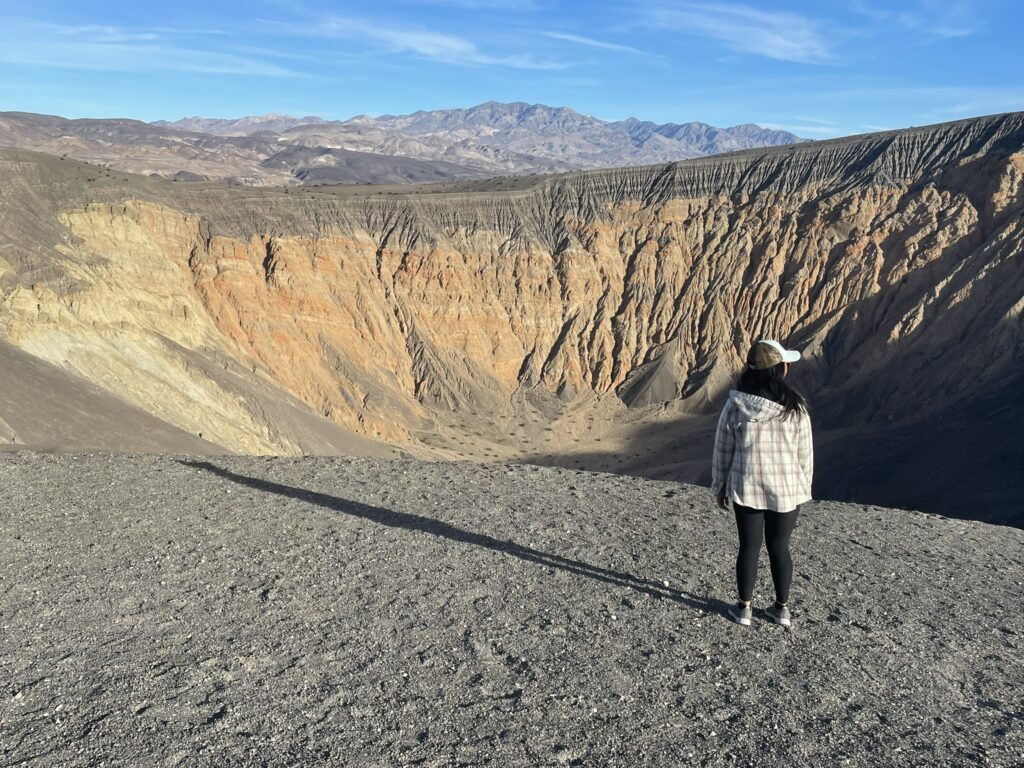
Head to Ubehebe and Little Hebe Crater to hike and watch sunset: From Fall Canyon, it’s about 45 minutes to reach Ubehebe Crater. Two craters formed as a result of steam explosion from underground water that was heated by volcanic activity. There is a 1.8 mile trail around this geological marvel which gives you excellent views of both craters. This is also a wonderful spot to watch sunset.
Head back to camp: From the craters it’s about 1 hour and 10 minutes (56 miles) back to Furnace Creek campground. As we mentioned, it’s massive park. Enjoy the stars again. Make a great meal. Cuddle by the fire together. You just had an epic day.
Day 4
Pack up: Make sure you take anything and everything you brought. Do not leave trash in the fire pits. If you’re feeling it, pick up some other garbage you found and leave the place better than you found it. It makes a really positive difference.
Morning hike option: We did not do this, but if you’re able then definitely go ahead and squeeze in another hike before you head out. Nothing wrong with that.
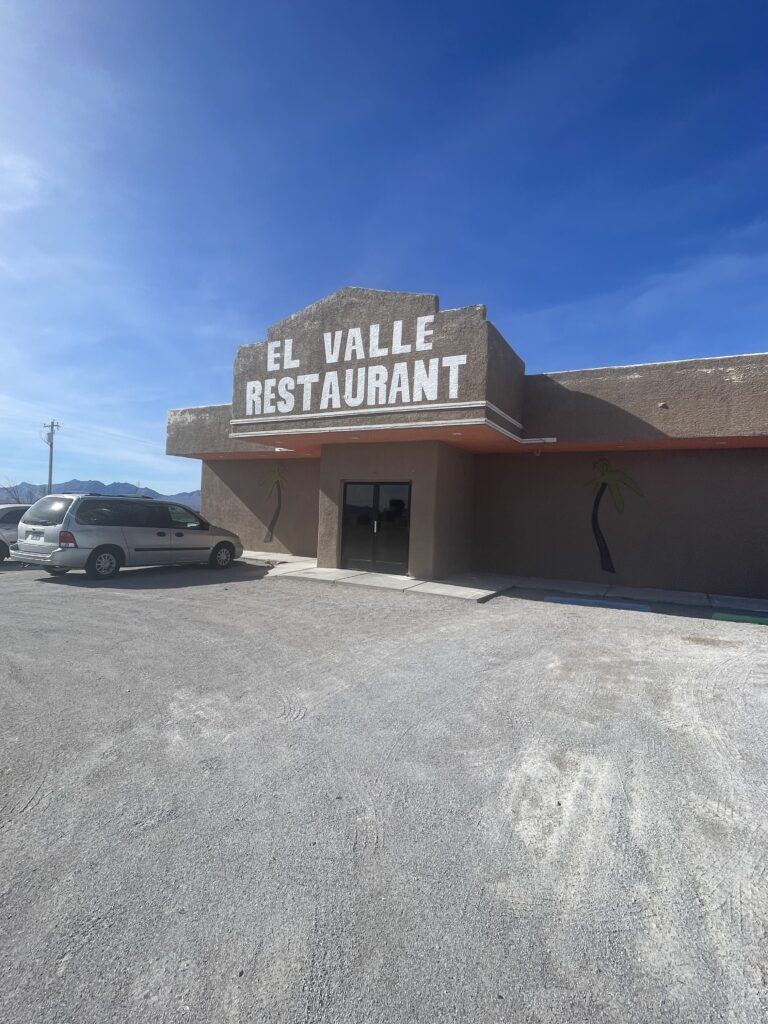
Get breakfast at El Valle Restaurant: This is honestly not on the route back to San Diego (it is on the way to Las Vegas if that’s where you’re heading(, but we made the stop anyway. A random search on google maps brought up this small, homey cafe. They have great service, and serve good breakfast and Mexican food. It’s good to stop at the random local spots.
Head home safely: Bask in the glow of your desert trip. Get home safely. Start to plan your next adventure on public lands.
Rules and regulations
Always practice the guidelines below.
1. Leave No Trace Principles
2. The National Park Service has an excellent series of articles called “I didn’t know that!” which provides great tips and info on how to recreate responsibly – I didn’t know that! by the NPS
Please leave the place better than you found it.
To learn more about why these principles are critical to follow, see our article on Why Public Lands Are Important For Everyone.
What type of land are you on
Current Management
Death Valley is currently managed by the National Park Service. It was initially established as a National Monument in 1933, and was converted to a National Park in 1994. However, it’s interesting to note that
Original Inhabitants
The Timbisha Shoshone are a federally recognized tribe that originally inhabited the valley. Once the area became a National Monument in 1933, the Timbisha Shoshone were confined to fewer spaces, including a village near Furnace Creek. In 2000, they received a 7,800 acre federal land trust to legally own. While it’s not as it once was for the Timbisha, they are an active and recognized tribe and it’s important to acknowledge and incorporate them into the park.
Natural Surroundings
Death Valley spans across the Great Basin Desert, and the Mojave Desert. Famously, this park is home to the lowest point in North America – the Badwater Basin, which is 282 feet below sea level. But you’ll also find mountain peaks topping out around 11,000 ft. With such varying vegetation and climate zones there is a large diversity of life in the park.
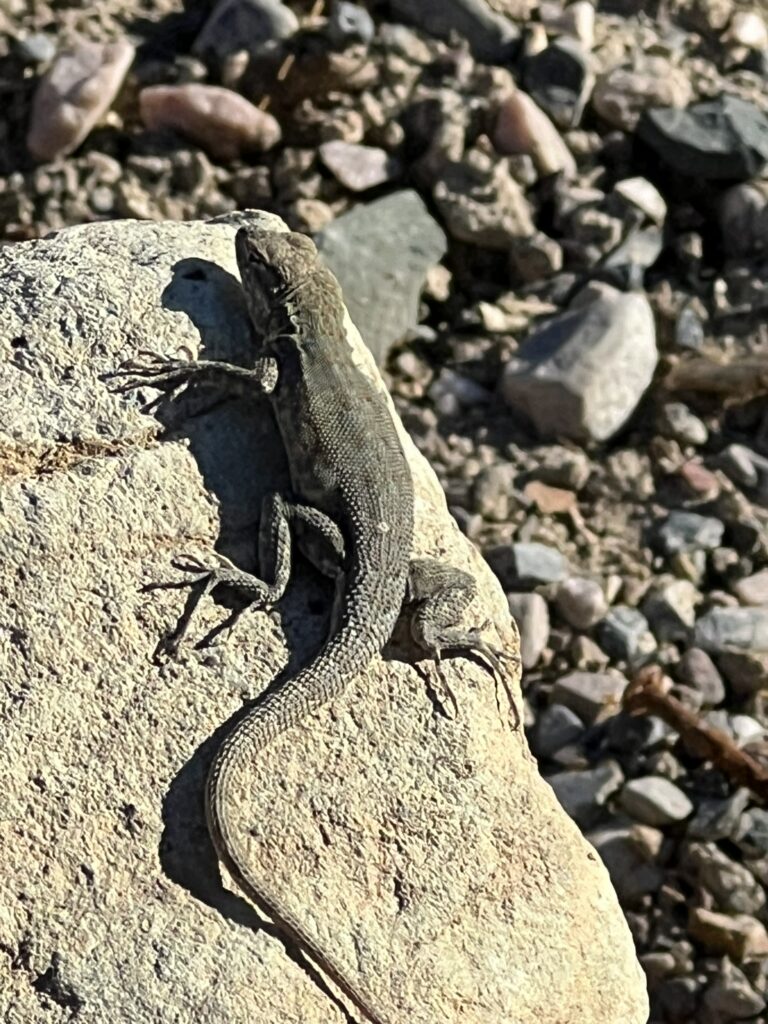
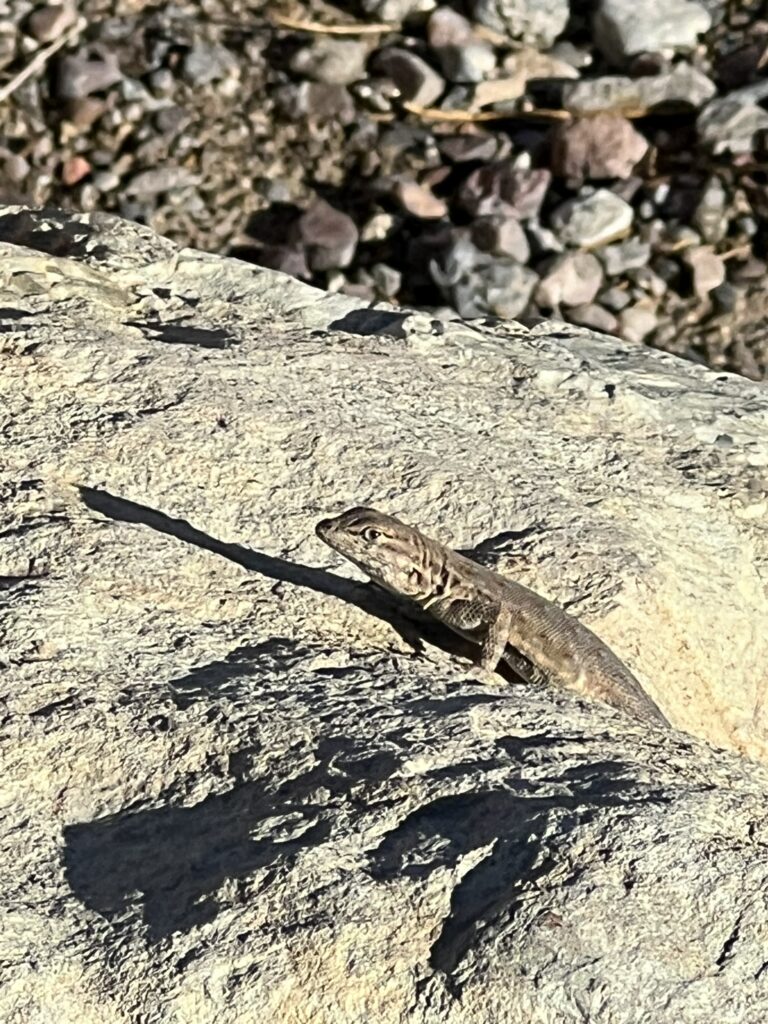
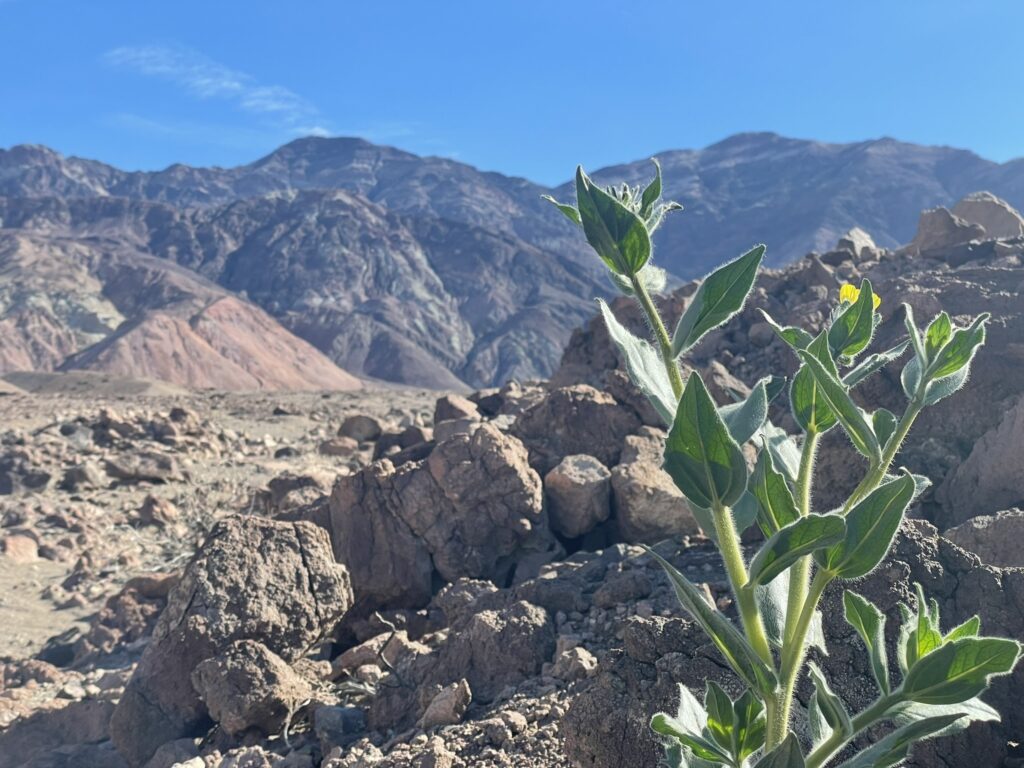
Taking residence in the area are coyotes, bighorn sheep, mountain lions, rattlesnakes, desert tortoises, the common side-botched lizard, jackrabbits, and many other species. Some of the more common vegetation you’ll encounter includes desert holly, Joshua trees, mesquite, desert willow, big sagebrush, and bristlecone pines – some of the oldest living organisms on earth.
As always, be mindful and respect the wildlife and plants. Do not ever feed or approach wild animals. Do not go off trails or designated areas.
Final thoughts
This is one of the more spectacular National Parks we’ve been to. Anything but barren, this landscape can appeal to the most casual of adventurers to the most extreme. Don’t underestimate this park. I’d highly recommend visiting this park, and multiple times since there’s virtually no way to see it all in one trip.
Want to explore another desert in California that is completely free and also full of geologic wonders? Check out the Domelands Trail which is part of the Coyote Mountains Wilderness and is less than 90 minutes outside of San Diego.
To better understand our public lands and how to explore them, check out our articles What are America’s public lands?, How To Explore the Public Lands in America, and Why America’s Public Lands Are Important for Everyone.
Enjoy the journey – J. Wasko

About the author
Jeremy Wasko has been exploring our public lands for over two decades, with thousands of miles and hundreds of camping trips completed. Through his adventures, he discovered that our public lands are more than just places to camp and recreate. They are cultural and historical sites, sacred places to different peoples, and the very sources of our clean water, air, and other critical resources.
He created Magna Terra to share his knowledge on how to explore and enjoy our public lands, and also how to protect and conserve them for future generations.
Learn more about Jeremy and the founding of Magna Terra here.
Photos